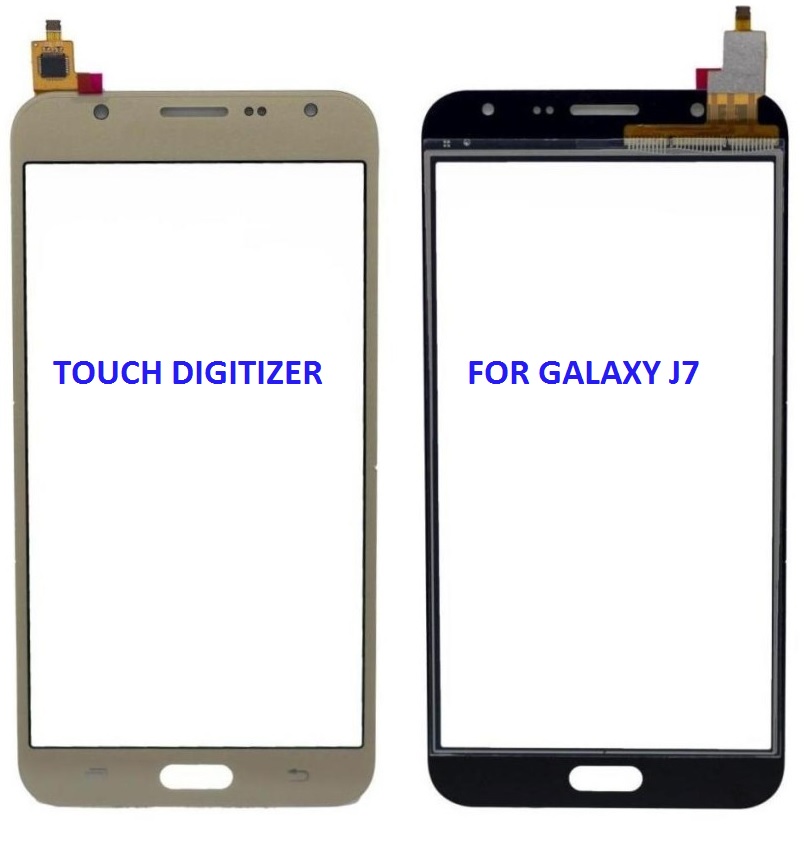
The touch digitizer for a Samsung Galaxy J7 is an essential component of the device’s touchscreen. It is responsible for sensing touch inputs and transmitting that information to the phone’s main processing unit. If the digitizer is damaged (e.g., cracked screen or non-responsive touch area), it needs to be replaced to restore full functionality.
Replacement Process for Samsung Galaxy J7 Touch Digitizer
Replacing the touch digitizer is a delicate process that requires careful handling and specialized tools. Here’s a step-by-step guide for replacing the digitizer:
Tools You Will Need:
- Small Phillips screwdriver
- Plastic prying tools (to avoid damaging the screen)
- Suction cup tool (for removing the screen)
- Tweezers
- SIM card ejector tool
- Heat gun or hair dryer (to soften the adhesive)
- Replacement touch digitizer for Samsung Galaxy J7
- Double-sided tape or adhesive strips for reassembly
Step-by-Step Process:
- Power off the phone: Before starting, make sure the Samsung Galaxy J7 is turned off to avoid any electrical issues.
- Remove the back cover: Use a plastic prying tool to gently detach the back cover from the phone. Remove the battery (if removable), and then remove the SIM card and memory card.
- Heat the screen: Use a heat gun or a hairdryer to soften the adhesive around the edges of the screen. Apply heat evenly for about 1-2 minutes to loosen the adhesive holding the digitizer in place.
- Remove the screen: Using a suction cup tool, carefully lift the screen from the device. If needed, use a plastic prying tool to help separate the screen from the device frame. Be patient and gentle to avoid breaking the screen or damaging the internal components.
- Disconnect the old digitizer: After the screen is removed, you’ll need to disconnect the ribbon cable that connects the digitizer to the motherboard. Use tweezers to carefully detach it. Make sure you’re not pulling on any cables.
- Install the new digitizer: Attach the new touch digitizer by aligning the connector with the motherboard and gently pressing it into place. Make sure it’s securely connected.
- Reassemble the phone: Place the new digitizer and screen back into the phone, pressing it down to ensure it’s properly aligned and secured. Reconnect the battery, SIM card, and memory card if necessary.
- Test the device: Power on the Samsung Galaxy J7 and test the new digitizer to ensure that the touchscreen is responsive and functioning correctly.
- Seal the screen: If you’re replacing the screen as well, ensure that the adhesive is applied around the edges before sealing the phone. You may need to use double-sided tape or a custom adhesive strip.
Replacement Time:
This process may take between 45 minutes to 2 hours, depending on your experience and precision.
Samsung Galaxy J7 Touch Digitizer Size:
The screen size of the Samsung Galaxy J7 varies slightly depending on the specific model. Here are the typical screen sizes for different versions:
- Samsung Galaxy J7 (2015, J700): 5.5 inches
- Samsung Galaxy J7 (2016, J710): 5.5 inches
- Samsung Galaxy J7 (2017, J730): 5.5 inches
- Samsung Galaxy J7 (2018, J737): 5.5 inches
For all models, the digitizer size will be the same as the screen size of 5.5 inches. Make sure to confirm the specific model and version of your device before purchasing a replacement digitizer.
Additional Notes:
- When replacing the digitizer, it’s often recommended to replace the entire screen (LCD + digitizer) to avoid issues with compatibility.
- You can buy the replacement digitizer and screen assembly as a single part, or separately, depending on your needs.
- If you’re unsure about the replacement process, it’s best to have a professional technician perform the repair to avoid damaging the phone.