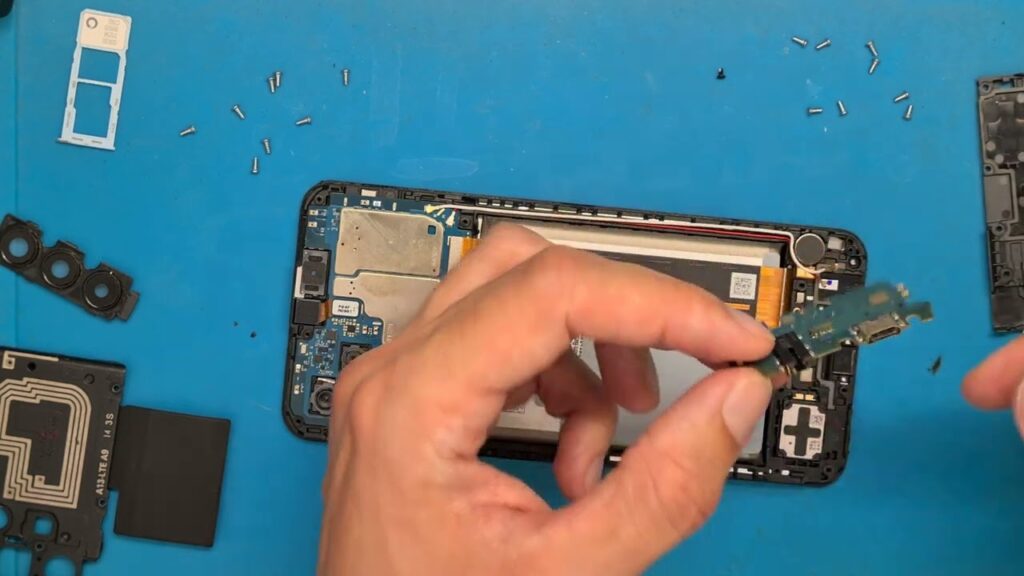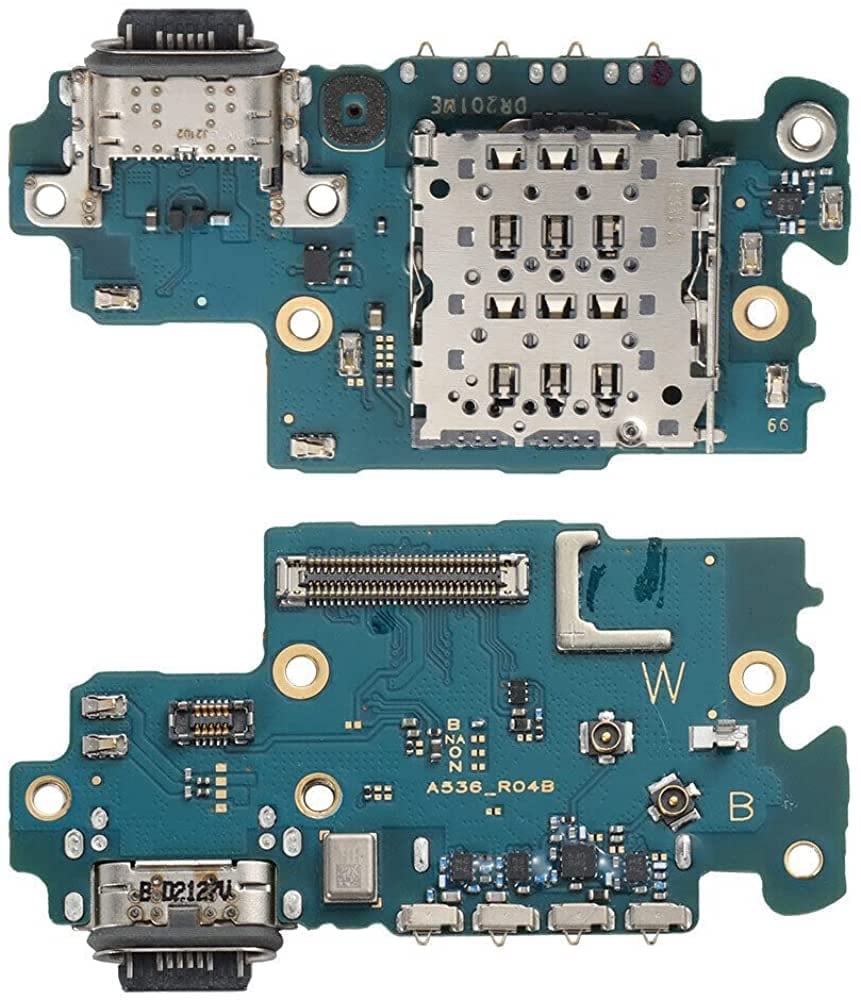
Repairing the charging board of a Samsung Galaxy A53 can be a delicate process, and it typically requires some technical knowledge and proper tools. If you’re comfortable with electronics repair, here’s a step-by-step guide. If not, it’s advisable to take the phone to a professional repair technician.
Tools You Will Need:
- Small Phillips-head screwdriver
- Pentalobe screwdriver (for some phone models)
- Pry tools (plastic)
- Spudger tool
- Soldering iron (if needed for soldering)
- Replacement charging board (USB port flex)
- Tweezers
- ESD strap (Electrostatic Discharge strap for safety)
- Isopropyl alcohol (for cleaning)
Steps to Repair the Charging Board:
1. Power off the Phone
- Before starting, ensure the device is powered off completely to avoid any electrical hazards or damage.
2. Remove the Back Cover
- Depending on your model, you may need to remove the back cover of your Samsung A53.
- Use a plastic pry tool to gently loosen the edges and separate the back cover from the body of the phone.
- If the phone has adhesive, use a heat pad or hairdryer to soften the glue to make the process easier.
3. Remove the Battery (Optional but Recommended)
- Disconnecting the battery can help avoid electrical accidents.
- Use the plastic pry tool to gently disconnect the battery from the motherboard.
4. Locate the Charging Board (USB Port Flex)
- The charging board is usually located near the bottom of the phone and connected to the main board via a ribbon cable.
- You may need to remove screws or additional parts to access the charging board.
5. Disconnect the Charging Port Flex Cable
- Carefully disconnect the ribbon cable that connects the charging board to the main motherboard of the phone. You may need to use a spudger or tweezers to avoid damaging the connector.
6. Remove the Old Charging Board
- Unscrew any screws holding the charging board in place.
- Gently lift the old charging board from the phone, taking care not to damage any other components.
7. Install the New Charging Board

- Place the new charging board in the same position as the old one.
- Reconnect the ribbon cable to the main board.
8. Soldering (if required)
- If the charging board is damaged beyond just being disconnected (e.g., broken pins or traces), you may need to solder the new board or components onto the motherboard.
- If you’re not experienced with soldering, it’s best to consult a professional technician to avoid damaging the motherboard.
9. Reassemble the Phone
- Once the new charging board is installed, reassemble the phone by reversing the steps. Reconnect the battery, screw in any screws, and replace the back cover.
10. Test the Charging Port
- Before fully sealing the phone, test the charging port with a charger to see if it is functioning properly.
- If the phone charges correctly, proceed to fully reassemble it.
11. Clean the Phone
- After completing the repair, clean the inside of the phone with isopropyl alcohol to remove any dust, fingerprints, or debris that may have accumulated.
12. Final Check
- Power on the phone and check if the charging board works correctly. Make sure the phone charges, the USB port is functional, and there are no loose connections.
Troubleshooting:
- Phone Not Charging After Repair: Double-check all connections, ensuring the charging port is correctly attached to the motherboard.
- Charging Port Not Aligning Properly: Ensure that the charging port and board are placed correctly and all screws are tight.
If you don’t have experience with phone repair, replacing the charging board can be challenging. It may be more cost-effective and safer to have the repair done by a professional.