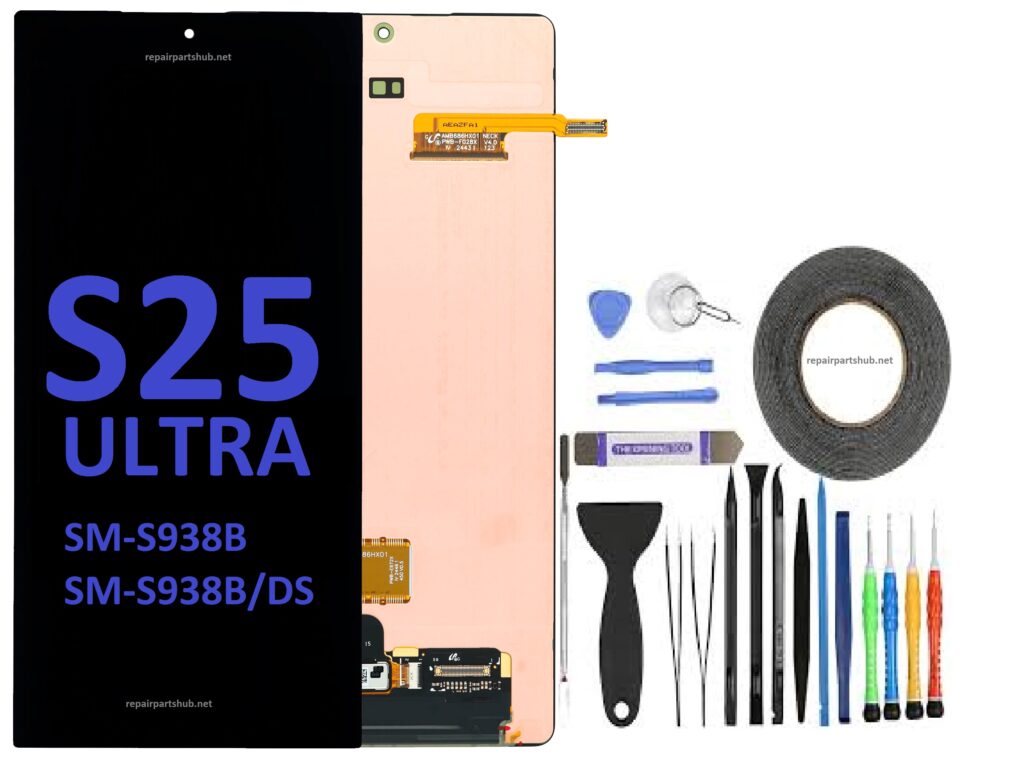
The Samsung Galaxy S25 Ultra, one of the most advanced smartphones on the market, is packed with cutting-edge features and hardware. However, like any other device, the screen may eventually need replacement due to damage or wear over time. If you’re looking to replace the screen of your Samsung Galaxy S25 Ultra (model numbers SM-S938B, SM-S938B/DS, SM-S938U, SM-S938U1, SM-S938W, SM-S938N, SM-S9380, SM-S938E, SM-S938E/DS), it is essential to have the right tools and knowledge to perform the replacement smoothly.
In this blog post, we’ll provide an in-depth look at the original screen and phone repair tools you’ll need to replace the screen on your Samsung Galaxy S25 Ultra. Whether you’re a DIY enthusiast or someone looking to repair their device, this guide will provide all the necessary details.
Understanding the Samsung Galaxy S25 Ultra Models
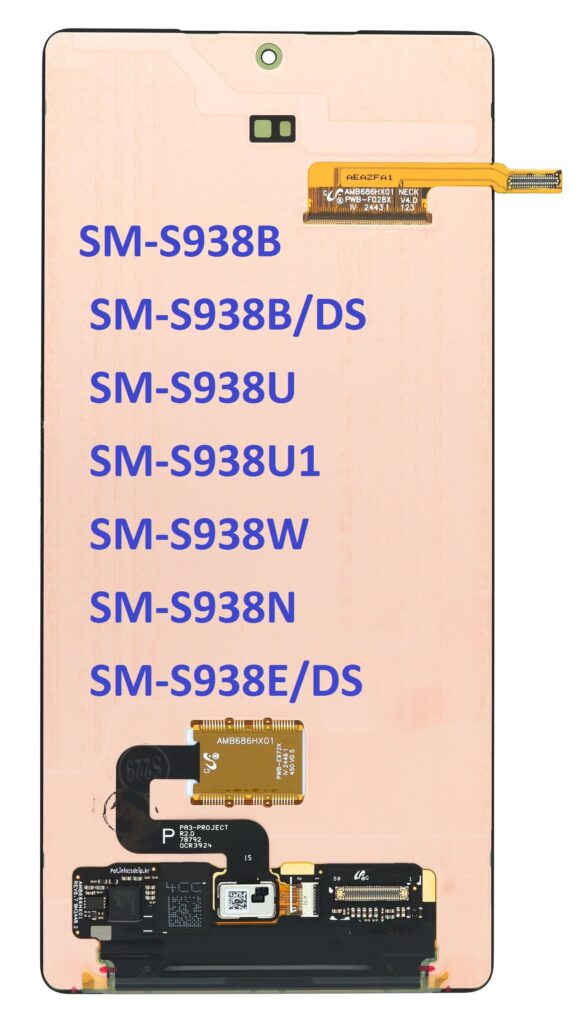
Before diving into the screen replacement process, it’s important to note that the Samsung Galaxy S25 Ultra comes in several different model variants. These include:
- SM-S938B (Standard Model)
- SM-S938B/DS (Dual SIM Variant)
- SM-S938U (USA Variant)
- SM-S938U1 (USA Unlocked Variant)
- SM-S938W (Canada Variant)
- SM-S938N (South Korea Variant)
- SM-S9380 (International Variant)
- SM-S938E (European Variant)
- SM-S938E/DS (European Dual SIM Variant)
While these models may differ slightly in regional specifications and network compatibility, they share the same core design and screen, making the screen replacement process generally the same for all variants.
Why Replace the Screen on Your Galaxy S25 Ultra?
There are various reasons why you may need to replace the screen on your Samsung Galaxy S25 Ultra:
- Cracked or shattered glass: Accidents happen, and dropping your phone can result in a cracked screen.
- Display issues: Over time, you might encounter display problems like dead pixels, discoloration, or flickering.
- Touchscreen malfunctions: If the touchscreen stops responding or becomes unresponsive, a screen replacement may be necessary.
Replacing the screen will restore your phone’s functionality and keep it looking as good as new. However, screen replacements can be tricky, and using the wrong parts or tools can lead to further damage.
Original Screen for Samsung Galaxy S25 Ultra
When replacing the screen, it is highly recommended to use an original screen to maintain the integrity of your device. OEM (Original Equipment Manufacturer) screens are designed to match the exact specifications of your Galaxy S25 Ultra, ensuring compatibility and quality.
Features of the Original Screen:
- AMOLED Technology: The Galaxy S25 Ultra features a Dynamic AMOLED display, offering vibrant colors, deep blacks, and energy efficiency.
- High Resolution: The screen boasts an ultra-high resolution, often 3200 x 1440 pixels, ensuring sharp and crisp visuals.
- 120Hz Refresh Rate: This display provides ultra-smooth scrolling and gaming experiences.
- Durability: Samsung’s original displays are designed to be durable, with Corning Gorilla Glass offering protection against scratches and drops.
By choosing an original screen, you ensure that your device retains its top-tier display quality and reliability.
Phone Tools for Samsung Galaxy S25 Ultra Screen Replacement
Replacing the screen on a Samsung Galaxy S25 Ultra requires precision, the right tools, and a steady hand. Here are the essential tools you’ll need:
1. Pentalobe Screws Driver
Samsung devices typically use pentalobe screws to secure the device. A Pentalobe screwdriver is required to open the device without causing any damage.
2. Plastic Pry Tools
Plastic pry tools help you open your phone without damaging the screen or frame. These tools allow you to carefully detach the display from the body without leaving marks or scratches.
3. Suction Cup Tool
A suction cup tool is crucial for lifting the screen off the body without using excessive force. It provides a secure grip to gently separate the screen from the rest of the phone.
4. Tweezers
Tweezers are handy for handling delicate components like the adhesive or small parts inside the phone that need careful attention.
5. Heat Gun or Heating Pad
The adhesive that holds the screen in place can be quite strong. A heat gun or heating pad softens the glue and makes it easier to separate the screen from the device. Be sure to apply heat evenly to avoid damaging the internal components.
6. SIM Card Ejector Tool
Before starting the replacement, you need to remove the SIM card tray. The SIM card ejector tool is a small, essential tool for safely ejecting the tray.
7. Plastic Spudger
The plastic spudger is another non-marring tool that is used to pry open tight spots without damaging the phone’s internal components.
8. Replacement Adhesive
When reinstalling the screen, you’ll need new adhesive strips to secure the screen in place. OEM replacement adhesive ensures that the screen sticks properly without leaving any gaps or imperfections.
9. ESD-Safe Mat & Wrist Strap
Working with electronics can be hazardous due to electrostatic discharge (ESD). Using an ESD-safe mat and a wrist strap will protect your phone’s internal parts from static damage during the repair process.
Step-by-Step Guide to Replacing the Screen
Now that you have the right tools, here’s a basic overview of how to replace the screen on your Samsung Galaxy S25 Ultra.
1. Power Off the Device
Make sure your phone is powered off before starting any work. Disconnect any cables and accessories.
2. Remove the SIM Card Tray
Use the SIM card ejector tool to remove the tray.
3. Heat the Screen
Apply gentle heat to the edges of the phone using a heat gun or heating pad. This will soften the adhesive holding the screen in place.
4. Use the Suction Cup Tool
Attach the suction cup tool to the screen and gently lift it. Be cautious not to apply too much force.
5. Insert a Pry Tool
Once the screen is slightly lifted, insert a plastic pry tool to separate the screen from the device. Work your way around the device carefully.
6. Disconnect the Battery
After removing the screen, locate the battery connector and disconnect it to avoid short-circuiting the phone during the repair.
7. Remove the Broken Screen
If there is any remaining adhesive or pieces of the broken screen, remove them with tweezers or a spudger.
8. Attach the New Screen
Apply the new adhesive to the edges of the new screen and connect it to the phone. Carefully press the new screen into place.
9. Reconnect the Battery
Once the screen is in place, reconnect the battery.
10. Test the Device
Before sealing the phone, power it on to test if the new screen works correctly. Check for functionality such as touch responsiveness, display brightness, and color accuracy.
11. Reassemble the Phone
Once everything is functioning properly, reassemble the phone by securing the screws and sealing the device.
Final Thoughts
Replacing the screen of your Samsung Galaxy S25 Ultra can be a challenging task, but with the right tools and a little patience, you can restore your device to its former glory. Be sure to use an original screen to maintain the quality and functionality of your phone, and always follow the correct procedures to avoid damaging any components.
If you’re not confident in your ability to perform the repair, consider reaching out to a professional technician or an authorized Samsung repair center for assistance. A professional repair service will ensure that your device is repaired correctly and safely.
Happy repairing!