
Is your Samsung Galaxy F52 5G (Model SM-E5260) suffering from a cracked screen, display flickering, blackouts, or unresponsive touch? If so, a complete LCD Display Touch Screen Assembly replacement is your best bet to restore your device to full working condition.
In this guide, we’ll cover everything you need to know—from understanding the parts involved to performing the replacement step by step.
Why Replace the LCD Display Touch Screen Assembly?
Unlike just replacing the outer glass or digitizer, a full LCD assembly replacement means:
- Better reliability
- No display issues like dead pixels or lines
- Restored touch sensitivity
- Faster installation with fewer tools required
The Samsung Galaxy F52 5G uses a high-quality TFT LCD panel, which is bonded to the touch digitizer. When your screen is cracked or unresponsive, replacing both together saves time and avoids compatibility issues.
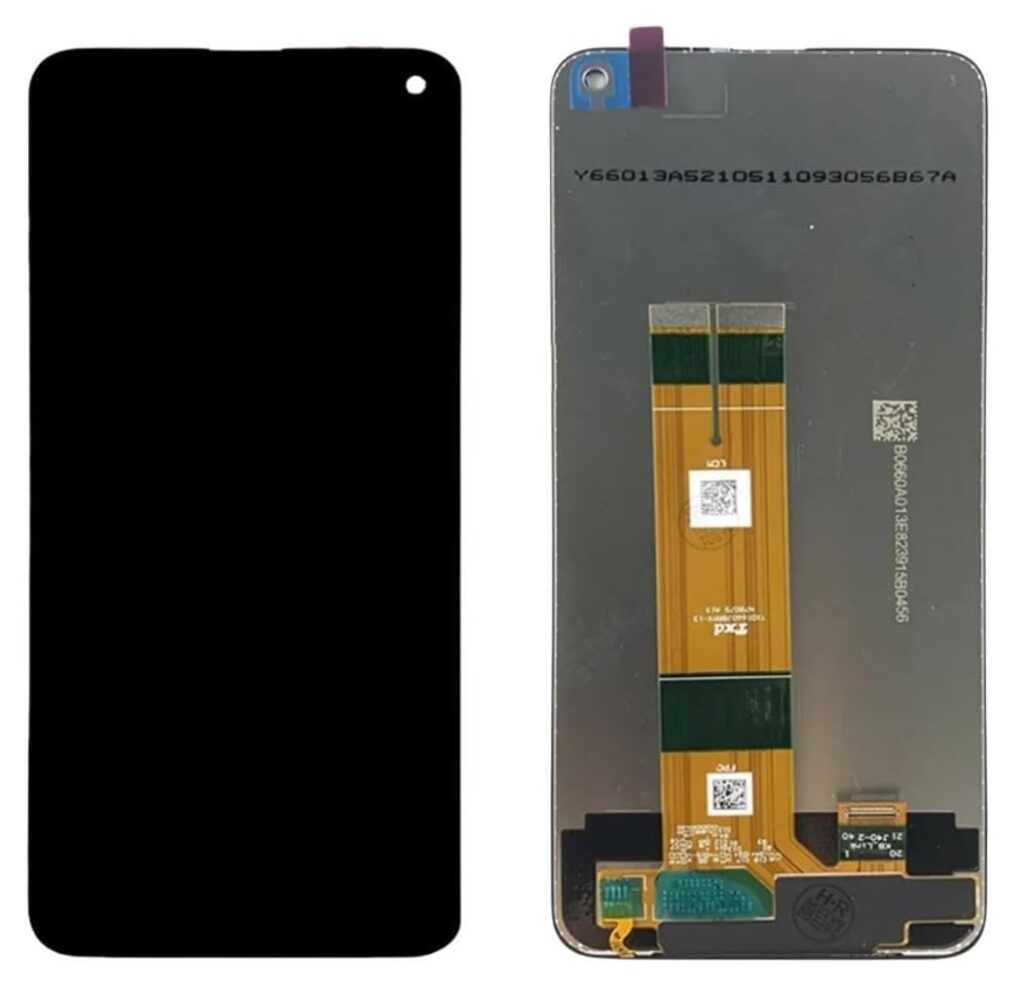
What’s Included in the Replacement Assembly?
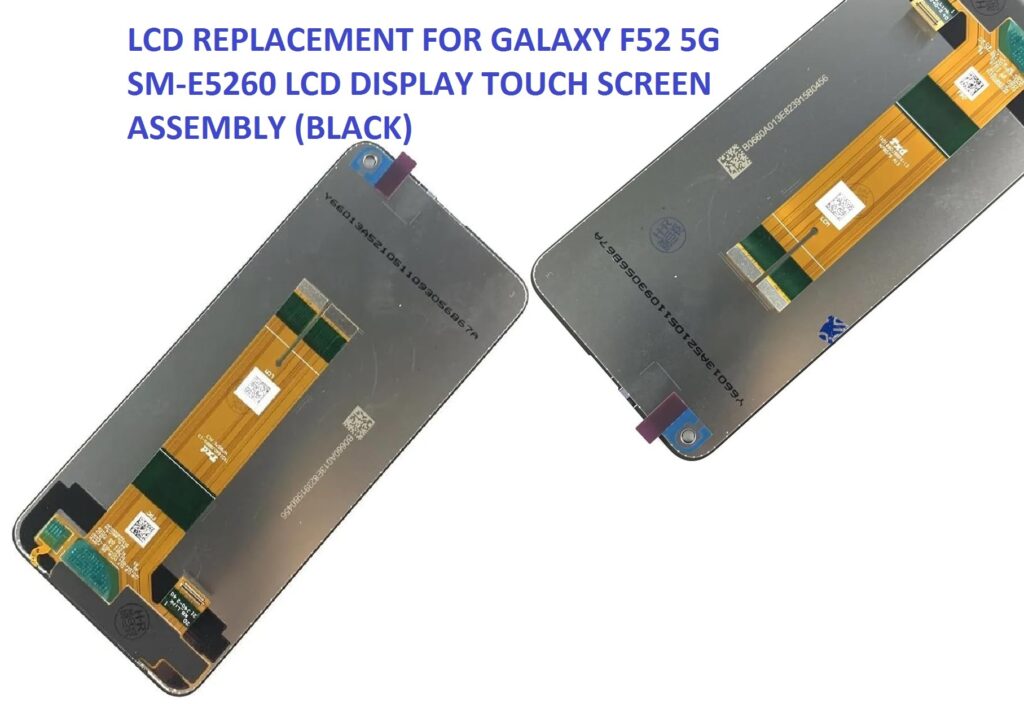
The LCD Display Touch Screen Assembly for the Galaxy F52 5G typically includes:
- 6.6” TFT LCD Panel (Full HD+ resolution)
- Integrated Touch Digitizer
- Flex Cables (pre-installed)
- Frame Bezel (optional depending on version)
This assembly is model-specific, designed to fit the SM-E5260 version of the Galaxy F52 5G. Always check your phone’s model number before purchasing a replacement.
Tools You’ll Need
To replace the screen safely, you’ll need:
- Precision screwdriver set (Phillips head)
- Plastic pry tools
- Suction cup tool
- Tweezers
- Heat gun or hairdryer
- SIM ejector pin
- Isopropyl alcohol and microfiber cloth
- Replacement adhesive or double-sided tape
Tip: Work on a clean, static-free surface. Power off the device before starting.
Step-by-Step Screen Replacement Guide
Step 1: Power Off and Remove SIM Tray
Shut down your phone and remove the SIM card tray using the ejector pin.
Step 2: Heat the Back Cover
Gently heat the edges of the back cover using a heat gun or hairdryer to soften the adhesive.
Step 3: Pry Open the Back Cover
Use a suction cup to lift a corner of the back panel. Insert a plastic pry tool and carefully work around the edges to remove the back cover. Be careful not to damage internal components.
Step 4: Disconnect the Battery
Remove the internal screws to detach the midframe. Disconnect the battery first to avoid short circuits.
Step 5: Disconnect and Remove the Broken LCD
Unplug the screen’s flex cable from the motherboard. Apply gentle heat around the front of the screen to soften the adhesive, then use a plastic tool to lift and remove the damaged LCD assembly.
Step 6: Clean the Frame
Thoroughly clean the device’s frame using isopropyl alcohol and a microfiber cloth to remove old adhesive and debris.
Step 7: Install the New Screen Assembly
Align the new LCD and digitizer assembly carefully with the phone’s frame. Connect the display flex cable to the motherboard. Test the screen and touch functionality before sealing the phone.
Step 8: Reassemble Your Device
Once verified, reconnect the battery, secure the midframe with screws, and reattach the back cover with adhesive or tape. Press down evenly to seal it.
Post-Replacement Testing
After reassembly, check for:
- Touch responsiveness
- Display brightness and color
- No dead pixels or flickering
- Proper SIM and charging port function
If everything works as expected, congratulations—you’ve successfully replaced your Galaxy F52 5G screen!
Final Thoughts
Replacing the Samsung Galaxy F52 5G SM-E5260 LCD Display Touch Screen Assembly is a cost-effective way to revive your smartphone. Whether your screen is cracked, unresponsive, or displaying visual issues, a full assembly replacement ensures a seamless fix with factory-like quality.
While the process is manageable for those with DIY experience, we recommend professional help if you’re unsure, especially since opening the phone can void your warranty if done incorrectly.
Need Help Finding a Genuine Replacement?
We offer OEM-quality LCD screen assemblies for the Galaxy F52 5G, backed by quality assurance and customer support. Reach out to us for product recommendations, installation tools, or professional repair services.
Have questions or need a video tutorial? Drop a comment below, and we’ll be happy to assist you.