LCD Digitizer Screen Touch & Replacement Guide
Smartphone screens are among the most frequently damaged components, and the Samsung Galaxy A56 (models SM-A566U and SM-A566B) is no exception. Whether it’s a cracked screen, unresponsive touch, or faulty display, replacing the LCD digitizer screen can breathe new life into your device. This guide walks you through the display specs, the replacement process, and everything you need to know.
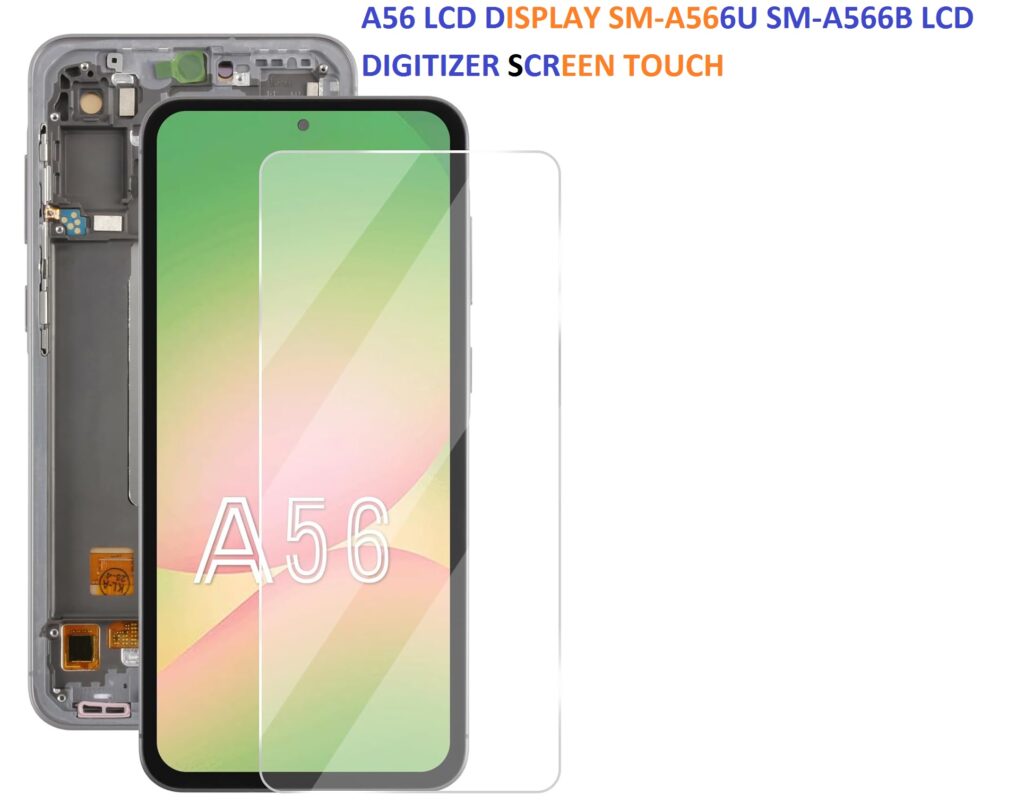
What Is the LCD Digitizer Screen?
Before diving into the replacement, let’s clarify what we’re dealing with:
- LCD (Liquid Crystal Display): This is the part responsible for displaying images, videos, and text on your phone.
- Digitizer: This is a touch-sensitive layer that registers your touch inputs and sends signals to the device.
- Glass Screen: The external layer you interact with, often fused with the digitizer.
In many modern smartphones, including the Samsung Galaxy A56 (SM-A566U / SM-A566B), these components are fused together as a single unit, commonly referred to as the LCD Digitizer Assembly.
Compatibility: SM-A566U vs SM-A566B
Both models SM-A566U and SM-A566B are variants of the Galaxy A56. While they may have different regional firmware or network bands, their displays are interchangeable as they use the same screen specifications and hardware dimensions.
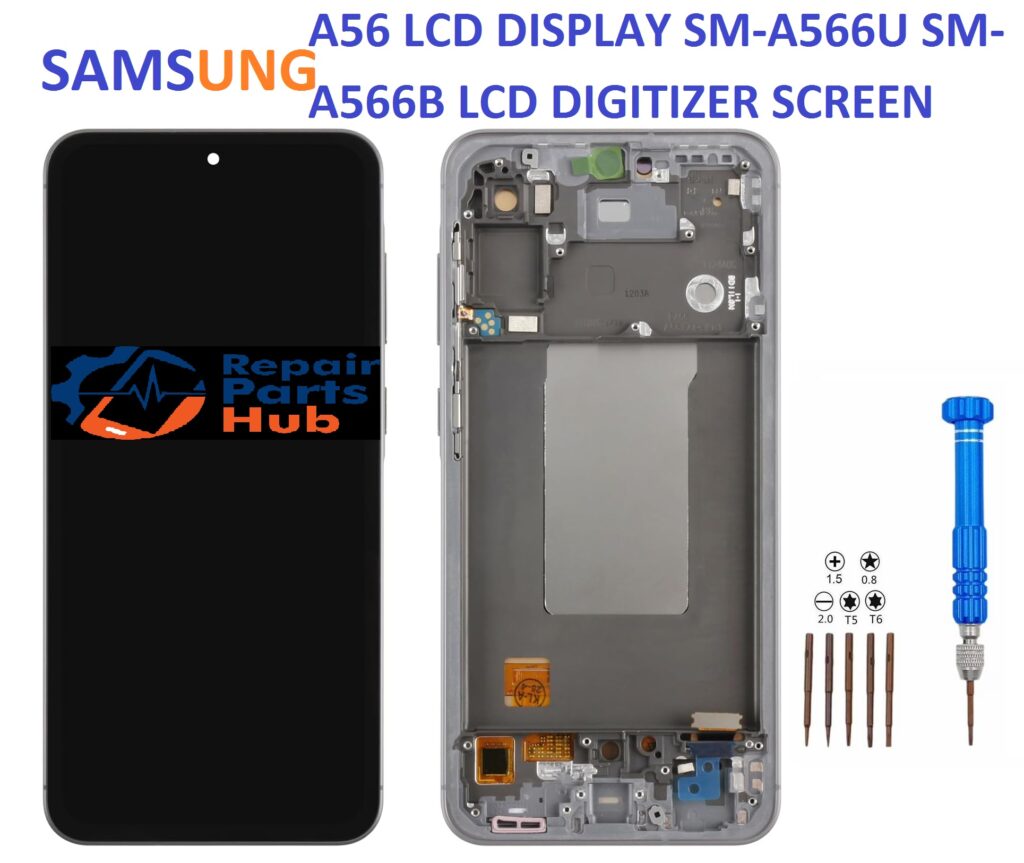
Tools & Parts, You’ll Need
Replacement Parts:
- A56 LCD Display + Digitizer Touch Screen Assembly
- Pre-installed frame (optional, but makes installation easier)
Tools:
- screwdriver
- Plastic pry tools
- Suction cup
- SIM ejector tool
- Tweezers
- Isopropyl alcohol (90% or higher)
- Adhesive tape or pre-cut adhesive
- Heat gun or hair dryer
Step-by-Step Replacement Process
Note: Before beginning, power off the phone and remove the SIM card tray.
Step 1: Heat the Back Cover
Use a heat gun or hair dryer to soften the adhesive around the back panel. Gently slide a plastic pry tool or card around the edges to separate the back cover. Be careful not to damage the fingerprint sensor if attached.
Step 2: Disconnect the Battery
Remove screws securing the internal midframe and take it off. Locate the battery connector and gently disconnect it using a plastic spudger.
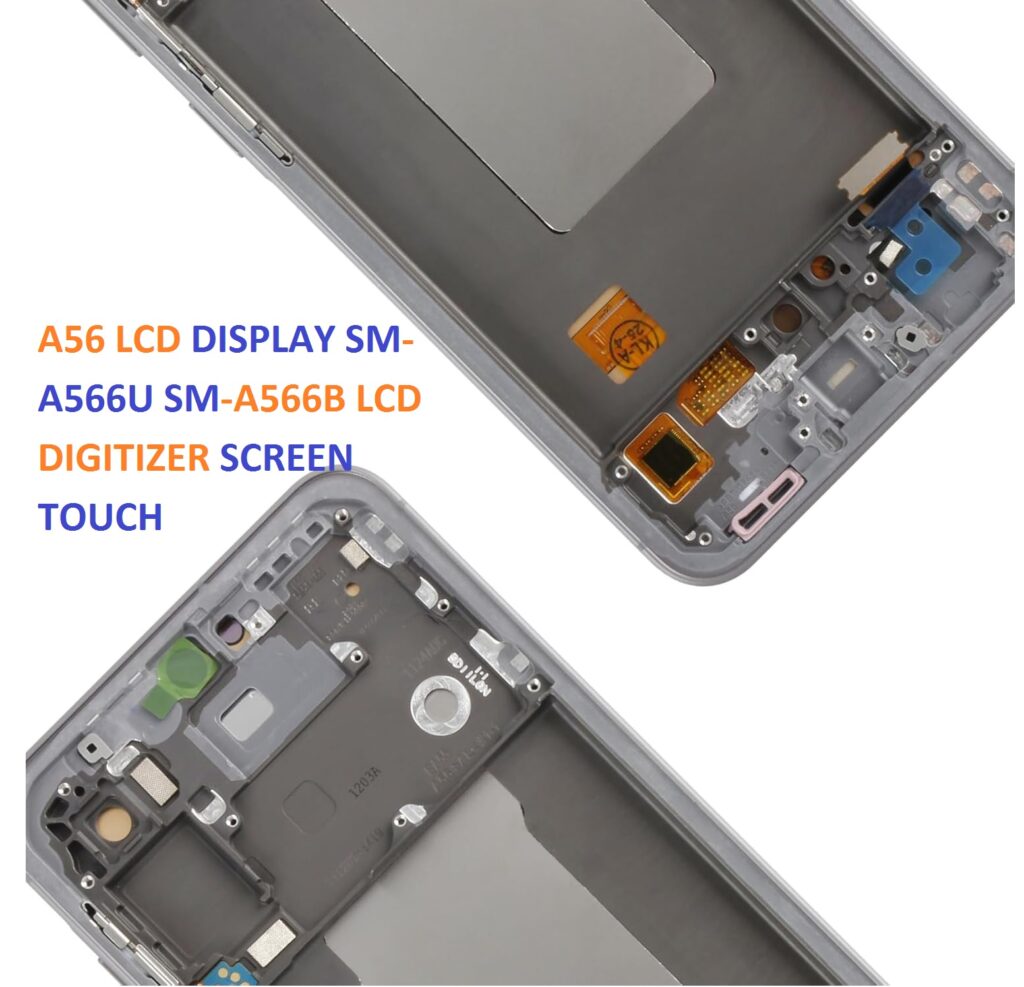
Step 3: Disconnect Display & Other Components
Disconnect the screen ribbon cable, charging port flex cable, and any other visible connectors. If you’re replacing only the screen (without frame), you’ll need to heat and remove the old screen carefully.
Step 4: Remove the Broken Screen
If the new display comes without a frame, heat the front of the screen and slowly pry it off. Clean off old adhesive residue. For screens with pre-installed frame, this step is simpler you’ll just need to swap internal components over.
Step 5: Install New Display
Attach new adhesive or use pre-installed adhesive on the new screen. Connect the display cable and test the screen by temporarily reconnecting the battery and powering on the device.
- Check: Display, touch sensitivity, colors, and brightness.
If everything works, continue.
Step 6: Reassemble the Phone
Once tested:
- Reconnect all flex cables
- Reinstall midframe screws
- Snap the back panel into place using adhesive
- Reinsert SIM card tray
Post-Replacement Testing
After reassembly, perform a quick test:
- Touch responsiveness
- Brightness and color accuracy
- Dead spots or lines on the display
- Front camera view (to ensure no screen misalignment)
- Fingerprint sensor (if under-display)
Tips & Warnings
- Use OEM or high-quality aftermarket parts to ensure display quality and durability.
- Be patient when removing the old screen excessive force can damage the internals.
- Always work on a static-free surface and keep track of tiny screws.
- If unsure, seek professional help to avoid damaging your phone.
Cost of Replacement
- DIY Cost: $40 80 (for parts and tools)
- Professional Repair: $100 $150 depending on location
Final Thoughts
Replacing the LCD digitizer screen on the Samsung A56 (SM-A566U / SM-A566B) can seem intimidating at first, but with the right tools and a careful approach, it’s completely doable. Whether you’re repairing your own phone or offering this service to others, understanding the process helps save money and extend the life of your device.
Common Issues After Replacement and How to Fix Them
Even after a successful installation, a few hiccups might occur. Here are the most common issues and how to address them:
1. Touch Screen Not Responding
- Cause: Loose connection or faulty digitizer
- Fix: Re-open the device and check the digitizer connector. Ensure its firmly in place. If the issue persists, the part may be defective.
2. No Display but Phone Vibrates or Rings
- Cause: Display flex cable not connected properly
- Fix: Double-check the display connector. If it’s damaged, you may need to replace the cable or display again.
3. Ghost Touch or Random Taps
- Cause: Poor quality screen or static interference
- Fix: Try grounding the phone during reassembly. If you used a low-grade replacement part, consider sourcing a higher quality LCD assembly.
4. Lines or Dead Pixels on Screen
- Cause: Damaged LCD during installation
- Fix: Unfortunately, a new screen may be required if the damage was physical or due to pressure.
5. Battery Draining Quickly After Replacement
- Cause: Misplaced cable or background processes after reassembly
- Fix: Check for loose connections or perform a factory reset. A software recalibration of the battery may help too.
Buying Tips:
- Always look for parts labeled OEM, Grade A+, o With Frame if you want easier installation.
- Read seller ratings and return policies before purchasing.
- Avoid extremely cheap screens they often have poor touch response and lower brightness.
Recommended Video Tutorial
For visual learners, watching a step-by-step teardown and screen replacement is extremely helpful.
Here’s what to search on YouTube:
Search: Samsung A56 SM-A566U LCD Screen Replacement Tutorial
Look for videos from reputable repair channels like:
- PBKreviews
- JerryRigEverything (general repair insights)
- Mobile Repairing Institute
These videos will show you how to safely remove adhesive, disconnect flex cables, and test the display before sealing the phone.
Frequently Asked Questions (FAQ)
Q1: Can I replace the screen without professional help?
Yes, but only if you’re confident using small tools and following detailed instructions. Otherwise, it’s best to get it done by a technician.
Q2: How long does it take to replace the A56 screen?
For beginners, expect 1 to 2 hours. Pros can do it in under 30 minutes.
Q3: Will I lose my data during screen replacement?
No, screen replacement doesn’t affect internal storage but always back up your phone in case of mistakes.
Q4: What’s the difference between a display with frame and without frame?
- With Frame: Easier to install, just transfer internal components.
- Without Frame: Requires removing and gluing the LCD onto the existing frame more difficult.
Q5: Do I need to apply new adhesive?
Yes. Use Tesa tape, B7000 glue, or pre-cut adhesive strips for secure sealing.
Final Wrap-Up
Replacing your Samsung Galaxy A56 SM-A566U or SM-A566B screen is a practical way to extend the life of your phone without spending hundreds on a new device. With the right tools, a bit of patience, and a quality replacement screen, you can get your device looking and working like new again.
Whether you’re a DIY enthusiast or just looking to save on repair costs, this guide gives you everything you need to know to succeed.