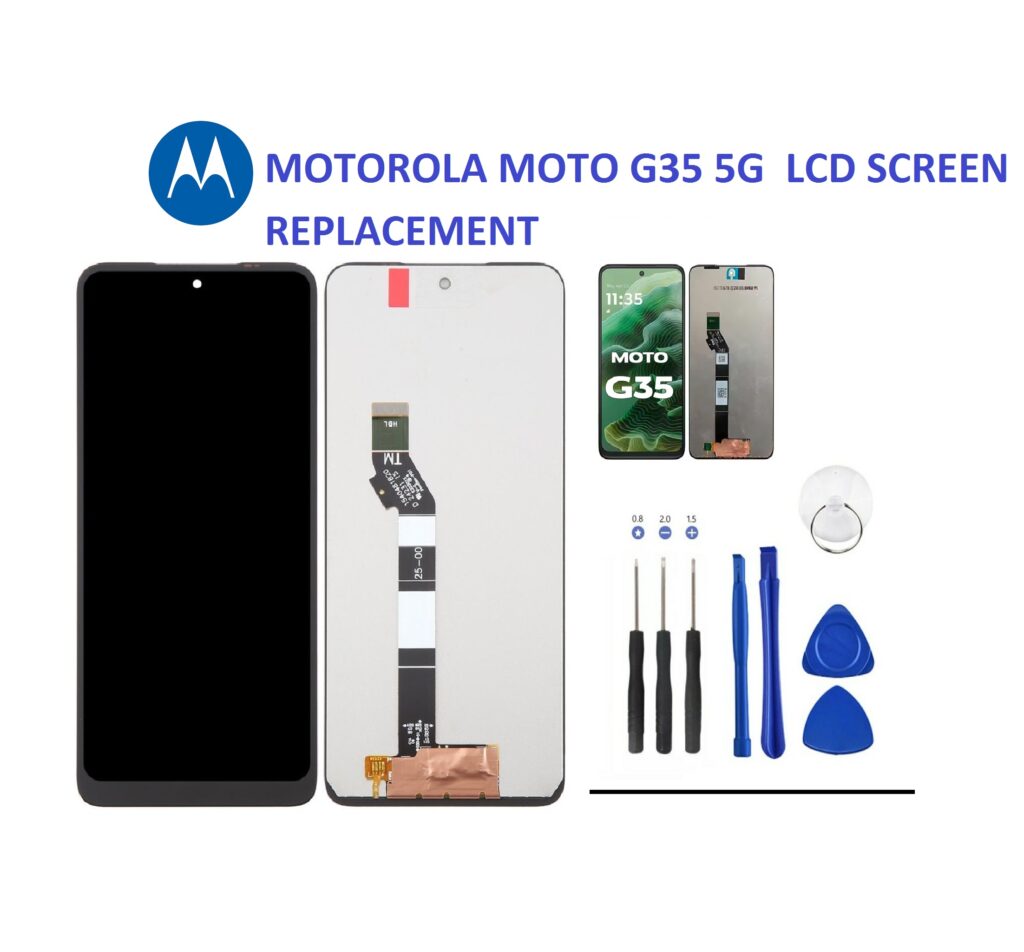
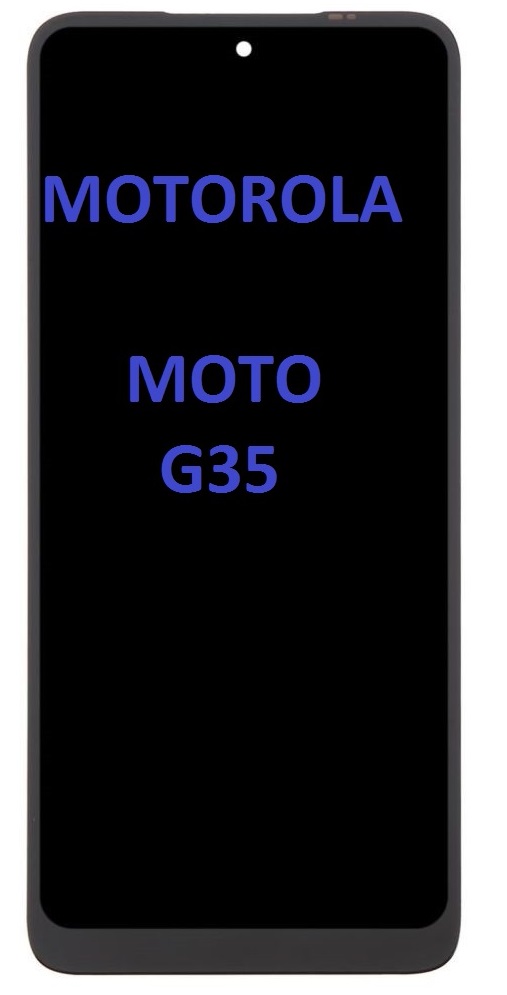
If you own a Moto G35 and are experiencing issues with the display such as unresponsive touch, cracks, or dead pixels replacing the LCD screen is often the most effective solution. In this blog post, we’ll walk you through the specifics of the original LCD replacement for the Moto G35, its compatibility, and the general steps for replacement.
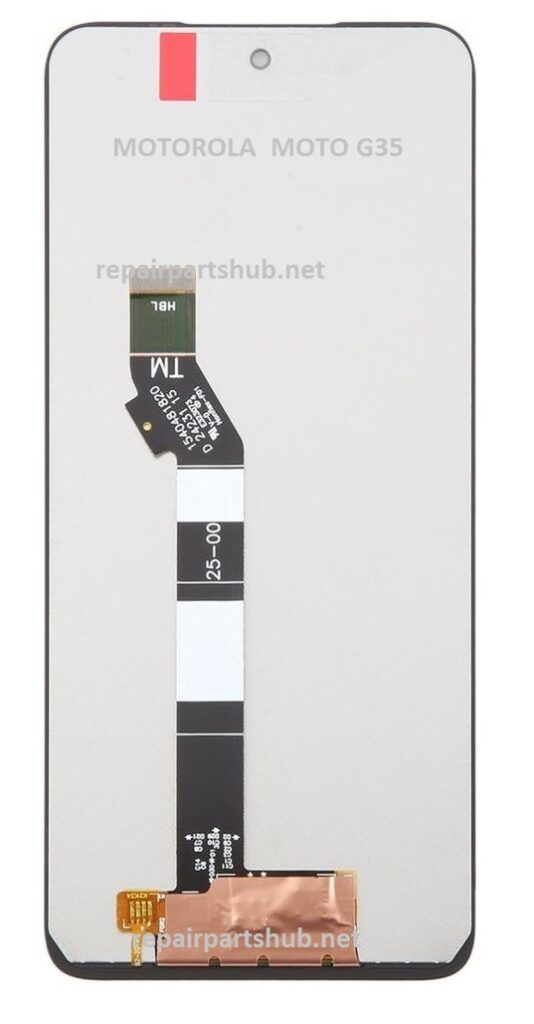
LCD Model Number: 5D68C28856
The original replacement LCD for the Moto G35 carries the part number 5D68C28856. This is the exact model used by Motorola’s service centers and is considered the OEM (Original Equipment Manufacturer) part, ensuring perfect fit, performance, and longevity.
Compatible Device: Moto G35 XT2433
The model number XT2433 refers to specific regional variants of the Moto G35 5G, typically released in 2024. The 5D68C28856 screen is compatible with XT2433-3 and XT2433-5 variants. Always confirm your phone’s model number (found in Settings > About Phone) before ordering the part.
Key Specifications of the LCD Screen
- Display Type: IPS LCD
- Screen Size: 6.72 inches
- Resolution: 1080 x 2400 pixels (~392 PPI)
- Refresh Rate: 120Hz
- Brightness: Peak 1000 nits
- HDR Support: HDR10
- Color: Black frame
- Includes: LCD + Touch Digitizer Assembly + Frame (in most OEM kits)
LCD Replacement Process (DIY Guide)
Replacing the Moto G35 screen is moderately difficult and is recommended for users with prior experience in phone repair. If not, visiting a certified technician is advised.
What You’ll Need:
- Replacement LCD (5D68C28856)
- Precision screwdriver set
- Plastic pry tools
- Suction cup
- Heat gun or hairdryer
- Adhesive tape or B-7000 glue
- ESD strap (optional, for safety)
Step-by-Step Replacement Process:
1. Power Off the Device
Turn off the Moto G35 completely and remove the SIM tray.
2. Heat and Remove Back Cover
Use a heat gun to gently warm the edges of the back cover to soften the adhesive. Use a suction cup and a plastic pry tool to lift and remove the back cover slowly.
3. Disconnect the Battery
Unscrew the protective shield over the battery connector and disconnect it. This is crucial for safety.
4. Disconnect Old LCD Assembly
Remove the screws securing the LCD and motherboard connectors. Gently disconnect the flex cables from the old screen.
5. Remove the Old LCD
If the screen is glued to the frame, use heat and a pry tool to carefully lift it off. Clean off any leftover adhesive.
6. Install the New LCD
Align the new LCD (5D68C28856) into place. Connect the flex cables to the motherboard. Test the screen before sealing everything back.
7. Reconnect Battery and Close
Once the screen is tested and working, reconnect the battery, screw down the shield, and seal the back cover using adhesive or clips.
Where to Buy the 5D68C28856 LCD
You can find the original Moto G35 LCD from:
- Motorola-authorized service centers
- Online electronics parts retailers (e.g., Spainsellers, Componenti Digitali)
Prices typically range around €30–40, depending on the seller and shipping.
Final Thoughts
Replacing your Moto G35 screen with the original 5D68C28856 LCD ensures you retain the vibrant display quality and responsive touch that Motorola intended. Whether you do it yourself or get help from a pro, always choose OEM components for reliability and safety.
Have questions about the Moto G35 repair? Drop them in the comments below!