How widespread is it?
- Initially observed primarily on Moto G-series models like the G52, but similar OLED issues have emerged across other Motorola lines (Edge 30, G82
- Most documented cases originate in India or hot climates; Reddit users have noted that European or US users seem less affected.
Replacement policies & limitations
- Motorola typically offers one free screen replacement per device, even if it’s out of warranty, but only if there’s no physical or liquid damage confirmed by inspection.
- After that one-time replacement, customers must pay for subsequent repairs, even if the defect reappears 6-12 months later.
- Many users report that once the replacement screen fails, Motorola refuses further warranty coverage.
Extended Replacement Advice for G15 XT2521‑2 / XT2521‑5
Is OEM screen replacement still worthwhile?
Yes, genuine Motorola parts from authorized sellers offering a 12‑month warranty deliver factory-level display fidelity, responsiveness, and brightness matching your original phone.
Risks you should accept:
- The green/pink line defect may appear again, even on genuine screens.
- That risk increases if your phone was manufactured or shipped to hot regions.
- Once your one-time service replacement is used (or if there’s any physical damage), you’re likely responsible for costs thereafter.
Best Practices for Installation
- Source with frame OEM assemblies if doing a DIY repair; they simplify fit and reduce risk of bending connectors too far.
- Before fully adhering, test the new screen by connecting the flex cable and powering on check for display and touch function before sealing.
- Handle flex cables carefully avoid bending them beyond 90° and use proper statically safe tools.
Effect of OEM screen
| Factor Recommendation Effect OEM Screen Quality High factory-standard performance with authorized replacements available Reusable Warranty One complimentary replacement possible, subject to no physical liquid damage Recurrence Risk Possible defect often returns after months or after first replacement Geographic Influence Most cases reported in warm regions like India; less common in Europe & US DIY vs Professional Frame‑included OEM parts recommended for DIY, professional service safer. |
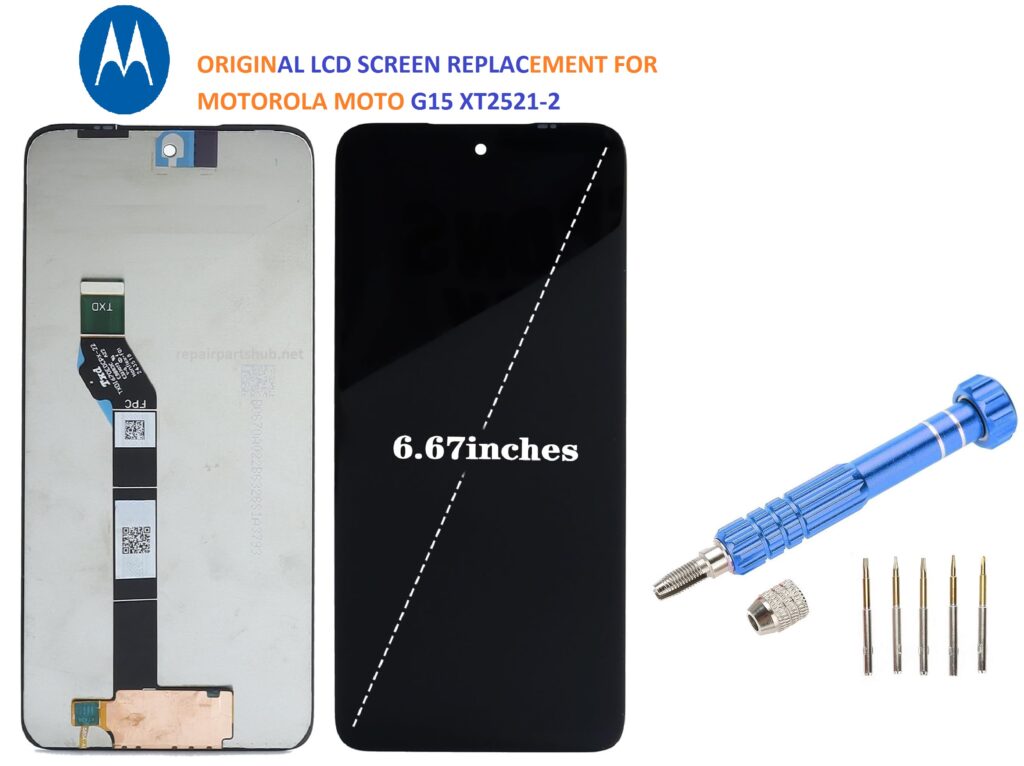
Motorola MOTO G15 (XT2521‑2) LCD Screen Replacement Guide: Tools, Steps & Tips
If you’ve cracked your Motorola MOTO G15 (XT2521‑2) screen or your display is unresponsive, you’re not alone. Fortunately, with the right tools and a little patience, you can replace the LCD and digitizer assembly yourself. In this guide, we’ll walk you through the full process from tools needed to a successful screen replacement.
About the Motorola MOTO G15 (XT2521‑2)
The Motorola MOTO G15 is a reliable mid-range Android smartphone with a 6.5-inch HD+ LCD display, Snapdragon processor, and a solid battery life. While durable, its screen is still vulnerable to cracks, dead pixels, and touch issues due to accidental drops or pressure.
Tools and Materials Needed
To safely replace the LCD screen on your Moto G15, you’ll need the following tools:
Tools:
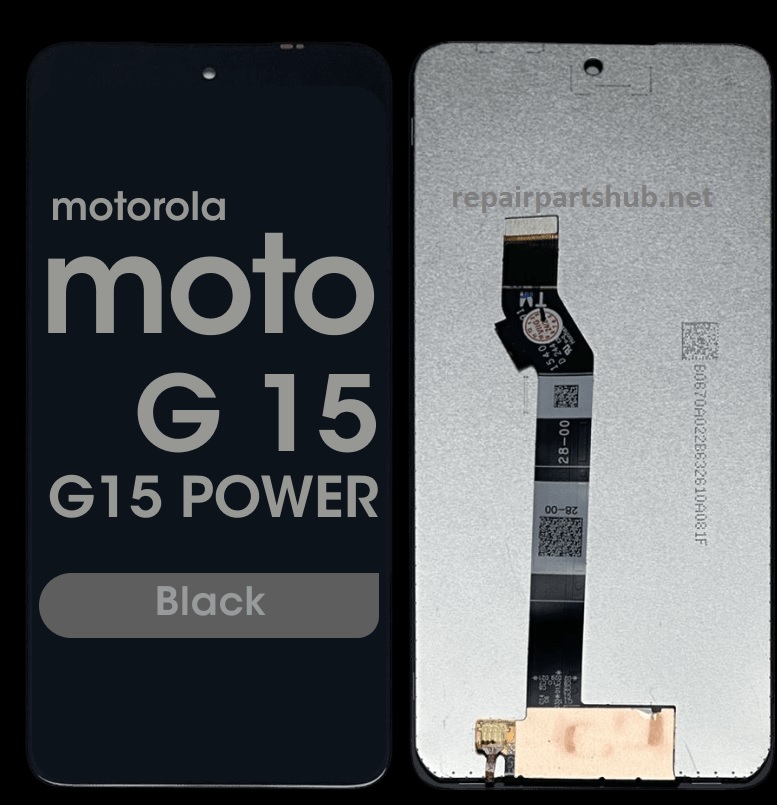
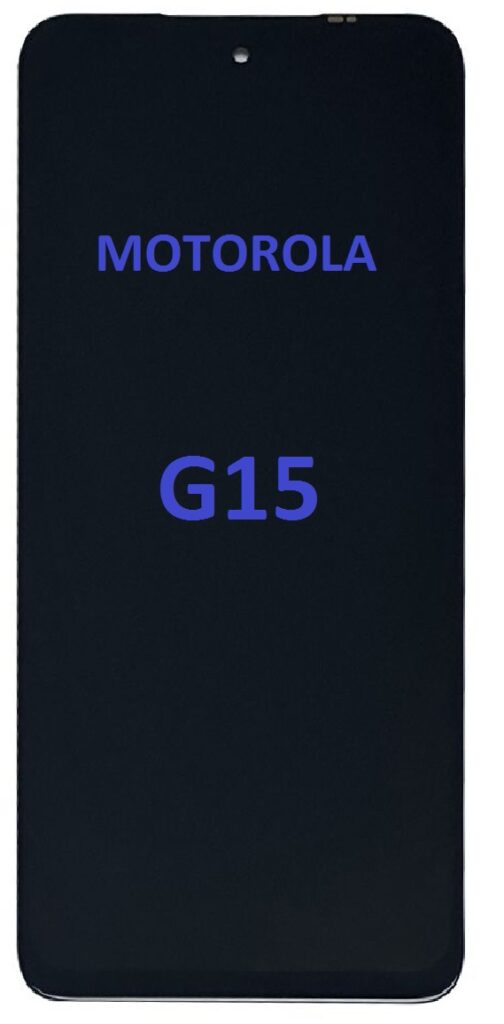
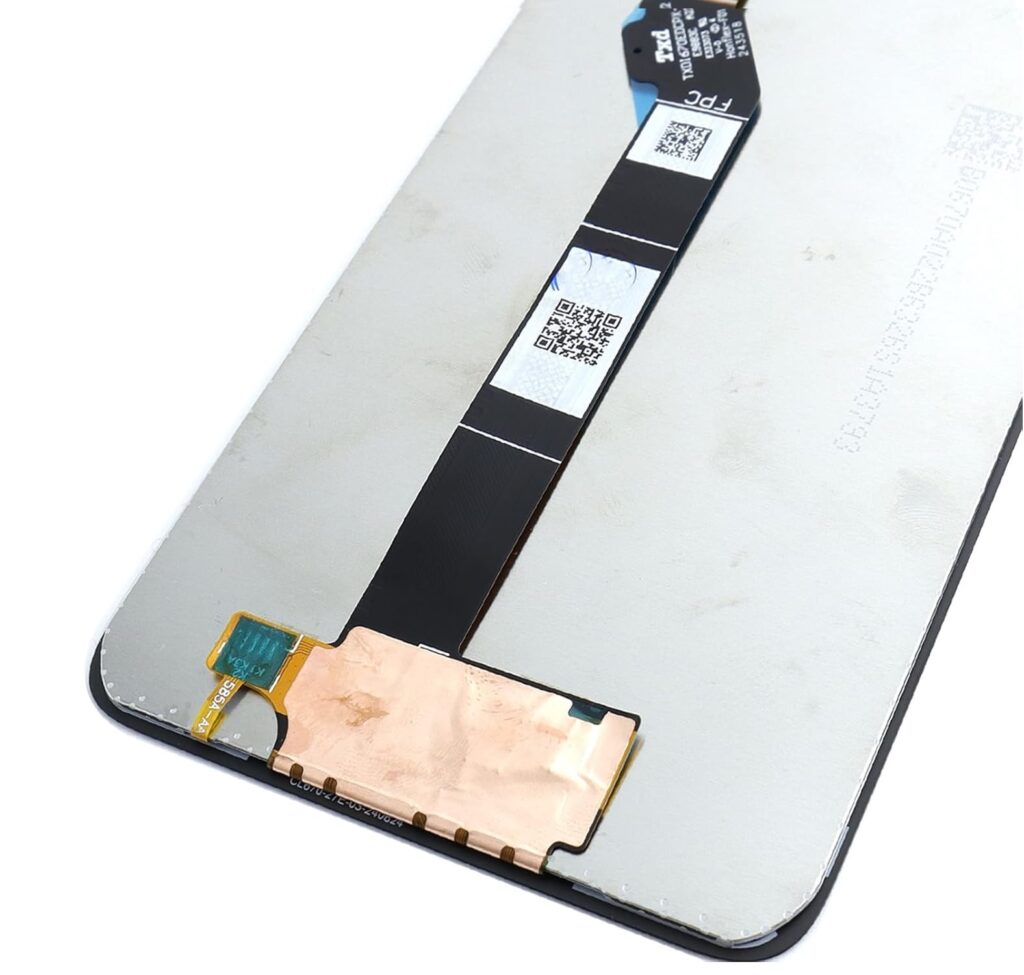
- New LCD + digitizer assembly (compatible with XT2521‑2)
- Precision screwdriver set
- Plastic opening tools or guitar picks
- Suction cup
- Plastic spudger
- Tweezers
- SIM card ejector tool
- Isopropyl alcohol (90% or higher)
- Microfiber cloth
- Heat gun or hairdryer
- Adhesive tape or LCD screen glue (B-7000 or T-7000)
Step-by-Step Replacement Process
Step 1: Power Off and Eject SIM Tray
- Power off your Moto G15 completely.
- Use a SIM ejector tool to remove the SIM card tray. This ensures no damage during disassembly.
Step 2: Loosen the Back Cover
- Heat the back of the phone gently using a heat gun or hairdryer. Focus on the edges to soften the adhesive.
- Use a suction cup to lift the back cover slightly and insert a plastic opening pick to separate the cover from the frame.
- Gently work your way around the phone to detach the entire back cover. Be patient don’t force it.
Step 3: Disconnect the Battery
- Remove all screws securing the mid-frame using a precision Phillips screwdriver.
- Carefully lift the mid-frame to access the motherboard.
- Use a plastic spudger to disconnect the battery connector to avoid any electrical shorts.
Step 4: Disconnect the Screen
- Locate and disconnect the LCD screen flex cable from the motherboard.
- If the replacement screen includes a pre-attached frame, you can skip removing the screen manually.
- If not, proceed to remove the broken screen.
Step 5: Remove the Broken Screen
- Apply heat around the edges of the front screen to soften the adhesive.
- Use a suction cup and opening pick to lift the damaged screen gently.
- Carefully pry off the screen without damaging the internals.
- Clean off any remaining adhesive with isopropyl alcohol and a microfiber cloth.
Step 6: Install the New Screen
- Align the new LCD screen with the phone frame.
- Connect the screen flex cable to the motherboard.
- If using adhesive, apply it around the edges of the frame. Ensure even coverage.
- Gently press the screen into place and let it cure (if using glue like B-7000/T-7000).
Step 7: Reconnect the Battery and Reassemble
- Reconnect the battery connector.
- Reattach the mid-frame and secure it with screws.
- Snap the back cover in place reapply adhesive if necessary.
- Insert the SIM tray.
Final Testing
Before completing the repair:
- Power on the phone and check display clarity.
- Test the touch sensitivity.
- Ensure there are no dead spots or flickering.
- Verify camera, fingerprint sensor, and charging function if affected.
Pro Tips for Success
- Use only original or high-quality replacement parts to avoid compatibility issues.
- Keep screws organized they may vary in length.
- Avoid using metal tools near the battery to prevent puncturing or short circuits.
- If you’re nervous about doing it yourself, consider professional repair to avoid voiding warranties.
Where to Buy Parts
You can find replacement screens and repair kits for the Moto G15 on:
- Amazon
- Repairpartshun.net
Make sure the part number XT2521‑2 matches exactly to ensure compatibility.
Observation
Replacing the LCD screen of your Motorola MOTO G15 (XT2521‑2) can save you money and extend the life of your device. With patience, proper tools, and this step-by-step guide, you’ll be able to restore your phone to full functionality. Always work in a clean, well-lit space and handle internal components with care.
Have any questions or need help finding parts? Drop them in the comments or contact our repair team!
Absolutely Let’s dive deeper into the blog post with more clarity, explanations, and helpful visuals for readers who might be new to phone repairs. I’ll expand on key sections so even beginners can understand and follow the process with confidence.
Complete Guide: Replacing the LCD Screen of Motorola MOTO G15 (XT2521‑2)
Cracked screen? No display? Ghost touches? These are all signs that your Motorola MOTO G15 (XT2521‑2) LCD screen may need replacing. Whether you’re a technician or a DIY enthusiast, this expanded guide will walk you through everything you need to perform a successful LCD plus digitizer replacement.
Understanding the Problem
The LCD screen and digitizer are often fused together. Here’s what might be wrong:
- Cracked screen: Visible cracks or shattered glass.
- No display: The screen stays black but the phone vibrates or makes sounds.
- Touch not working: The screen lights up but doesn’t respond to touch.
- Lines or discoloration: Caused by internal damage to the LCD.
If you experience any of these, a screen replacement is likely necessary.
Tools and Parts Explained
Before starting, let’s look closely at each item and its purpose:
| TOOL | PURPOSE |
| Replacement LCD screen + digitizer | Core component being replaced |
| Precision screwdriver set | For removing internal screws |
| Suction cup | To gently lift the screen or back cover |
| Plastic spudger opening tools | To open the phone without damaging components |
| Heat gun or hair dryer | To loosen adhesive under the screen and back panel |
| Isopropyl alcohol (90%+) | To clean leftover glue or residue |
| SIM ejector pin | To remove SIM tray (first step in teardown) |
| Tweezers | For handling small cables or screws |
| Microfiber cloth | For cleaning before reassembly |
| B-7000 T-7000 glue or double-sided tape | For re-sealing the screen or back cover |
Pro Tip
When buying the replacement screen, match your model exactly: Motorola MOTO G15, XT2521‑2. Mismatched parts won’t work or may cause display issues.
Step by Step: Full Screen Replacement Process
Let’s go step by step, with detailed explanations:
1. Power Down & Remove SIM Tray
- Turn off the phone to prevent short circuits.
- Use the SIM ejector tool to remove the SIM card tray. This step is often overlooked but essential for full disassembly.
2. Loosen the Back Cover
- Use a heat gun or hairdryer on medium heat to warm up the edges of the back panel for 1-2 minutes.
- Gently lift the back using a suction cup, then insert a plastic pick.
- Work your way around slowly avoid using metal tools that could scratch or puncture components.
Watch for the fingerprint sensor cable attached to the back cover. It may need to be disconnected before fully removing the cover.
3. Remove Midframe and Disconnect Battery
- Remove all visible screws from the midframe (typically 10plus screws).
- Use a plastic spudger to lift off the plastic shield that protects the motherboard.
- Carefully disconnect the battery first – always disconnect power before touching other components.
4. Disconnect the Screen Cables
- Find the LCD flex cable and digitizer connector.
- Gently lift the latch or use tweezers to unplug them.
- If your new screen comes with a frame, jump ahead to Step 6. If not, continue to remove the old display.
5. Remove the Broken Screen
- Apply heat again to the front of the screen this melts the adhesive.
- Use the suction cup and pick to gently separate the screen from the frame.
- Go slowly, especially around the edges where the flex cable passes through.
Clean the frame thoroughly with alcohol and microfiber to remove glue residue. A clean surface ensures the new screen fits perfectly.
6. Install the New LCD Screen
- Align the new screen over the frame. Ensure the flex cables fit properly through the cutouts.
- Apply adhesive around the edges B-7000 or pre-cut double-sided tape.
- Press down gently but firmly for 5-10 minutes or clamp it lightly while it cures.
7. Reconnect Components
- Plug in the new screen connector and digitizer cable.
- Reconnect the battery cable last.
- Replace the midframe shield and tighten all screws.
8. Reattach the Back Cover
- If the back cover adhesive is still tacky, you can reuse it.
- Otherwise, apply new adhesive or glue.
- Press the back cover in place until it’s secure.
Post-Repair Testing Checklist
After reassembly, test everything carefully:
- Screen display (brightness, colors, resolution)
- Touch sensitivity across all areas
- Front and rear cameras
- Charging port and speaker
- Fingerprint sensor (if present)
- Volume and power buttons
Final Thoughts & Expert Advice
Replacing the screen of your Motorola MOTO G15 (XT2521‑2) can seem daunting, but with patience and careful handling, it’s achievable even for beginners. If you’re not confident, you can always take the parts to a local technician with the guide.
Best Practices:
- Work in a dust-free, clean environment.
- Keep screws organized using a magnetic mat or tray.
- Don’t rush the heating or separation process this is where most mistakes happen.
- Always test the new screen before gluing it down permanently.
Summary
| Step Action 1 Power off and remove SIM tray 2 Heat and remove back cover 3 Unscrew and disconnect battery 4 Disconnect screen and remove broken LCD 5 Clean and install new screen 6 Reconnect everything and test 7 Reseal back cover and final test |