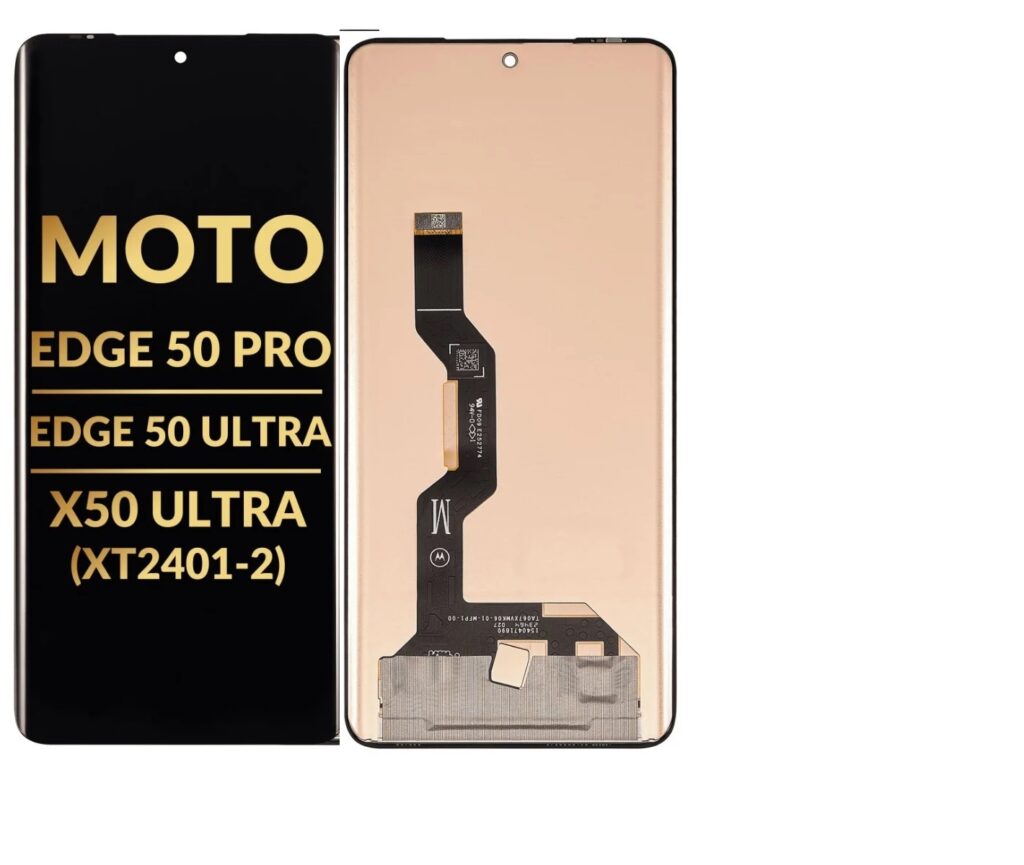
The Motorola Moto Edge 50 Pro / Edge 50 Ultra / X50 Ultra (XT2401-2) features a 6.67-inch OLED display with a resolution of 2400 x 1080 pixels. This screen size is typical for modern flagship smartphones, offering a high-quality viewing experience.
LCD/Screen Replacement Process
Replacing the screen of a Moto Edge 50 Pro / Edge 50 Ultra involves several critical steps. However, note that these devices use OLED technology, so if you’re looking for a replacement, ensure you get the correct OLED display rather than an LCD. Here’s a general outline of the screen replacement process for the Motorola Moto Edge 50 series:
Tools and Equipment Required:
- Replacement OLED screen
- Precision screwdriver set
- Plastic pry tools (to avoid damaging the device)
- Heat gun or hair dryer (to soften adhesive)
- Suction cup tool
- SIM card ejector tool
- Isopropyl alcohol (for cleaning)
- Antistatic wristband (to avoid electrostatic discharge)
Step-by-Step Process:
- Power off the Device:
- Ensure the phone is completely powered off before starting the replacement to avoid electrical damage.
- Remove SIM Tray:
- Use a SIM card ejector tool to remove the SIM tray and microSD card if applicable.
- Heat the Edges:
- Use a heat gun or hair dryer to soften the adhesive holding the screen in place. Apply heat to the edges of the phone for about 1-2 minutes, focusing on the screen’s frame.
- Pry Open the Device:
- Use a plastic pry tool to carefully detach the back cover or the front screen. Begin at one corner and work around the phone. Be cautious, as applying too much force can crack the glass.
- Disconnect the Battery:
- Once the back or screen is removed, locate the battery connector and disconnect it to prevent power from flowing while you work.
- Remove the Broken Screen:
- Carefully detach the broken screen from the frame by removing any screws holding it in place. Depending on the phone design, you may need to undo clips or screws around the edges.
- Clean the Frame:
- Once the broken screen is removed, clean the frame area thoroughly using isopropyl alcohol to remove any old adhesive and debris. This ensures the new screen adheres properly.
- Install the New Screen:
- Place the new OLED screen in position, aligning it with the phone’s frame. Press it gently into place.
- Reattach any screws or connectors you had removed earlier.
- Reconnect the Battery:
- Reconnect the battery to its connector once the new screen is securely in place.
- Test the New Screen:
- Before fully assembling the phone, power it on to check that the new screen is functioning properly. Verify touch responsiveness, brightness, and other features.
- Reassemble the Device:
- If the screen works as expected, carefully replace the back cover or re-adhere the front screen.
- Reinsert the SIM tray.
- If the screen works as expected, carefully replace the back cover or re-adhere the front screen.
- Final Power On:
- Once everything is securely assembled, power the phone back on and test it for any issues.
Important Notes:
- Professional Help: If you’re not experienced with phone repairs, it’s recommended to seek professional assistance, as improper handling can lead to further damage.
- Warranty Considerations: Replacing the screen yourself may void the warranty if applicable.
- Quality of Replacement Parts: Always use high-quality replacement parts to ensure the performance and longevity of your device. It’s best to purchase replacement screens from reliable sources.
By following these steps carefully, you should be able to replace the screen on your Motorola Moto Edge 50 series device.