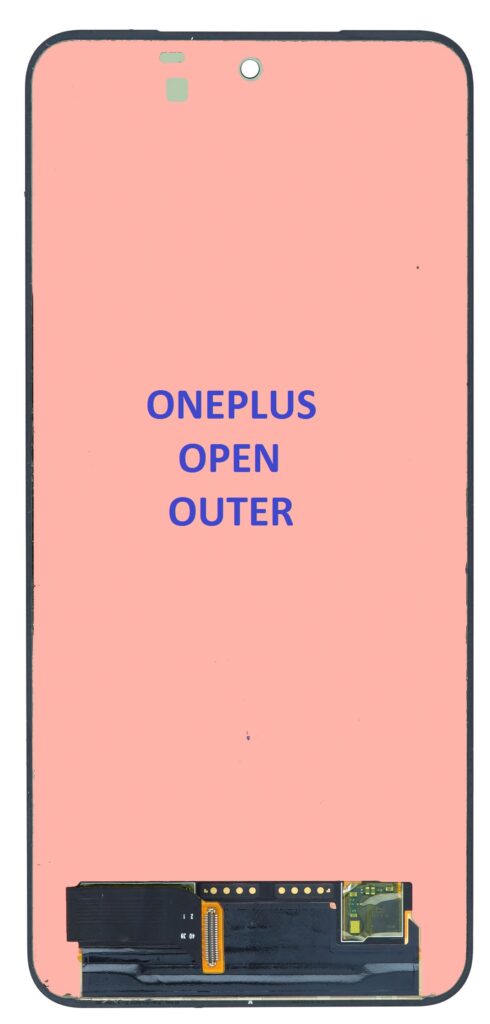
Replacing the LCD assembly without the frame for a OnePlus Open Outer (or any similar device) requires careful steps to ensure proper installation and function. Below, I’ll explain the screen description and the replacement process:
Screen Description:
- LCD Assembly Without Frame: The LCD assembly includes the display (LCD panel) and other integrated components like digitizers, touch sensors, and internal connectors but without the external frame that usually holds the screen in place. This is typically a cost-effective replacement option, but it requires careful handling to avoid damaging other parts of the device.
- Display Type: The OnePlus Open Outer likely uses an AMOLED or OLED screen with high resolution and touch sensitivity, meaning it also has an integrated digitizer.
- Components: The assembly will include:
- LCD Display (AMOLED or OLED)
- Digitizer (touch input sensor)
- Internal Connectors for the motherboard (flex cables)
- Adhesive for mounting
- Screen Size: Check the screen size of the device to ensure compatibility.
Replacement Process:
Tools Needed:
- Heat Gun or Heating Pad: To loosen adhesive and safely separate the screen.
- Plastic Pry Tools: To open the device without damaging the components.
- Suction Cup Tool: To safely lift the screen.
- Tweezers: For handling small parts.
- Precision Screwdrivers: To remove screws if necessary.
- Adhesive: To attach the new LCD assembly properly.
Step-by-Step Replacement Process:

- Power off the Device:
- Ensure the device is completely powered off before starting the repair to avoid electrical shock or damage.
- Remove Back Cover:
- If the back cover is still in place, use a heat gun to soften the adhesive. Apply heat to the edges for around 1-2 minutes.
- Use a suction cup tool to create a gap and then carefully insert a plastic pry tool to separate the back cover from the rest of the phone. Work slowly to avoid damaging internal components.
- Disconnect the Battery:
- Once the back cover is removed, locate the battery connector. Disconnect it to prevent any power from running through the device during the repair process.
- Remove the Old LCD Assembly:
- The LCD assembly might be glued onto the frame or internal components with strong adhesive. Use a heat gun to soften the adhesive.
- After heating, use a suction cup to lift the screen slightly and then insert a plastic pry tool or a blade to carefully separate the screen from the body of the device. Be gentle to avoid cracking the display.
- Disconnect the LCD Assembly:
- Once the screen is separated, locate the flex cable connectors that connect the LCD assembly to the motherboard. Carefully use tweezers to disconnect these cables.
- Clean the Adhesive Area:
- After removing the old assembly, clean the area where the new screen will be attached. Use isopropyl alcohol and a microfiber cloth to clean off any adhesive residue and dirt.
- Install the New LCD Assembly:
- Take the new LCD assembly without the frame and align it with the device, ensuring all connectors are in the correct position.
- Connect the flex cables to the motherboard carefully. Double-check the alignment of the connectors to make sure the screen functions properly once powered on.
- Reapply Adhesive:
- If the screen assembly came with adhesive strips, apply them to the edges. Otherwise, you can use double-sided adhesive or screen adhesive gel.
- Press the screen firmly into place, ensuring it adheres properly and no air bubbles are trapped.
- Reconnect the Battery:
- Reconnect the battery connector.
- Test the Device:
- Before sealing the device, power it on to ensure the display works correctly. Check the touch functionality, display quality, and responsiveness of the screen.
- Reassemble the Device:
- Once the screen is working properly, reassemble the device by reconnecting the back cover or frame. Press it securely into place, ensuring no gaps or misalignments.
- Final Testing:
- Power on the device and test all functionalities again (e.g., touch sensitivity, brightness, colors, and any other features).
- Make sure that the new LCD assembly is firmly attached and aligned.
Key Tips:
- Patience is crucial: Handle everything with care to avoid damaging delicate components.
- Use high-quality adhesive: Poor adhesive can lead to screen detachment.
- Heat control: Ensure not to overheat the device as it could damage internal components.
- Check Compatibility: Double-check that the LCD assembly is compatible with your specific model of the OnePlus Open Outer.
If you’re not experienced with repairs, seeking professional help or guidance from certified technicians can be a safer alternative.