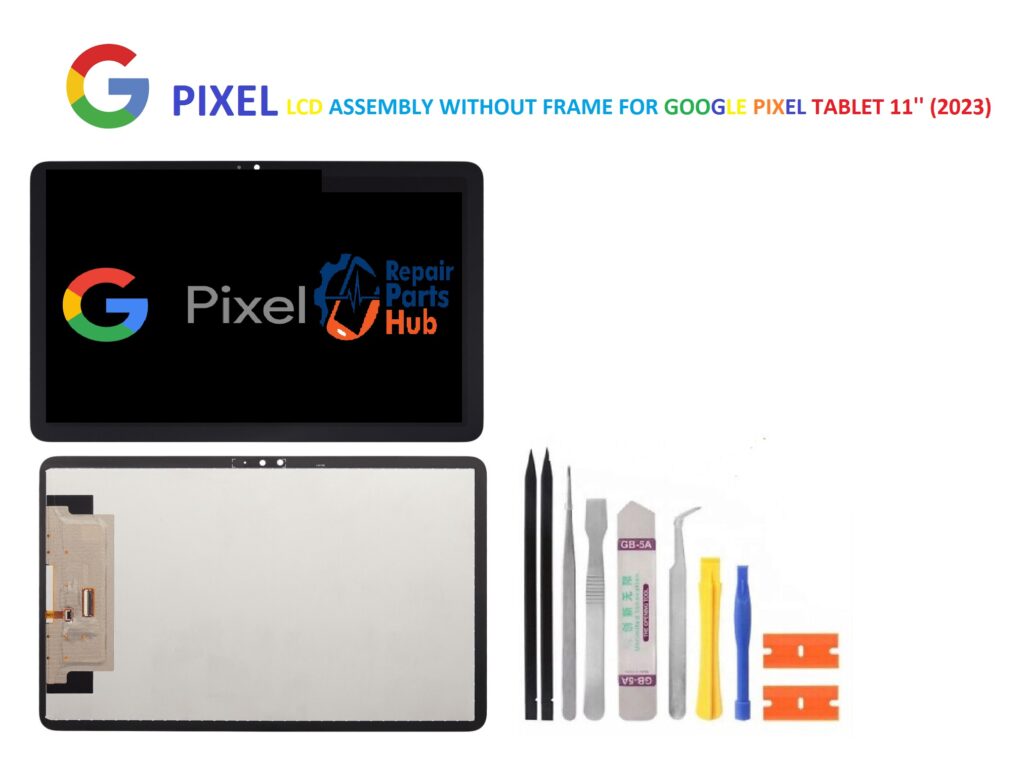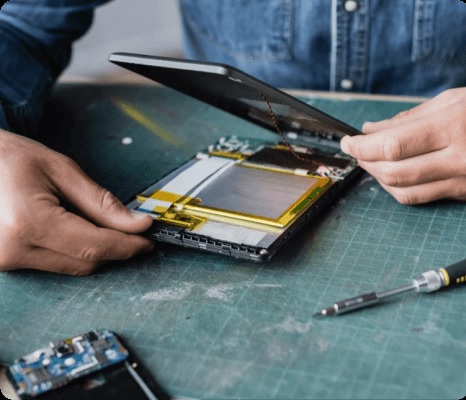
The Google Pixel Tablet 11” (2023) has quickly become a beloved device for its sleek design, impressive performance, and high-resolution display. Whether you’re using it for media consumption, productivity, or entertainment, the Pixel Tablet’s display is one of its standout features. However, like any advanced piece of technology, the tablet is susceptible to wear and tear, and one of the most common issues that users face is a cracked or damaged screen. For repair professionals and DIY enthusiasts alike, knowing how to replace the LCD assembly without the frame is an essential skill.
In this blog post, we’ll break down everything you need to know about LCD assembly without frame replacements for the Google Pixel Tablet 11” (2023), including what the process entails, what tools are required, and some tips to ensure a smooth repair.
What is an LCD Assembly Without Frame?
When we talk about an “LCD assembly without frame,” we refer to the replacement of just the LCD panel and related components—such as the digitizer and touchscreen layer—without the additional metal frame that typically holds the entire screen together. For devices like the Pixel Tablet 11” (2023), this approach allows repair specialists to replace just the damaged display without having to replace the entire frame and housing.
Why might this be beneficial? Well, the frame is often not the source of the damage. Replacing the frame along with the display increases the cost and time needed for the repair. If the frame is still in good condition, focusing only on the LCD assembly allows for a quicker, more cost-effective repair.
Why Choose LCD Assembly Without Frame for the Google Pixel Tablet 11” (2023)?
1. Cost-Effective Repair Option
Replacing just the LCD without the frame can be significantly cheaper than replacing the entire assembly. If your frame remains intact and undamaged, opting for the LCD assembly alone can save you both money and time. This is especially useful for those who want to extend the life of their device without spending too much on repairs.
2. Faster Repair Process
The process of replacing the LCD without the frame typically involves fewer steps compared to replacing the entire assembly with the frame. This means that your device can be up and running again much faster, which is ideal for those who rely on their tablet for daily tasks.
3. Environmental Impact
Opting for the “no-frame” repair option is also a more environmentally friendly choice. By reusing the existing frame, fewer materials are discarded, which reduces electronic waste. For eco-conscious consumers, this is an appealing option.
Tools and Equipment Needed
Before diving into the repair process, make sure you have all the necessary tools and equipment. While the tools required for replacing the LCD assembly without the frame are relatively standard, having high-quality equipment ensures that the repair goes smoothly and safely.
Here’s a list of tools you’ll need:
- Pentalobe Screwdriver: Essential for removing screws without damaging the housing.
- Plastic Pry Tools: Used to detach the LCD assembly from the frame without damaging the internal components.
- Suction Cup Tool: Helps lift the screen gently from the device’s body.
- Tweezers: For handling small components like connectors and cables.
- Heat Gun or iOpener: Used to soften the adhesive and make screen removal easier.
- SIM Card Ejector Tool: In case you need to remove any SIM card trays or SD card holders.
- Microfiber Cloth: To clean any fingerprints or dust from the screen and frame during assembly.
- Replacement LCD Assembly Without Frame: The primary component for the repair.
Step-by-Step Guide: Replacing the LCD Assembly Without Frame

Step 1: Power Down the Device
Before starting any repair, ensure that your Google Pixel Tablet is powered off. Remove any cases or accessories to gain full access to the tablet’s surface.
Step 2: Remove the Back Cover
Use a pentalobe screwdriver to carefully remove screws securing the back cover. Some models may require you to remove SIM card trays or SD card holders, so make sure to do this if applicable.
Once all screws are removed, use a plastic pry tool or suction cup to gently lift the back cover. Take care not to damage the internal components during this process.
Step 3: Heat the Screen (Optional)
Using a heat gun or iOpener, apply gentle heat to the edges of the screen. This will soften the adhesive holding the LCD in place, making it easier to remove the display without damaging the components. Be cautious not to overheat the device to avoid damaging the internal parts.
Step 4: Detach the LCD Assembly
Once the adhesive has been softened, carefully insert a plastic pry tool between the LCD panel and the frame. Gently work your way around the edges to detach the LCD assembly. If you encounter resistance, apply a little more heat and proceed slowly.
Step 5: Disconnect the Cables
Once the LCD is loose, you’ll need to disconnect any ribbon cables or connectors. Use tweezers to carefully detach these cables from the motherboard. Take extra care to avoid tearing any connectors, as these can be fragile.
Step 6: Clean the Frame
With the old LCD removed, take a microfiber cloth and wipe down the frame and surrounding areas to remove any dust, adhesive residue, or fingerprints. This is an important step to ensure that the new LCD will adhere properly.
Step 7: Install the New LCD Assembly
Align the new LCD assembly with the frame and gently press it into place. Make sure that all connectors are properly aligned before reconnecting the cables. Once everything is secure, press the LCD into the frame and ensure it is firmly in place.
Step 8: Reassemble the Tablet
Once the new LCD is securely attached, reassemble the tablet by reversing the steps you took to remove the back cover. Reinsert the screws and ensure that the device is properly sealed.
Step 9: Power On and Test
Power on the device to ensure that the new LCD is functioning correctly. Test the touch functionality, screen brightness, and overall display to verify that everything is working as expected.
Tips for a Successful LCD Assembly Replacement

- Patience is Key: Replacing the LCD without the frame requires careful handling. Take your time and avoid rushing through the process.
- Quality Replacement Parts: Always opt for high-quality replacement parts to ensure the best performance and longevity of your device.
- Work in a Dust-Free Environment: Dust and debris can easily get trapped under the new display, leading to unsightly marks. Work in a clean environment to minimize the risk of contamination.
- Check Warranty: If your tablet is still under warranty, check whether the warranty covers screen replacements. Sometimes opting for a DIY repair can void your warranty, so make sure to consider this before starting the process.
Conclusion
Replacing the LCD assembly without the frame on your Google Pixel Tablet 11” (2023) can be a rewarding and cost-effective repair solution, as long as you have the right tools and knowledge. With the right approach, you can restore your tablet to its former glory while saving time and money. Whether you’re a professional repair technician or a DIY enthusiast, this guide should help you through the process with confidence.
Have you ever replaced a screen or done a similar repair on your tablet? Drop a comment below and share your experience!