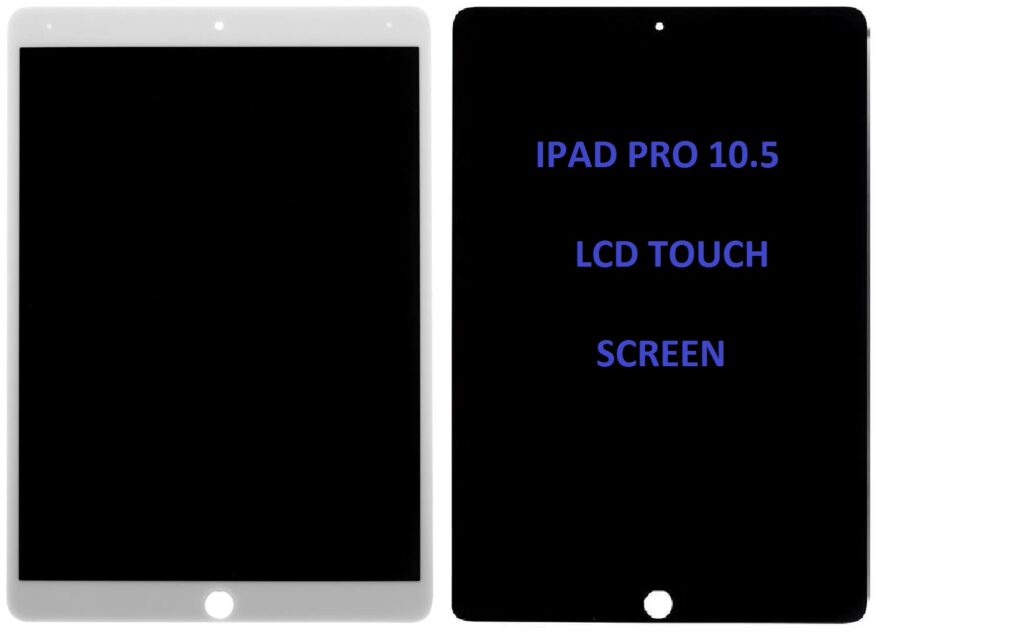
Replacing the LCD touch screen of an iPad Pro 10.5″ requires a certain level of technical skill. If you’re not experienced in electronics repair, it’s often best to seek professional help. However, if you are confident in your ability to carry out the replacement yourself, here’s a step-by-step guide to replace the LCD touch screen on an iPad Pro 10.5″:
Tools You’ll Need:
- Pentalobe screwdriver (P2)
- Phillips screwdriver (PH000)
- Spudger or plastic pry tools
- Suction cup tool
- Tweezers
- Heat gun or hair dryer
- iPad screen replacement kit (this usually includes adhesive strips and replacement screen)
- SIM card ejector (optional)
Steps for Replacing the iPad Pro 10.5″ LCD Touch Screen:
1. Power Off the iPad
Make sure the iPad is turned off to avoid damaging internal components or causing any electrical issues.
2. Remove the Screws
Use the Pentalobe screwdriver to remove the screws around the edge of the iPad. You’ll find them near the device’s edges (usually, there are screws near the corners).
3. Apply Heat to Loosen the Adhesive
If the screen is stuck, the adhesive holding it in place might need to be softened. Use a heat gun or hairdryer on low heat to gently heat the edges of the iPad for about 2-3 minutes. This will make the adhesive more pliable and easier to separate.
4. Remove the Old Screen (Using Suction Cup and Pry Tools)
- Attach a suction cup tool to the front of the screen (away from the home button).
- Gently pull up to create a small gap between the screen and the device’s body.
- Once there’s a gap, use a plastic spudger or pry tool to carefully separate the screen from the rest of the iPad. Work your way around the screen slowly, making sure you don’t damage any cables.
5. Disconnect the Battery
Once you have separated the screen, you will see internal components, including the battery. Before working further, disconnect the battery to avoid any accidental power-on or electrical shorts. This will involve unscrewing and removing a metal plate that covers the battery connector. After that, use a plastic tool to disconnect the battery cable.
6. Remove the LCD and Digitizer Cables
After disconnecting the battery, you will need to remove the connectors for the LCD display and digitizer (touch screen). These connectors are usually secured with screws and metal plates. Use your Phillips screwdriver to remove the screws securing the plates and then disconnect the cables gently with a spudger or plastic tool.
7. Remove the Old LCD Screen
Once the cables are disconnected, you can completely lift the old LCD and digitizer assembly out of the iPad.
8. Install the New LCD Screen
- Carefully place the new LCD screen into the frame of the iPad.
- Reconnect the LCD and digitizer cables to the motherboard.
- Secure them with their respective metal plates and screws.
9. Reconnect the Battery
After securing the LCD and digitizer cables, reconnect the battery to the motherboard. Ensure it’s properly connected.
10. Test the New Screen
Before closing up the device, power on the iPad and check the functionality of the new screen. Ensure the touch screen, display, and buttons work correctly. Test the touch functionality and make sure the screen is responding.
11. Close the iPad
- Once you’ve confirmed the new screen works, press the screen firmly back into place.
- Reinstall any screws and ensure that everything is aligned correctly.
- If the screen was previously stuck with adhesive, you might need new adhesive strips to hold the screen in place. Alternatively, you can use a thin double-sided adhesive.
12. Final Check
Do a final check to ensure everything is secured, all connectors are in place, and the iPad is functioning properly.
Conclusion:
Replacing the LCD touch screen on an iPad Pro 10.5″ requires patience and precision. If you’re not confident or don’t have experience with device repair, consider seeking professional help, as you risk damaging the device if done improperly. However, if you follow these steps carefully, you can successfully replace the screen.