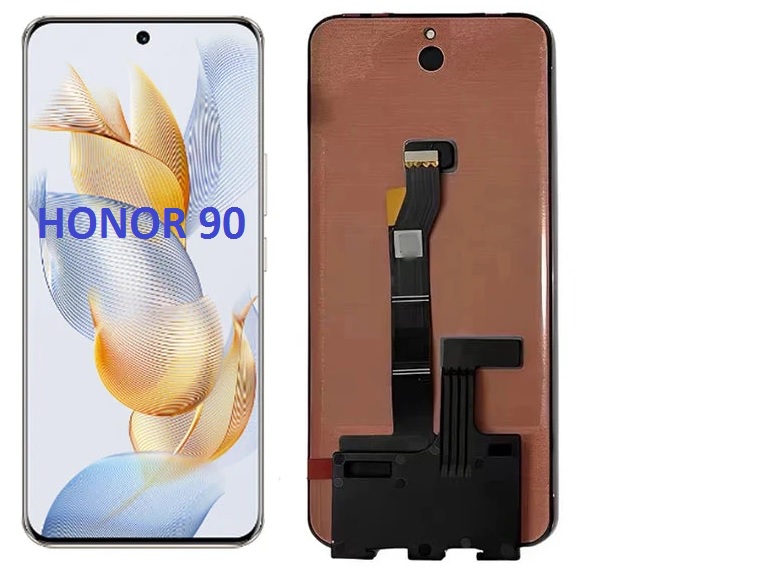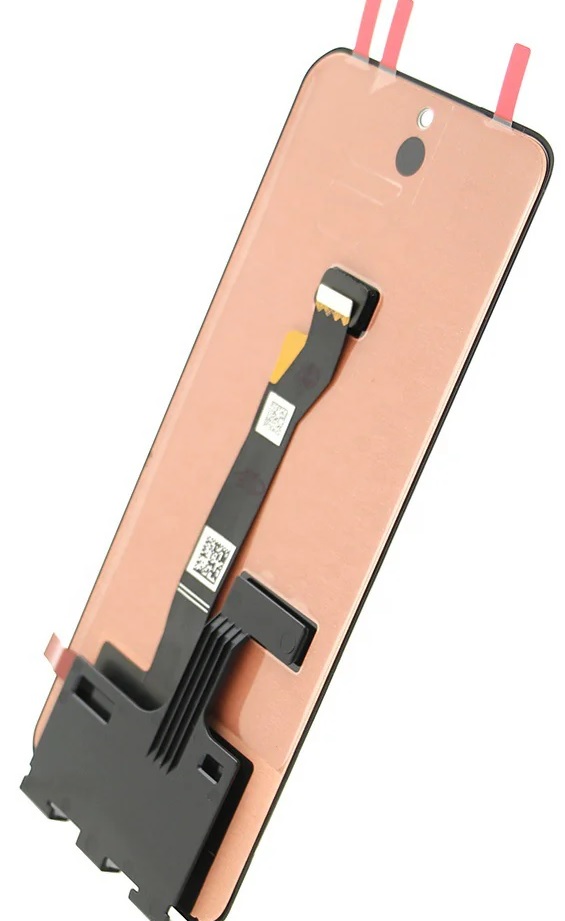
HUAWEI HONOR 90 Screen Description:
The HUAWEI Honor 90 features a high-quality display designed for vibrant visuals and smooth interactions. Here’s a breakdown of the screen’s features:
- Display Type: AMOLED
- Size: 6.7 inches
- Resolution: 2664 x 1200 pixels, with a pixel density of approximately 439 ppi (pixels per inch).
- Aspect Ratio: 19.9:9
- Refresh Rate: 120Hz, ensuring smooth scrolling and responsiveness.
- Brightness: Peak brightness up to 1200 nits, making it visible even in bright outdoor settings.
- HDR Support: Supports HDR10, providing an enhanced color and contrast experience.
- Protection: The display is protected by Corning Gorilla Glass, making it resistant to scratches and minor impacts.
- Curved Edges: The screen features slightly curved edges for a more premium look and feel.
Given these specifications, the screen offers sharp, bright visuals with vibrant colors, ideal for media consumption and general use.
Screen Replacement Process for HUAWEI HONOR 90:
If the screen of your HUAWEI Honor 90 gets damaged, here’s an outline of the screen replacement process. Keep in mind that this process requires technical skills, as disassembling a phone can void warranties or cause further damage if done incorrectly.
Tools Needed:
- Heat gun or hairdryer (for loosening adhesive)
- Plastic Pry Tools (to open the phone)
- Suction Cup Tool (to help with screen removal)
- Pentalobe screwdriver (for screws)
- Tweezers (for handling delicate parts)
- Replacement screen (make sure it is compatible with your model)
- Adhesive glue (for reattaching the screen if required)
Steps to Replace the Screen:

- Power Off the Device: Always power off your phone completely to avoid damaging internal components.
- Remove the Back Cover:
- Use a heat gun or a hairdryer to heat the edges of the back cover. This helps to soften the adhesive.
- Use a suction cup to lift the back cover gently.
- Carefully work around the edges with a plastic pry tool to remove the back cover.
- Disconnect the Battery:
- Once the back cover is removed, locate and disconnect the battery. This is crucial for your safety while working on the device.
- Remove Screws and Components:
- Use a pentalobe screwdriver to remove the screws securing the frame or any internal parts like the motherboard or cameras.
- Carefully disconnect any ribbon cables attached to the display.
- Heat the Front Screen:
- Apply heat to the front screen to soften the adhesive that holds it in place. You can use the heat gun or hairdryer.
- Use the suction cup to gently lift the screen. Work slowly and use the plastic pry tool to separate the screen from the phone’s body.
- Remove the Damaged Screen:
- Once the screen is loose, carefully remove it. Ensure you don’t damage any internal components.
- Install the New Screen:
- Align the new screen with the body of the phone.
- Carefully reconnect any ribbon cables, ensuring they are secured correctly.
- If the new screen requires adhesive, apply it around the edges or use the old adhesive if it’s still good.
- Reassemble the Phone:
- Once the new screen is installed, reassemble all the parts, including the screws and the back cover.
- Reconnect the battery.
- Power On:
- Power the phone on to ensure the screen works properly. Check for responsiveness, display clarity, and any possible defects.
- Test the Device:
- Test all functionalities of the phone, including touch sensitivity, brightness, and overall performance of the new screen.
Important Tips:
- Back Up Data: Before attempting repairs, back up all your data to avoid loss during the process.
- OEM Parts: Use original parts to ensure compatibility and avoid potential issues.
- Professional Help: If you’re unsure or not experienced with phone repairs, it’s recommended to take the device to a professional technician or an authorized service center.
If you’re doing this at home, take extra care while handling delicate internal components like ribbon cables, as they can be easily damaged.