The Sony Xperia 1 V is a flagship device, known for its stunning 4K OLED display, powerful camera system, and smooth performance. However, even with top-tier protection, accidents happen, and you may find yourself with a cracked or malfunctioning screen. Fortunately, replacing the LCD touch screen digitizer on the Sony Xperia 1 V (Models: XQDQ62/B, XQ-DQ72, XQ-DQ54) is possible with the right tools and a little patience.
In this guide, we’ll walk you through the process of replacing the screen, covering everything from the tools you’ll need to detailed step-by-step instructions. By the end, you’ll be able to restore your Xperia 1 V to its former glory without needing to visit an expensive repair shop!
Why Replace the Screen on Your Sony Xperia 1 V?
Replacing the screen on your Xperia 1 V can seem intimidating, but there are several good reasons why you might choose to do it yourself:
- Cost Savings: Professional repair services can be expensive, and DIY repairs are typically more affordable.
- Preserving Your Data: If your phone is still working but the screen is cracked or unresponsive, replacing the screen allows you to keep your data intact and avoid a factory reset.
- Customization: Fixing your phone yourself can be a satisfying DIY project and gives you full control over the process.
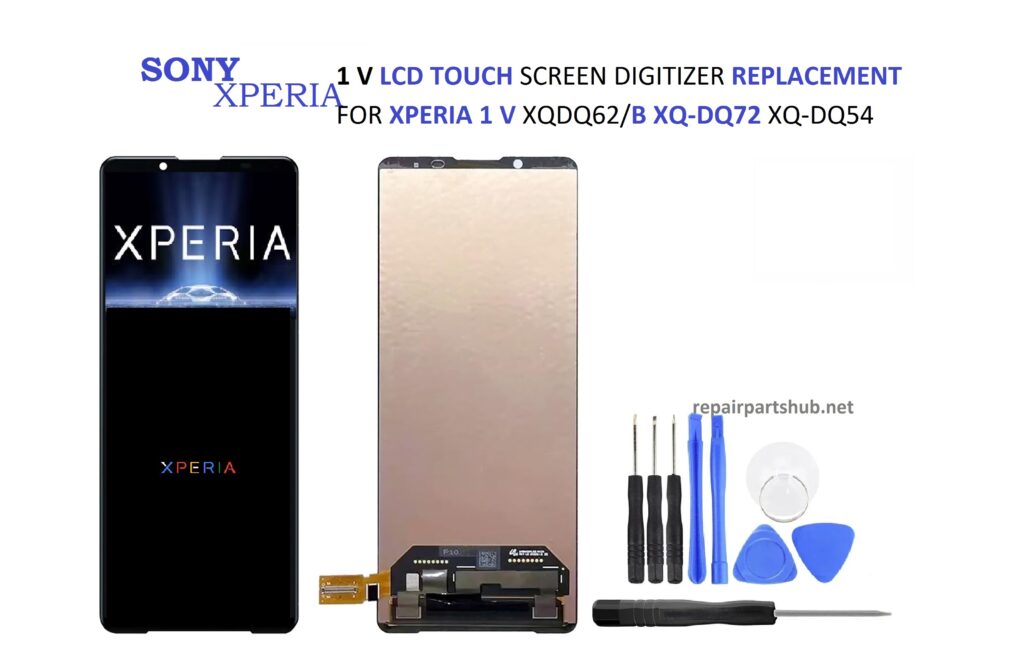
What’s Included in the Sony Xperia 1 V Screen Replacement Kit?
When you order a Sony Xperia 1 V LCD Touch Screen Digitizer Replacement Kit, you’ll typically receive the following components:
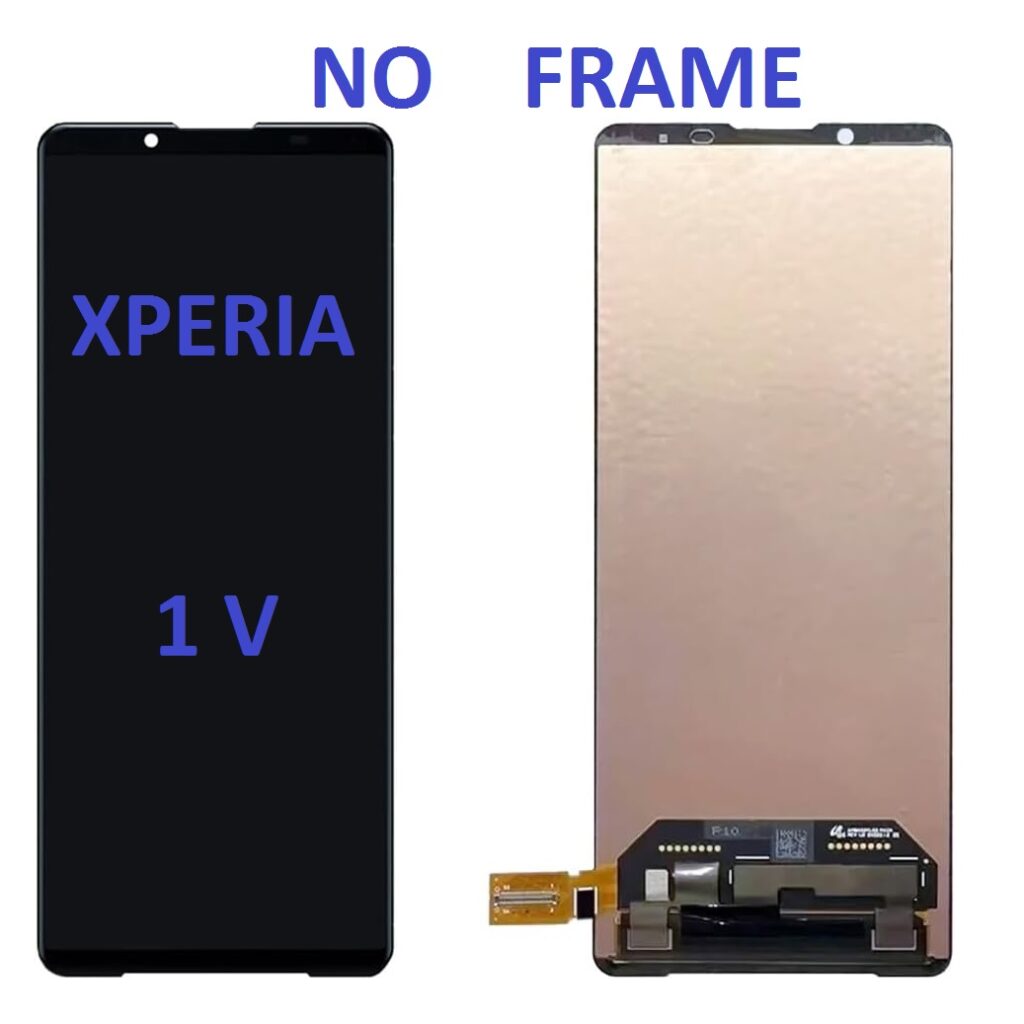
- LCD Touch Screen Digitizer: The main replacement part, which includes the screen and digitizer assembly.
- Suction Cup Tool: Used to gently lift the screen from the phone.
- Plastic Pry Tools: Essential for prying apart the screen and phone body without causing damage.
- Precision Screwdrivers: To remove screws securing internal components.
- SIM Card Tray Ejector Tool: For safely removing your SIM card and tray.
- Adhesive Strips: To attach the new screen securely.
- Cleaning Cloth: To remove dust and fingerprints.
Make sure the kit is designed specifically for the Xperia 1 V to ensure compatibility.
Tools You Will Need (Beyond the Kit)
In addition to the kit, having these extra tools can make the job easier and safer:
- Heat Gun or Hair Dryer: To soften the adhesive and make it easier to separate the screen.
- Microfiber Cloth: To keep the internal parts clean as you work.
- Anti-Static Wrist Strap: To protect the phone’s internal components from static damage.
Step-by-Step Guide to Replacing the Sony Xperia 1 V Screen
Step 1: Power Off the Phone
Before beginning the repair process, ensure the Sony Xperia 1 V is powered off completely. This reduces the risk of electrical damage and is essential for your safety during the repair.
Step 2: Remove the SIM Card Tray
Use the SIM Card Tray Ejector Tool to remove the SIM card tray. This step is necessary to ensure the tray doesn’t get damaged or in the way while you’re working.
Step 3: Heat the Screen to Loosen the Adhesive
To make the screen removal process easier, you’ll need to heat the adhesive holding the screen in place. Use a heat gun or a hair dryer to apply gentle heat around the edges of the screen. Hold the heat source about 5-10 cm away from the phone and move it around the perimeter of the screen for about 1-2 minutes. This will soften the adhesive and help prevent the glass from breaking during removal.
Step 4: Lift the Screen Using the Suction Cup Tool
Place the suction cup tool on the bottom edge of the screen. Gently pull on the suction cup to create a small gap between the screen and the phone body. Once you have a small opening, insert a plastic pry tool into the gap and carefully work your way around the phone to separate the screen. Be patient and take your time to avoid damaging the phone’s internals.
Step 5: Disconnect the Battery and Other Internal Components
Once the screen is separated, you’ll need to disconnect the battery to prevent any electrical short-circuits. Use the precision screwdriver to remove any screws securing the battery connector, and carefully detach the battery.
Next, disconnect the screen’s flex cable from the motherboard. This can usually be done by removing any metal brackets securing the connector, followed by gently lifting the cable with a plastic pry tool.
Step 6: Remove the Broken Screen
With the battery and connectors out of the way, you can fully remove the broken screen. Gently continue to pry the screen off the device until it is completely detached. If you encounter any resistance, double-check that all screws and connectors are removed.
Step 7: Install the New LCD Touch Screen Digitizer
Now it’s time to install the new screen! Carefully align the LCD Touch Screen Digitizer with the body of the phone. Start by attaching the flex cable connectors to the motherboard. Be sure the connectors are securely in place before proceeding.
Once the screen is aligned, gently press it into the phone’s body, ensuring it fits snugly into place.
Step 8: Apply Adhesive and Attach the Screen
Take the adhesive strips from the kit and apply them around the perimeter of the phone’s frame. This adhesive will secure the new screen to the device. Carefully place the screen on the phone’s body and press down gently to ensure the adhesive sticks.
Step 9: Reconnect the Battery and Other Internal Components
Reattach the battery and any other internal components that you disconnected earlier. Make sure everything is securely connected and properly positioned. If necessary, use the precision screwdrivers to reattach any screws that hold the internal components in place.
Step 10: Reassemble the Phone
Once the screen is securely in place and all internal parts are reconnected, begin reassembling the phone. Start by carefully placing the back cover back on the device, pressing it gently to make sure it’s sealed correctly.
Reinsert the SIM card tray, and ensure everything is back in its proper place.
Step 11: Power On and Test the New Screen
Power on the Sony Xperia 1 V and test the new screen. Check for:
- Touch responsiveness: Make sure the screen is responsive to touch in all areas.
- Display quality: Ensure the brightness, color accuracy, and clarity are up to your expectations.
- Functionality: Test features like screen rotation, gestures, and responsiveness to ensure everything works properly.
Troubleshooting Tips
- Screen not turning on: Double-check that the screen’s connectors are properly seated and the battery is reconnected.
- Touchscreen not working: Ensure the new digitizer is properly aligned and fully connected.
- Screen flickering or abnormal colors: If this occurs, ensure the screen’s flex cable is securely connected and the adhesive has not shifted.
Conclusion
Replacing the Sony Xperia 1 V LCD touch screen digitizer (models: XQDQ62/B, XQ-DQ72, XQ-DQ54) is an achievable task, and with the right tools and this step-by-step guide, you can save money and restore your device to its full functionality. Whether you’re tackling the repair as a DIY project or simply want to extend the life of your phone, this replacement process can give your Xperia 1 V a brand-new look and feel.
If you run into any challenges or have questions along the way, don’t hesitate to reach out for support. Happy repairing!