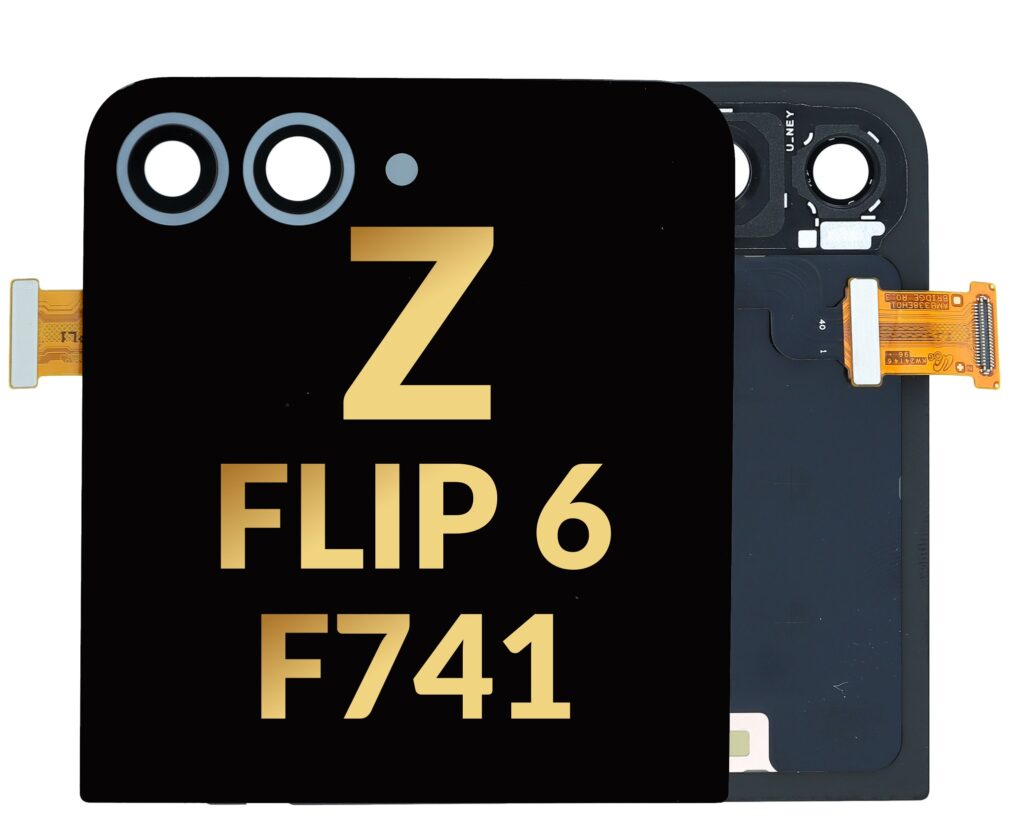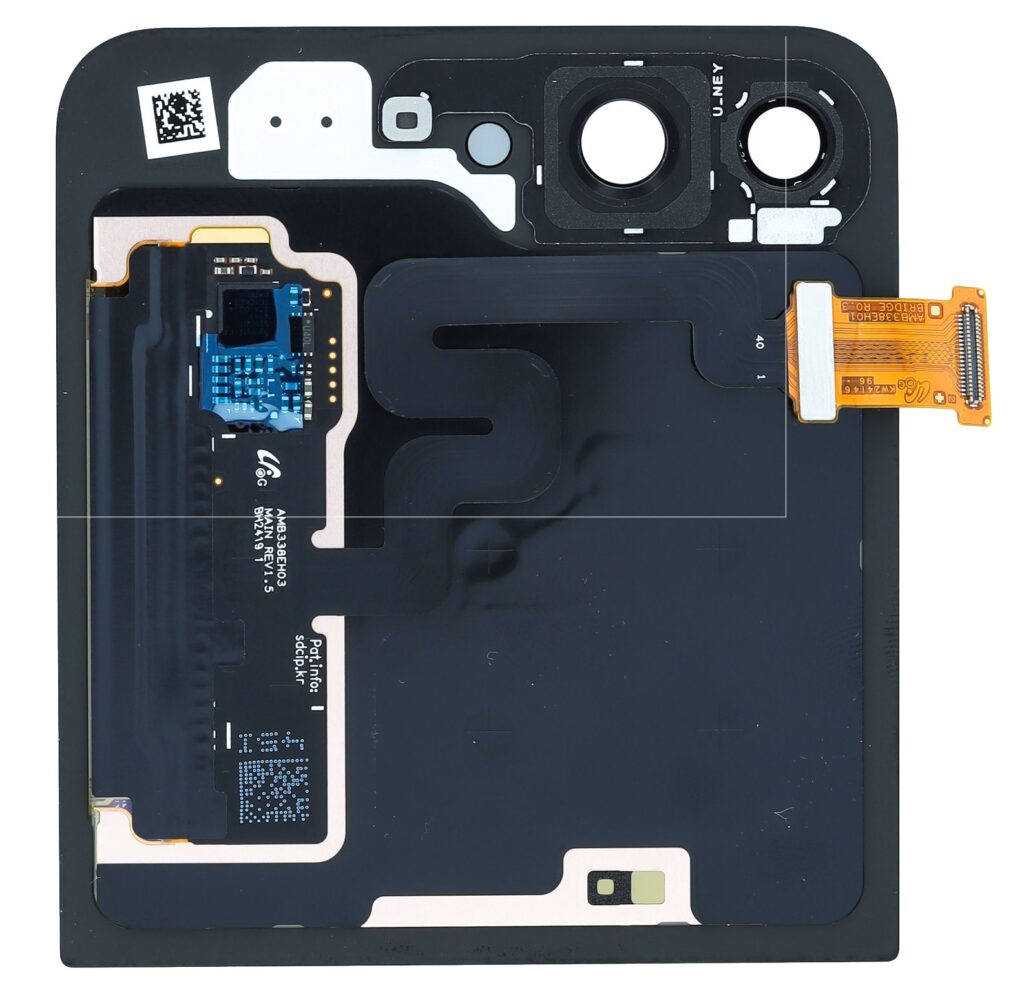
Replacing the LCD screen on a Samsung Galaxy Z Flip 6 is a challenging and delicate task that requires patience, precision, and proper tools. The device features a foldable design, which means that the replacement process can be even more intricate compared to traditional smartphones. If you are not comfortable with disassembling your phone, it’s recommended to seek professional assistance. However, if you are confident in your skills and want to proceed with the replacement yourself, here’s a detailed guide on how to replace the Samsung Galaxy Z Flip 6 LCD screen.
Disclaimer:
Opening your phone will void its warranty. Ensure you understand the risks involved in DIY repairs. If unsure, consider taking the phone to an authorized service provider or repair shop.
Tools & Materials Needed:
- Replacement LCD Screen (specific to Samsung Z Flip 6)
- Small Philips-head Screwdriver
- Plastic Pry Tools
- Suction Cup Tool
- Tweezers
- SIM Card Ejector Tool
- Heat Gun or Hair Dryer
- Small Container (for screws)
- Anti-static Wrist Strap (to prevent electrostatic discharge)
- Adhesive Strips or Tape (for reattaching components)
- Microfiber Cloth (for cleaning)
Step-by-Step Guide to Replacing the LCD Screen:

Step 1: Power Off the Device
Before you begin, ensure the device is completely powered off. This is essential for your safety and to avoid any electrical damage while disassembling the phone.
- Hold the Power button and Volume Down button together.
- Select Power Off on the screen and confirm.
Step 2: Remove the SIM Card Tray
Using the SIM Card Ejector Tool, remove the SIM card tray from the phone. This is a small but necessary step to avoid damaging the internal components during disassembly.
Step 3: Remove the Back Cover
To access the internal components, you need to remove the back cover. This is usually secured with adhesive.
- Heat the back cover using a heat gun or hair dryer for about 30 seconds. The heat softens the adhesive, making it easier to remove the cover.
- Use a plastic pry tool to gently separate the back cover from the body. Start from the bottom or side and carefully work your way around the edges.
- Once the back cover is removed, set it aside in a safe place.
Step 4: Disconnect the Battery
Before you proceed with removing the screen, it’s crucial to disconnect the battery to prevent any accidental short circuits.
- Use a plastic pry tool to remove any adhesive or covers protecting the battery connectors.
- Locate the battery connector and gently disconnect it with a plastic pry tool or tweezers.
Step 5: Remove the Internal Components
Now that the battery is disconnected, you need to remove the internal components blocking the screen.
- Start by removing screws holding any internal covers or shields in place, using your small Philips screwdriver.
- Carefully remove the shields and set them aside.
- You may also need to remove additional screws or components that are blocking access to the screen. Keep track of all the screws and their locations.
Step 6: Heat the Front LCD Screen
Like the back cover, the LCD screen is likely secured with adhesive. Use a heat gun or hair dryer to apply heat to the front of the phone for about 30 seconds. This will help loosen the adhesive and make it easier to remove the LCD screen.
Step 7: Remove the LCD Screen
- Attach a suction cup tool to the center of the LCD screen to create a slight gap between the screen and the body.
- Using a plastic pry tool, gently work around the edges of the screen. Be very careful to avoid damaging the screen further, especially if the screen is already cracked.
- Gradually pry the screen loose, working your way around the entire screen until it is fully detached from the phone body.
Step 8: Install the New LCD Screen
- Prepare the new screen: Clean the edges of the new LCD screen with a microfiber cloth to remove any dust or debris.
- Apply new adhesive to the back of the LCD screen (some replacement screens come with adhesive already applied, but if not, you can purchase adhesive strips separately).
- Align the new LCD screen carefully with the frame of the device, ensuring the display fits properly into the body of the phone.
- Gently press down along the edges of the screen to secure it in place.
Step 9: Reassemble the Device
Once the new LCD screen is in place, you need to reassemble the device.
- Reconnect the battery: Carefully reconnect the battery cable.
- Reattach internal shields and covers: Replace all the internal components that were removed earlier and secure them with the screws.
- Reattach the back cover: Align the back cover with the body of the phone and gently press down to secure it in place.
- Ensure the back cover is fully seated and secure the edges to ensure the phone’s water and dust resistance is intact.
Step 10: Power On the Device
Once the phone is fully reassembled, it’s time to power it back on.
- Press and hold the Power button to turn the phone on.
- Check the new LCD screen to ensure it functions properly. Make sure the touch functionality, display quality, and responsiveness are all working as expected.
Final Checks & Troubleshooting:
- Screen Issues: If the new screen does not display correctly (e.g., no backlight, ghosting, or lines), double-check all the connections to the motherboard and display assembly. Sometimes, a loose cable can cause display issues.
- Touchscreen Functionality: If the touchscreen is unresponsive, ensure the adhesive is not affecting the screen’s performance. Also, check the connectors to make sure they are firmly seated.
- Excess Adhesive: If there is any excess adhesive visible around the screen or the edges, use a plastic tool to gently remove it without damaging the device.
Conclusion:
Replacing the Samsung Z Flip 6 LCD screen is not a simple process, but with careful preparation, the right tools, and a steady hand, it is possible to perform the repair yourself. Always take precautions to avoid damaging any parts, and if you feel unsure about any of the steps, it’s always better to consult with a professional technician.