Important Notes Before You Begin:
- Warranty Concerns: Replacing the screen yourself may void the warranty of your device. It’s always a good idea to check with Apple or an authorized service provider first.
- Tools: You’ll need specialized tools such as a pentalobe screwdriver, suction handle, plastic opening tools, and possibly a heat gun.
- Replacement Parts: Ensure you purchase a high-quality screen replacement that is compatible with your specific iPhone model.
- Risk of Damage: If you’re not experienced with phone repairs, consider having a professional do it. Improper repair can result in further damage to the device.
Step-by-Step Guide to Replace iPhone Screen:
- Power Off the iPhone:
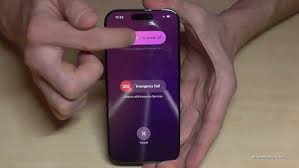
Before starting, make sure to power off the phone to avoid any electrical issues.
2. Remove the Screws:
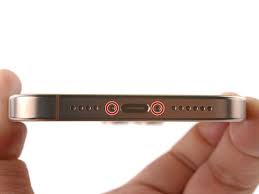
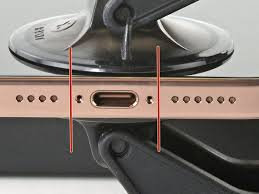
Use a pentalobe screwdriver to remove the screws around the edge of the phone. These screws are typically located near the lightning port (bottom of the device).
3. Open the iPhone:
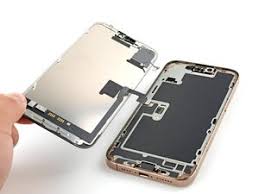
Use a suction cup tool to gently pull up on the screen to create a small gap. Once there’s a gap, use a plastic prying tool to work your way around the phone to separate the screen from the frame. Be cautious of the Face ID or Touch ID connectors, as they may be fragile.
4. Disconnect the Battery:
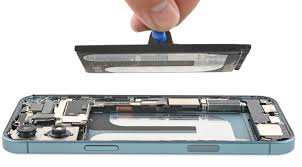
Once the screen is slightly lifted, disconnect the battery first to ensure no power is running through the phone while you work on it.
5. Remove the Broken Screen:
Disconnect any other cables or screws that are securing the broken screen to the frame. Carefully remove the screen.
6. Install the New Screen:
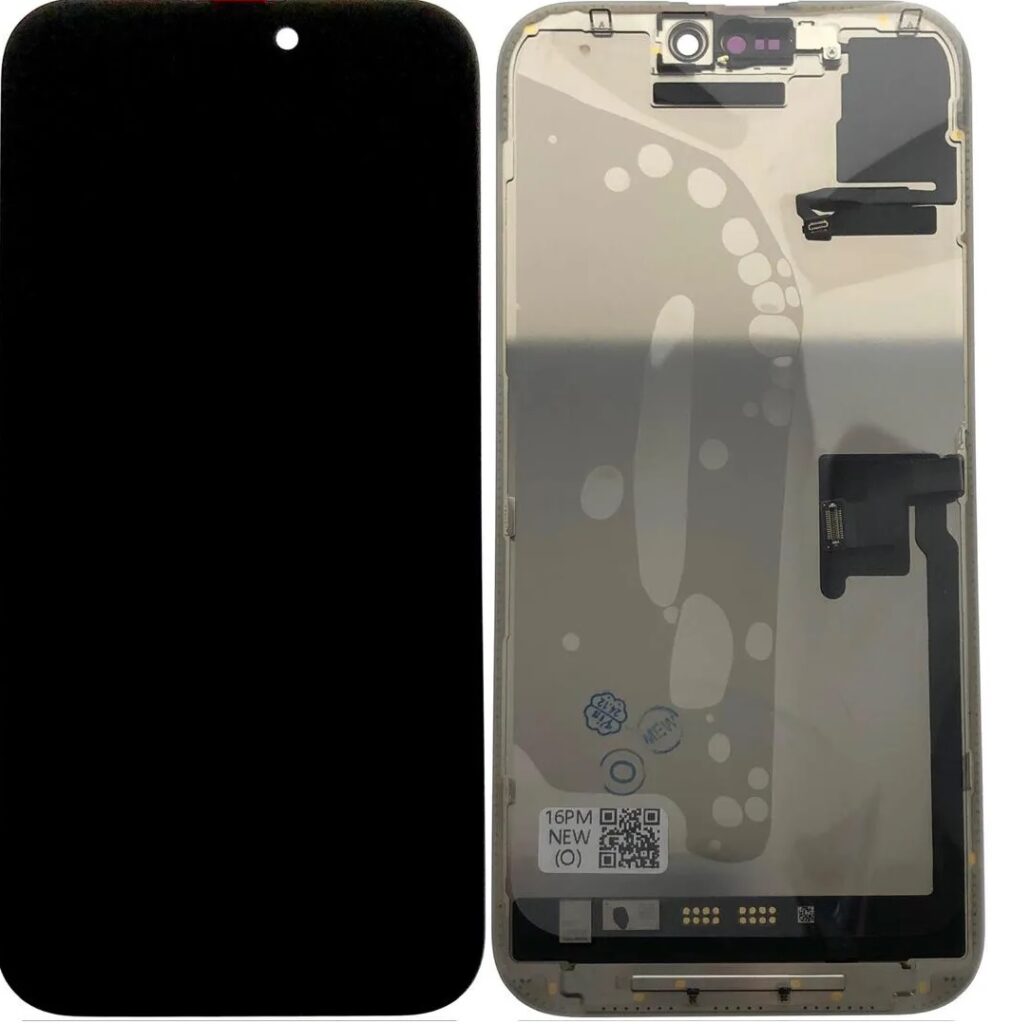
Take the replacement screen and reconnect all the necessary cables to the phone’s motherboard. Ensure that the display connectors and Face ID connectors are properly aligned.
7. Test the New Screen:
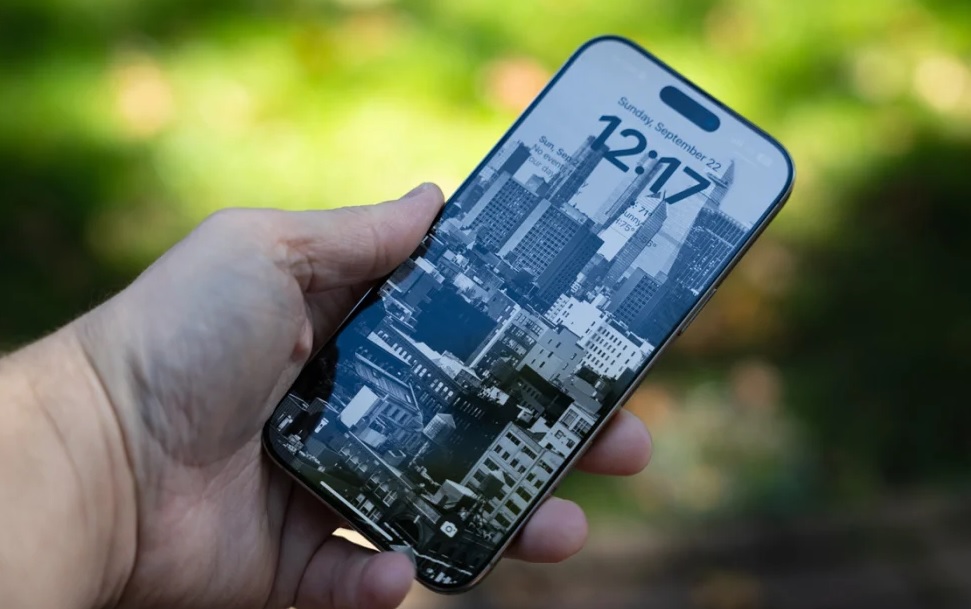
Before fully reassembling the phone, power it on briefly to ensure that the new screen is functioning properly—check touch sensitivity, display quality, and Face ID.
8. Reassemble the iPhone:
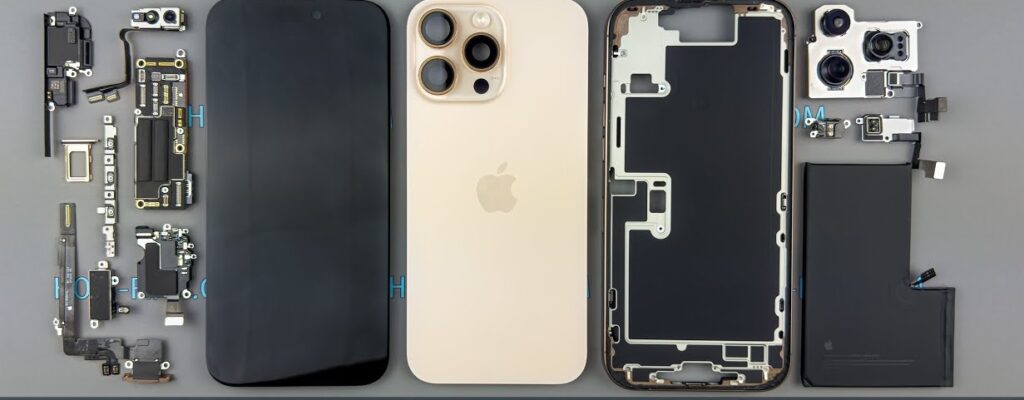
If everything is working as expected, carefully place the screen back onto the frame and secure it with screws. Ensure that there are no gaps or misalignments before tightening everything.
9. Power On the Device:
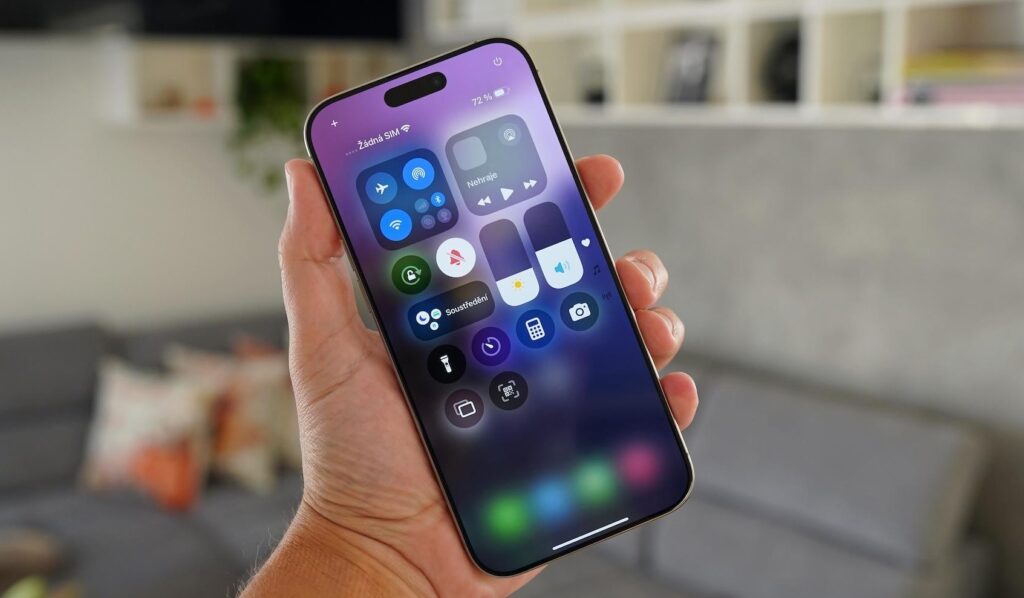
Power on the iPhone and test the screen thoroughly, making sure that all functions, including touch, display, and Face ID, are working correctly.
Considerations:
- Apple’s True Tone & Color Calibration: Some third-party replacement screens may not have the same True Tone or color accuracy features as the original Apple screen, so keep that in mind when choosing parts.
- Face ID & Sensors: If you replace the screen with a third-party one, there is a chance that Face ID functionality may be compromised due to Apple’s security mechanisms.
If you are unsure or want to avoid the risks of DIY repairs, it’s a good idea to visit an Apple Authorized Service Provider or Apple Store to have the screen replaced.