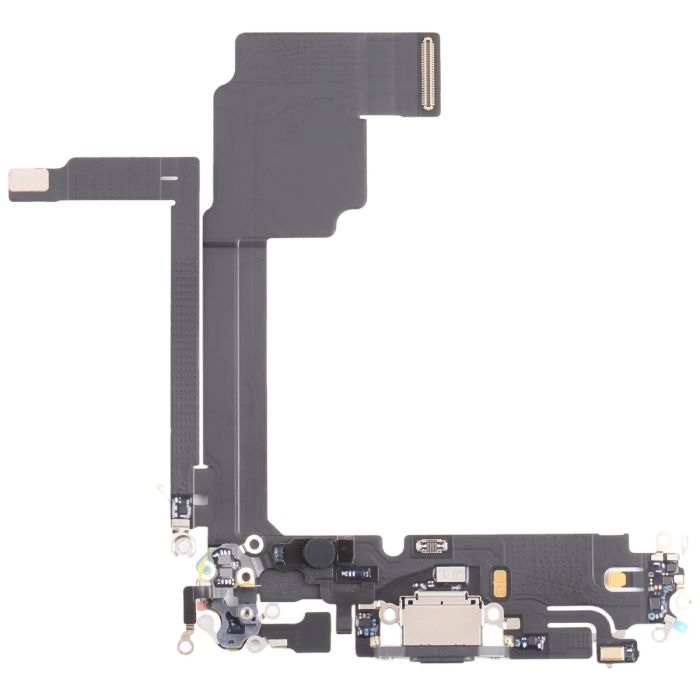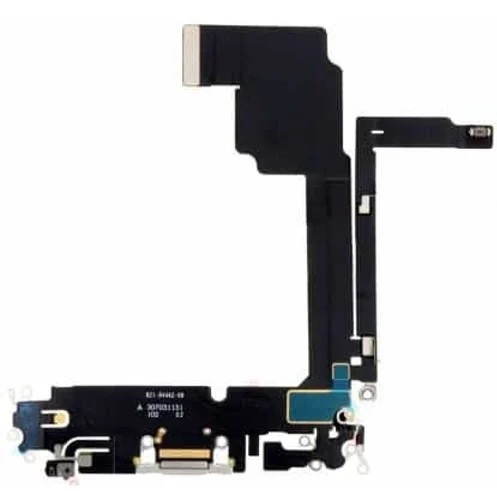
Replacing the iPhone 15 Pro Max charging board is a delicate and intricate process, involving various steps and specialized tools. The charging board, also known as the charging assembly or Lightning port flex cable, is responsible for power management, charging, data transfer, and supporting other functions like microphones and speakers. Here’s a long, step-by-step explanation of what’s involved in replacing the charging board in an iPhone 15 Pro Max.
Why You Might Need a Charging Board Replacement
Before delving into the replacement process, it’s important to understand why the charging board might need to be replaced. Common signs of a malfunctioning charging board include:
- No Charging: The phone doesn’t charge when plugged in, or the charging is inconsistent.
- Slow Charging: Charging takes longer than usual or doesn’t increase in battery percentage.
- Data Transfer Failure: The phone won’t connect to a computer, or data transfer is slow or fails.
- Physical Damage: The charging port is physically damaged, such as from drops, corrosion, or wear and tear.
- Audio Issues: Issues with the microphone or speaker located near the charging board can also signal a problem with this component.
Components and Tools Needed for the Replacement
To replace the charging board, you’ll need several components and tools, including:
Replacement Parts:

- iPhone 15 Pro Max Charging Board: This is the primary component. It may come as a complete assembly, including the Lightning port or USB-C port, the power management circuitry, and connectors for microphones and speakers.
- Screws: New screws may be needed, as the original screws can sometimes get damaged during disassembly.
Tools:
- Pentalobe Screwdriver: Used for removing screws around the iPhone’s outer casing.
- Y000 (Tri-Point) Screwdriver: This is used for opening the internal parts, especially the screws near the logic board.
- Suction Cup Tool: Used for gently lifting the screen to avoid damaging the glass or internal components.
- Plastic Pry Tools: For separating components without causing any damage.
- Tweezers: To handle small connectors and components.
- SIM Card Ejector: To remove the SIM card tray.
- Heat Pad (Optional): To soften adhesive if necessary when separating the screen.
- Antistatic Wrist Strap: To avoid damaging the internal components with static electricity.
Step-by-Step Guide to Replacing the iPhone 15 Pro Max Charging Board
Step 1: Power Down the iPhone
Before performing any repair, power off the iPhone 15 Pro Max to avoid any electrical short circuits or accidental damage to internal components.
Step 2: Remove the SIM Card Tray
Use the SIM card ejector tool to remove the SIM card tray from the iPhone. This is necessary to ensure that no parts of the device are blocked or damaged during the disassembly process.
Step 3: Unscrew the Pentalobe Screws
Use the Pentalobe screwdriver to remove the screws located around the edge of the iPhone. There are typically two screws located at the bottom near the Lightning/USB-C port. Set these screws aside in a safe place for reassembly later.
Step 4: Open the iPhone Screen
To access the internal components of the iPhone, you need to separate the front display from the rear case. The iPhone 15 Pro Max uses a tight adhesive to hold the screen in place, so careful handling is required:
- Use a suction cup tool near the bottom edge of the display to gently lift the screen from the rear housing.
- As the screen begins to lift, use a plastic pry tool to gently separate the screen from the housing. Be careful not to damage the internal components like the display connector or other cables.
- If the adhesive is too strong, you might need to apply heat with a heat pad to soften it.
Step 5: Disconnect the Battery
Once the screen is lifted, it’s crucial to disconnect the battery to prevent any electrical damage. Use a Y000 screwdriver to remove screws securing the battery connector bracket. Use plastic pry tools to lift and disconnect the battery from the logic board. This is important to avoid any short circuits while working on other components.
Step 6: Remove the Display Assembly
After disconnecting the battery, carefully disconnect the display cables (digitizer, LCD, etc.) from the logic board using plastic pry tools or tweezers. Once all cables are disconnected, the display can be completely removed from the device.
Step 7: Access the Charging Board
Now that the display and battery are out of the way, you will be able to see the internal components of the iPhone, including the charging board.
- The charging board is typically secured to the bottom part of the rear housing with screws. Use the Y000 screwdriver to remove the screws around the charging assembly.
- Once the screws are removed, use a plastic pry tool to gently lift the charging board away from the housing. Be mindful of any small connectors attached to the board, including the speaker or microphone cables.
Step 8: Disconnect the Charging Board
The charging board is connected to the logic board with several flex cables or connectors. Use plastic pry tools to gently disconnect these connectors. Take note of where each connector attaches so that you can correctly reconnect them during reassembly.
Step 9: Install the New Charging Board
Once the damaged charging board is removed, take the new replacement charging board and carefully align it in the correct position.
- Reconnect all the flex cables to their corresponding connectors on the logic board.
- Ensure the charging board is securely seated in place and align any screw holes to properly screw it back into position.
Step 10: Reassemble the iPhone
After the new charging board is installed:
- Reconnect the display cables to the logic board, ensuring that each cable is properly connected.
- Reconnect the battery to the logic board.
- Place the screen assembly back onto the rear housing, ensuring it sits flush against the edges.
- Use the Pentalobe screws to secure the screen to the housing.
Step 11: Test the New Charging Board
Before fully sealing the phone, power it on to test if the new charging board is working correctly:
- Ensure the charging port accepts the cable and charges the phone.
- Test the data transfer (by connecting the phone to a computer).
- Test the microphone and speaker to make sure they are functioning properly.
- If everything works as expected, continue with reassembly.
Step 12: Final Assembly
Once testing is complete and you’re confident that the new charging board is functioning properly, proceed to reassemble the phone:
- Carefully place the SIM card tray back into its slot.
- Tighten all screws to secure the iPhone’s frame and display.
- Power on the device one final time to ensure everything is working.
Considerations for iPhone 15 Pro Max Charging Board Replacement
- Risk of Damage: Replacing the charging board can be tricky. Improper handling or wrong tools can damage delicate components inside the iPhone.
- Warranty and Service: If your iPhone is under warranty or has AppleCare+, attempting a DIY repair may void the warranty. It’s often advisable to have Apple or an authorized service provider handle repairs.
- Parts Quality: Always make sure you’re using high-quality, compatible replacement parts to avoid future issues. Poor-quality parts may affect the iPhone’s performance or lead to further malfunctions.
Conclusion
Replacing the charging board in an iPhone 15 Pro Max is a detailed and technical process that requires precision and the right tools. If you lack experience with iPhone repairs, it’s recommended to have a professional technician perform the replacement to avoid damaging your device. However, with the proper knowledge, tools, and patience, this repair can restore full functionality to your iPhone, including charging, data transfer, and audio features.