If your Samsung Galaxy A06 (A065 or A066) is no longer holding a charge like it used to—or shuts off unexpectedly it may be time for a battery replacement. Replacing your phone’s battery is one of the most cost-effective ways to extend its life and performance.
In this guide, we’ll walk you through:
- What battery model you need (HQ-7160S)
- Compatible Galaxy A06 models
- Tools required
- Step-by-step battery replacement process
- Pro safety and repair tips
Battery Specs & Compatibility
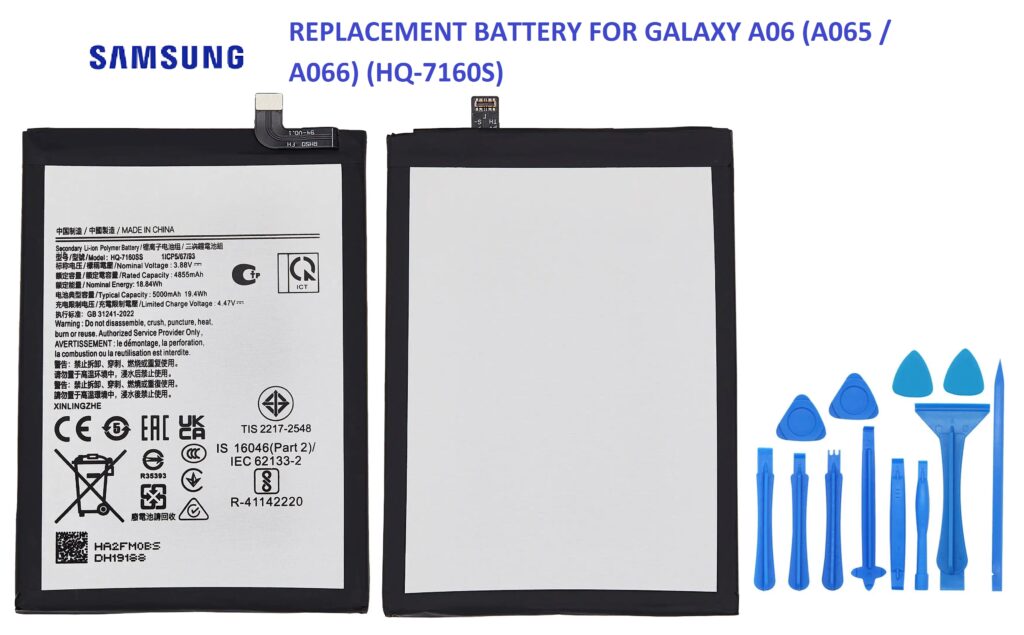
The official replacement battery for the Galaxy A06 (A065 / A066) is the HQ-7160S.
Battery Specifications:
- Model Number: HQ-7160S
- Capacity: ~5000mAh
- Type: Li-ion Polymer
- Voltage: 3.85V
- Charging Port Compatibility: USB-C (charging speed depends on board/cable)
Compatible Galaxy A06 Models:
| Model Name | Model Number |
| Galaxy A06 4G | SM-A065F/DS |
| Galaxy A06 5G | SM-A066B / SM-A066B/DS |
| Release Year | 2025 |
Tip: Always confirm your phone’s model in Settings > About Phone before buying the battery.
Tools You’ll Need
You don’t need a full repair shop to swap the battery just a few tools:
- SIM ejector pin
- Small Phillips screwdriver (#00 or #000)
- Plastic pry tool or guitar pick
- Suction cup tool (optional)
- Tweezers (for handling cables)
- Heat gun or hairdryer (to loosen adhesive)
- B7000 glue or double-sided adhesive (for reassembly)
- Anti-static wrist strap (recommended)
Signs You Need a Battery Replacement
- Phone drains rapidly, even when idle
- Random shutdowns at 20–40% charge
- Battery percentage jumps or freezes
- Phone won’t turn on without charger
Step-by-Step Battery Replacement for Galaxy A06
Important: Opening your device may void the warranty. Perform this repair only if you’re comfortable handling internal components.
Step 1: Power Off and Eject SIM Tray
- Power off your phone completely.
- Use the SIM ejector tool to remove the SIM card tray.
Step 2: Remove Back Cover
- Warm the phone’s edges with a heat gun or hairdryer for 2–3 minutes.
- Use a suction cup and pry tool to gently lift the back cover.
- Slide the plastic tool around the edges to fully remove it.
Step 3: Unscrew the Midframe and Disconnect Battery
- Use your Phillips screwdriver to remove all screws holding the plastic midframe.
- Carefully remove the midframe to reveal the motherboard and battery.
- Use a plastic spudger to disconnect the battery connector from the motherboard.
Step 4: Remove Old Battery
- Gently heat the battery area from the back to loosen the adhesive.
- Insert a plastic pry tool under the battery and slowly lift it out.
- Do not puncture or bend the battery. Take your time and be gentle.
Step 5: Install the New HQ-7160S Battery
- Align the new HQ-7160S battery in the housing.
- Reconnect the battery flex connector to the motherboard.
- If adhesive is not pre-installed, apply double-sided tape or B7000 glue to hold it in place.
Step 6: Reassemble the Phone
- Reinstall the midframe and screw it back into place.
- Snap or glue the back cover securely.
- Insert the SIM tray back in.
- Power on the phone and check functionality.
Post-Replacement Checklist
After powering on, check the following:
- Battery percentage increases while charging
- Phone boots up normally and stays on
- Battery drains normally during use
- No overheating or error messages
Where to Buy HQ-7160S Replacement Battery
You can find genuine or OEM HQ-7160S batteries at:
- Amazon
- Mobile parts distributors (Witrigs, Injured Gadgets, MobileSentrix)
Warning: Avoid extremely cheap batteries from unknown sellers—they may be counterfeit and unsafe.
Pro Tips for Safe Battery Replacement
- Never use metal tools to pry the battery—it increases risk of puncture or fire.
- Use an anti-static wrist strap to prevent electrical discharge damage.
- Let B7000 adhesive cure for at least 30 minutes before heavy phone use.
- Calibrate the new battery by charging it to 100% and then draining it to 0% once.
Final Thoughts
Replacing the Galaxy A06 battery with an HQ-7160S unit is one of the best ways to restore your phone’s battery life without replacing the entire device. The process is safe, straightforward, and affordable for most users who are comfortable with light DIY repairs.
Still not confident in doing it yourself? You can always purchase the battery and ask a technician to install it for you saving time and avoiding markup costs.