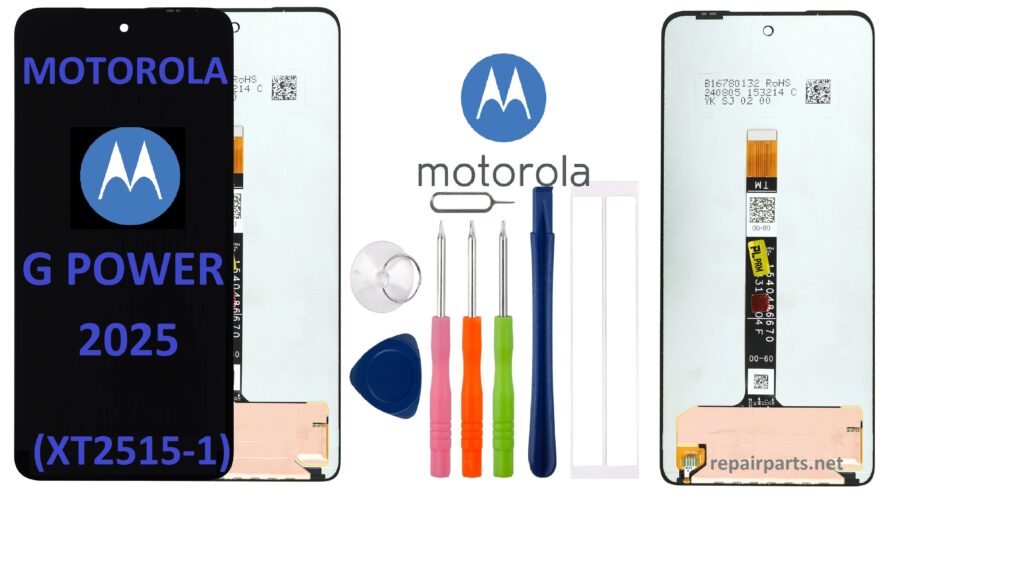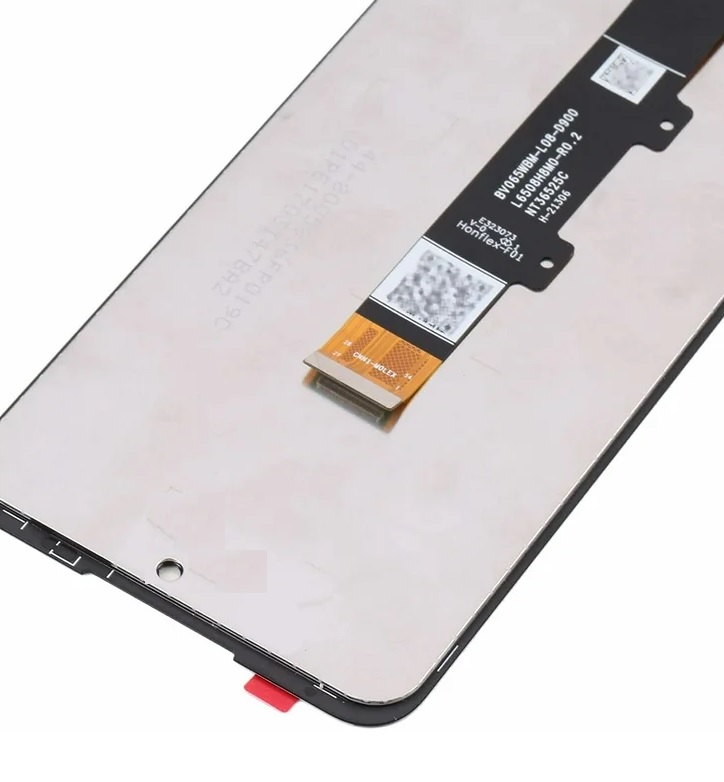
Is your G POWER 2025 (XT2515-1) showing a cracked or damaged LCD? Don’t worry! Replacing the LCD is possible, and you can do it yourself with the right tools and instructions. The G POWER 2025 is a popular model, and finding the original replacement LCD is easier than you might think.
Here’s everything you need to know about replacing the LCD screen in your G POWER 2025 (XT2515-1).
Why Replace the LCD?
The LCD screen is one of the most essential parts of your phone. A damaged screen can affect your device’s functionality, appearance, and overall performance. Whether it’s cracked from a drop or displaying glitches, replacing the screen with an original LCD ensures:
- Clear and vibrant display – Enjoy the high-quality resolution as it was designed.
- Touch responsiveness – Your phone will be just as responsive as before, giving you a smooth experience.
- Long-lasting performance – Original parts ensure durability and prevent issues like ghosting or fading over time.
What You’ll Need:
- Original LCD Replacement for G POWER 2025 (XT2515-1) – Make sure to purchase an original LCD from a trusted supplier or retailer.
- Small Phillips Head Screwdriver
- Plastic Pry Tools
- Suction Cup Tool
- Tweezers
- SIM Card Ejector
- Heat Gun or Hairdryer (to soften the adhesive)
- Anti-static Wrist Strap (optional but recommended)
Steps to Replace the LCD:

Step 1: Power Off Your Device
Before starting the replacement process, power off your G POWER 2025 to avoid any electrical mishaps during the repair.
Step 2: Remove the SIM Card Tray
Use the SIM card ejector to remove the SIM card tray from your device.
Step 3: Heat the Edges
To make it easier to open the phone, gently heat the edges of the back cover using a heat gun or hairdryer. This will soften the adhesive that holds the screen in place.
Step 4: Pry Open the Back Cover
Using a plastic pry tool, carefully separate the back cover from the body of the phone. Start from one corner and work your way around. Be patient and gentle to avoid damaging the internal components.
Step 5: Unscrew and Remove the Battery
Once the back cover is removed, locate the screws that secure the battery and unscrew them. Gently lift the battery out of its compartment.
Step 6: Disconnect the Screen
Now, locate the screen connector and carefully disconnect it using tweezers or your hands. Ensure that you do this gently to avoid damaging the connector or any surrounding parts.
Step 7: Remove the Broken LCD
With the screen disconnected, you can now remove the damaged LCD. It may be held in place by adhesive, so you might need to use the heat gun again to loosen it before gently lifting the screen away.
Step 8: Install the New LCD
Take your original LCD replacement and align it carefully with the body of the phone. Once it is positioned properly, press down gently to secure it in place.
Step 9: Reconnect the Screen
Reconnect the new LCD screen to the phone’s internal components, making sure the connectors are properly aligned.
Step 10: Reassemble the Phone
Place the battery back in place, screw it down, and then carefully snap the back cover back onto the phone. Make sure all edges are securely attached.
Step 11: Power On Your Device
Finally, power on your device and test the screen. Ensure everything is functioning correctly — from touch sensitivity to display quality.
Conclusion
Replacing the LCD on your G POWER 2025 (XT2515-1) with an original part can restore your phone to like-new condition. With the right tools and a bit of patience, you can do it yourself and save money on professional repairs.
If you’re unsure about the process or don’t feel comfortable with DIY repairs, it’s always a good idea to consult a professional technician to avoid causing any damage.
Good luck, and enjoy your fully functional G POWER 2025!
Feel free to ask if you have any questions or need further guidance on the replacement process!