
If you’re experiencing issues with your iPhone XR’s rear camera such as blurry photos, focusing problems, or a blank screen it might be time for a replacement. The iPhone XR features a 12MP wide-angle camera with ƒ/1.8 aperture, optical image stabilization (OIS), and Smart HDR for photos. Replacing the rear camera can restore your device’s photographic capabilities and is a manageable DIY project with the right tools and parts
Why Replace the Rear Camera?
Common signs that indicate a need for rear camera replacement include:
- Blurry or out-of-focus images: Persistent focus issues despite software adjustments.
- Camera app crashes or freezes: The camera app becomes unresponsive or closes unexpectedly.
- Blank or black screen: The camera preview remains black even when the app is open.
- Visible damage: Cracked or scratched lens, or physical damage to the camera module,
The iPhone XR’s camera module is an integrated part of the device, and replacing it can resolve these issues effectively.
What You’ll Need
For a successful rear camera replacement, consider the following options:
1. OEM Replacement Camera Module
Opting for an Original Equipment Manufacturer (OEM) part ensures compatibility and quality. For instance, repairpartshub.net offers an OEM 12MP rear camera for the iPhone XR, compatible with models A1984, A2105, A2106, and A2108.
- Features:
- 12MP wide camera with ƒ/1.8 aperture
- Optical image stabilization (OIS)
- Smart HDR for photos
- Advanced red-eye correction
- Auto image stabilization
- Burst mode and photo geotagging
This module is a direct replacement for the original camera, ensuring the same performance and quality.
2. Third-Party Replacement Kits
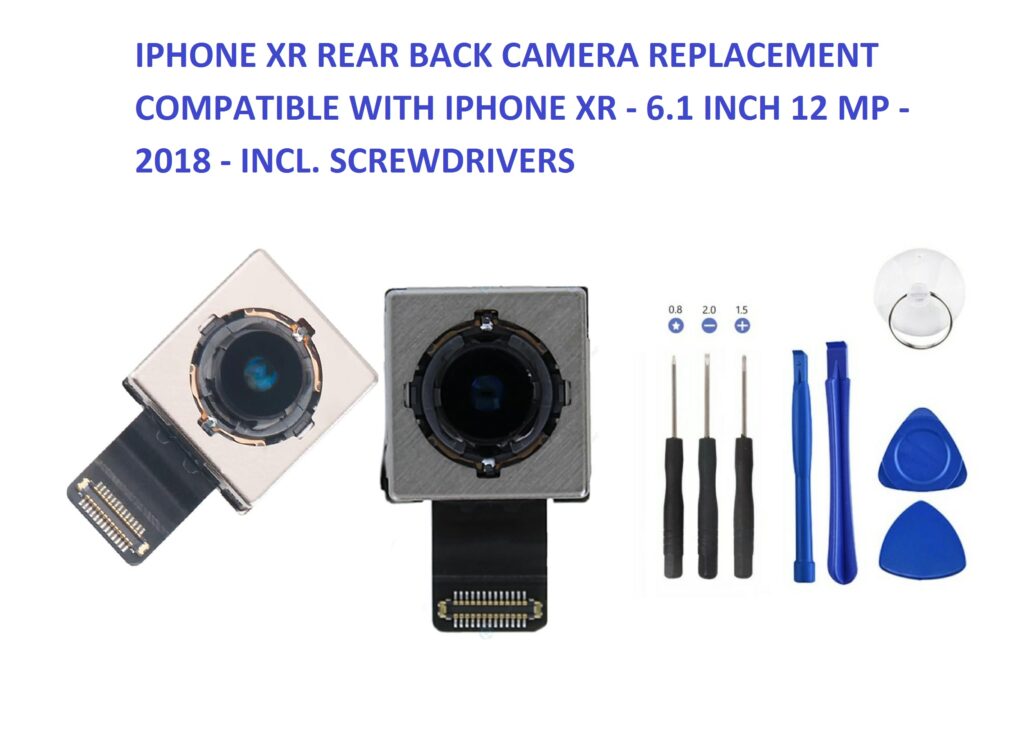
If you’re looking for a more budget-friendly option, third-party replacement kits are available. For example, MMOBIEL offers a rear camera replacement kit compatible with iPhone XR models A1984, A2105, A2106, and A2108.
- Package Includes:
- 12MP rear camera module
- Screwdrivers and necessary tools
- Compatible with iPhone XR models A1984, A2105, A2106, and A2108 While more affordable, third-party parts may not always match the quality of OEM components.
by-Step Installation Guide
Preparation:
- Ensure your iPhone XR is powered off.
- Gather necessary tools: Pentalobe screwdriver, Phillips screwdriver, spudger, and suction cup.
- Have a clean, static-free workspace Disassembly:
- Remove the screws around the device’s perimeter using the Pentalobe screwdriver.
- Use the suction cup to gently lift the screen, creating a gap.
- Insert the spudger to carefully detach the screen from the body.
- Disconnect the battery to prevent any electrical shorts.
Camera Replacement:
- Locate the rear camera module and remove any screws securing it.
- Disconnect the old camera module and remove it from the device.
- Place the new camera module in position and reconnect it.
- Reassemble the device by reversing the disassembly steps.
Testing:
- Power on your iPhone XR.
- Open the Camera app to test the new module.
- Check for proper focus, image clarity, and functionality of features like Smart HDR.
Tips for a Successful Repair
- Use Quality Tools: Invest in a good set of precision tools to avoid damaging internal components.
- Handle Components Carefully: Avoid touching the camera lens or sensor to prevent smudges or damage.
- Keep Track of Screws: Organize screws by size and location to ensure correct reassembly.
- Consult Tutorials: Watch video guides or refer to repair manuals for visual assistance.
- replacement parts and kits for iPhone XR
Final Thoughts
Replacing the rear camera on your iPhone XR can breathe new life into your device, restoring its photographic capabilities. Whether you choose an OEM replacement for guaranteed quality or a third-party kit for cost savings, ensure you follow proper procedures to achieve the best results.
If you need further assistance or have questions about the repair process, feel free to ask!