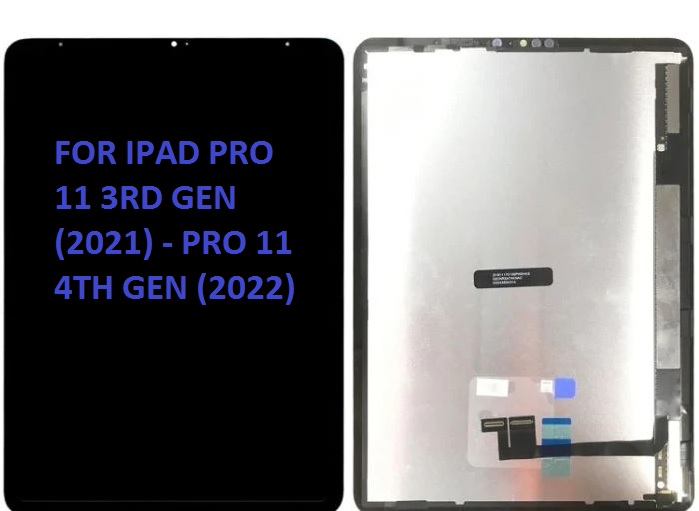
Replacing the LCD screen and digitizer on an iPad Pro 11-inch (3rd Gen, 2021) or (4th Gen, 2022) involves a delicate process, requiring proper tools, knowledge, and patience. Below is a detailed guide for this repair, keeping in mind that the iPad Pro models are advanced devices and require careful handling.
Tools Needed:
- Pentalobe screwdrivers (P2)
- Y000 screwdriver (for screws inside the device)
- Plastic Pry tools
- Suction cup tool
- Tweezers
- Spudger
- Heat gun (or hair dryer)
- SIM card ejector tool (optional)
- Replacement LCD and digitizer
- Isopropyl alcohol (for cleaning adhesive residue)
- Double-sided adhesive tape (optional for reassembly)
Preparation:
- Backup Your iPad: Ensure your data is backed up through iCloud or iTunes to prevent data loss.
- Power Off the iPad: Turn off the iPad Pro completely to avoid damage to internal components.
- Remove the SIM Card: If your iPad Pro has cellular capabilities, eject the SIM card tray using the SIM ejector tool.
Step-by-Step Process:
1. Loosen the Adhesive:
- Use a heat gun or hair dryer to gently heat the edges of the iPad’s display. This softens the adhesive holding the screen in place, making it easier to remove.
- Heat for around 2-3 minutes, being cautious not to overheat.
2. Remove the Display:
- Attach the suction cup tool to the display near the edge.
- Gently pull the suction cup while using a plastic pry tool to work around the edges of the screen. This may take some effort, as the iPad’s display is strongly adhered.
- Once the display is slightly lifted, insert a plastic spudger to continue separating the screen from the frame. Move carefully to avoid damaging internal components.
3. Disconnect the Battery:
- After the screen is lifted, you’ll see several screws securing internal components.
- Remove the screws securing the metal plate covering the battery connector.
- Use a spudger to disconnect the battery from the logic board. This is a critical step to avoid electrical damage during further disassembly.
4. Disconnect the Display Cable:
- Locate the flex cable that connects the display (LCD and digitizer) to the logic board. This will be secured with screws or clips.
- Use your Y000 screwdriver to remove the screws holding the display cable in place.
- Once the screws are removed, carefully disconnect the cable from the board using a spudger.
5. Remove the Faulty LCD and Digitizer:
- With the display disconnected, carefully lift the LCD and digitizer assembly off the frame.
- If the display is damaged, be extra careful during removal to avoid injury from broken glass.
6. Prepare the New LCD and Digitizer:
- Before installing the new screen, ensure the frame is clean and free of any old adhesive residue.
- If needed, apply new adhesive to the frame or use double-sided adhesive strips for a secure fit.
- Carefully connect the new display’s flex cable to the logic board and secure it with screws.
7. Reconnect the Battery:
- Once the new screen is connected, reconnect the battery to the logic board to restore power.
8. Test the New Display:
- Before fully reassembling the device, power it on and check if the new LCD and digitizer function properly (touch sensitivity, screen brightness, and display colors). Test the touch functionality to ensure the digitizer works well.
9. Reassemble the iPad:
- Once the new display is working properly, gently lower the screen into the frame.
- Secure the screen back into place with the screws along the edges.
- Replace the metal plate over the connectors and secure it with screws.
10. Seal the Device:
- If necessary, apply additional adhesive around the edges of the screen to secure it tightly.
- Make sure everything is firmly in place and that there are no gaps.
11. Power On the iPad:
- Turn on your iPad and verify that all functions are working properly, including touch functionality, the screen brightness, and other features like the front camera or Face ID (if applicable).
Important Considerations:
- Screen Calibration: In most cases, the new screen should work right away, but some screens may require calibration to match the iPad’s settings. Check touch sensitivity and display settings.
- Heat Damage: Be cautious when applying heat. Too much heat can cause damage to internal components like the logic board or battery.
- Adhesive: If the original adhesive is damaged or not reusable, you will need to use replacement adhesive or tape to reseal the device.
Caution:
- Repairing an iPad involves working with delicate components. If you are not experienced with device repairs, it is advisable to seek professional help.
- Unauthorized repairs may void your warranty, so check with Apple or an authorized repair provider before proceeding if the device is under warranty.
This process is a general guide and can vary slightly depending on specific device versions or conditions. If you need step-by-step video tutorials or a guide, various online resources like YouTube have helpful repair guides for this iPad model.