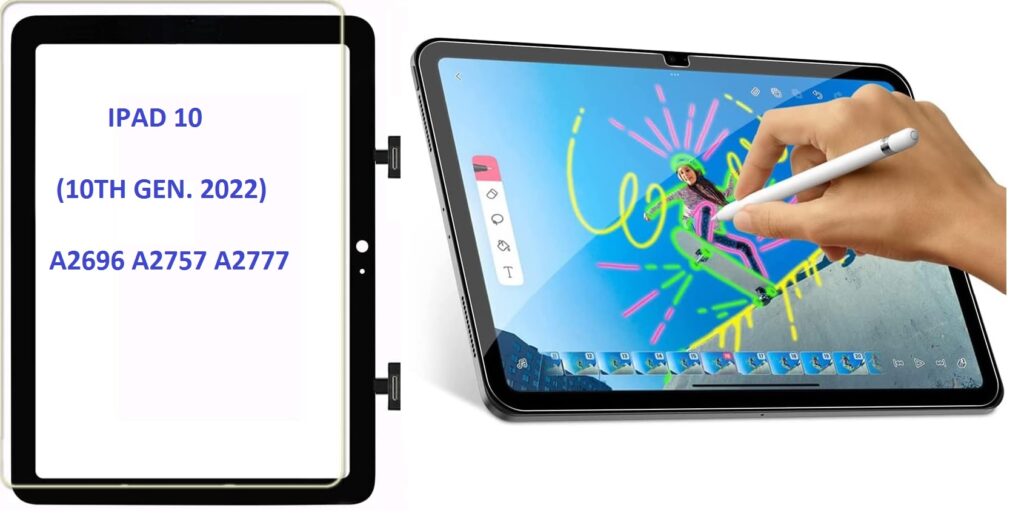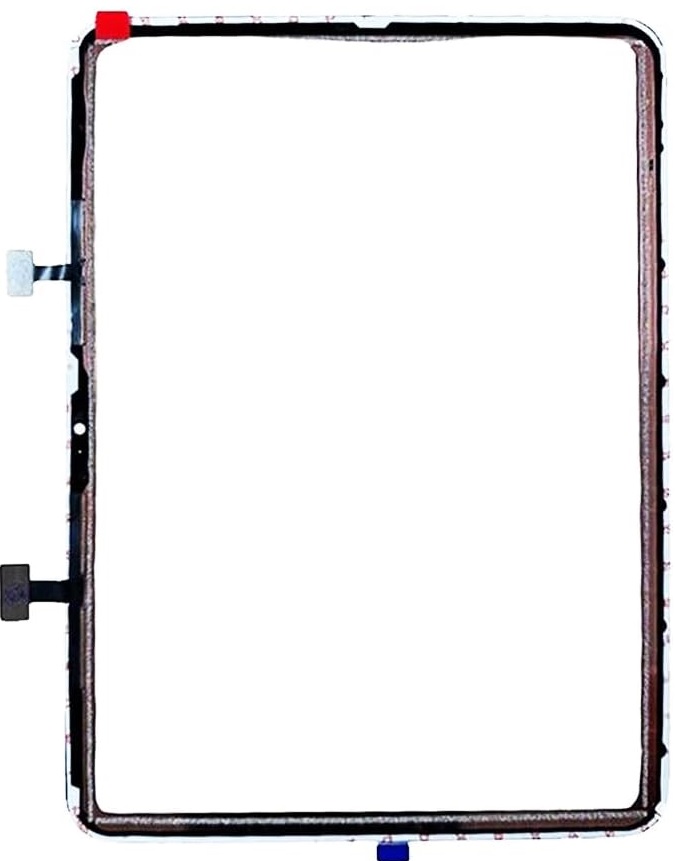
Replacing the screen and digitizer on an iPad 10 (10th Generation, 2022) model A2696, A2757, or A2777 can be a complex process that requires specialized tools, skills, and attention to detail. Below is a step-by-step guide on how to replace the screen (digitizer and LCD) on this device:
Tools and Equipment You’ll Need:
- Replacement Screen/Digitizer (Ensure it’s compatible with your model: A2696, A2757, A2777)
- Pentalobe screwdriver (P2)
- Phillips screwdriver (for screws inside the device)
- Plastic Pry Tools (Spudger)
- Suction Cup Tool
- Heat Gun or Hair Dryer (to loosen adhesive)
- Tweezers
- SIM Card Ejector Tool (if applicable)
- Anti-static wristband (to prevent static damage)
- Double-Sided Adhesive Strips (for reassembling)
- Small Container for Screws
- Screen/Glass Cleaner (for final assembly)
Replacement Process:
1. Preparation:
- Power Off the Device: Make sure the iPad is completely powered off.
- Remove the SIM Card Tray (if applicable) using the SIM ejector tool.
- Work in a Clean, Well-Lit Area: Use an anti-static mat if possible to protect the device from static electricity.
2. Heating the Screen:
- Use a heat gun or hair dryer to soften the adhesive that holds the screen. Apply heat evenly around the edges of the screen for 1-3 minutes (not too close, to avoid overheating). This will make it easier to separate the screen from the frame.
3. Opening the iPad:
- Use a Suction Cup Tool: Place the suction cup near the edge of the screen, leaving a gap between the screen and the frame. Pull gently to create an opening.
- Insert a Plastic Pry Tool: Once you have a small gap, insert the plastic pry tool into the opening. Carefully work your way around the edges, separating the screen from the adhesive. Do not force it, as the display and frame are delicate.
- Be Mindful of Internal Components: As you open the device, make sure you don’t damage any internal components or cables.
4. Disconnecting the Battery:
- Remove Internal Screws: Use the Phillips screwdriver to remove screws securing the internal components.
- Disconnect the Battery: Find the battery connector and gently use the spudger to disconnect it. This is a critical step to avoid any electrical short circuits during the repair.
5. Disconnecting the Screen/Digitizer:
- Locate the Screen Cable Connectors: Find the cables that connect the display (digitizer and LCD) to the motherboard. These are typically secured with screws or small brackets.
- Disconnect the Cables: Use the spudger to gently disconnect the display cables. Be very careful not to damage the connectors or cables.
6. Removing the Broken Screen:
- Once everything is disconnected, carefully remove the broken screen from the device. If it’s still stuck, gently use your plastic tools to lift it off without damaging the frame.
7. Installing the New Digitizer:
- Prepare the New Screen: Ensure the new screen is clean and ready for installation.
- Reconnect the Screen Cables: Gently reconnect the digitizer and LCD cables to the motherboard. Be sure the connectors align correctly.
- Reconnect the Battery: Reconnect the battery, ensuring it’s properly seated.
8. Securing the New Digitizer:
- Reattach the Screen to the Frame: Once the cables are connected, carefully place the new screen onto the iPad’s frame. Press gently along the edges to ensure it adheres to the adhesive.
- Reassemble the Internal Components: Reattach any screws or brackets that were removed during disassembly.
9. Testing the New Digitizer:

- Before sealing the iPad, power it on and test the new screen. Check for touch functionality, screen brightness, color accuracy, and any other issues.
- If everything is working properly, proceed to the final steps.
10. Final Assembly:
- Apply New Adhesive: If the original adhesive is no longer usable, apply fresh adhesive strips around the edges of the screen.
- Seal the Device: Carefully press down around the edges of the screen to seal it in place. Reattach any screws that secure the back panel or internal components.
- Power On the iPad: Perform a final test to ensure the device is fully functional.
Troubleshooting:
- Touchscreen Not Responding: If the touchscreen isn’t working, it could be due to improper cable connection or damage to the digitizer. Double-check the connections and ensure the cables are firmly connected.
- Display Issues (e.g., flickering, no display): If the screen shows no display or flickers, the LCD cable might not be connected properly, or the screen may be faulty.
Important Notes:
- Warranty Consideration: Replacing the screen yourself may void any warranty or AppleCare coverage.
- Professional Repair: If you are not confident in your ability to perform the replacement, consider taking the device to an authorized service provider or Apple repair center.
By following this detailed guide, you should be able to replace the screen on your iPad 10 (10th Gen) successfully.