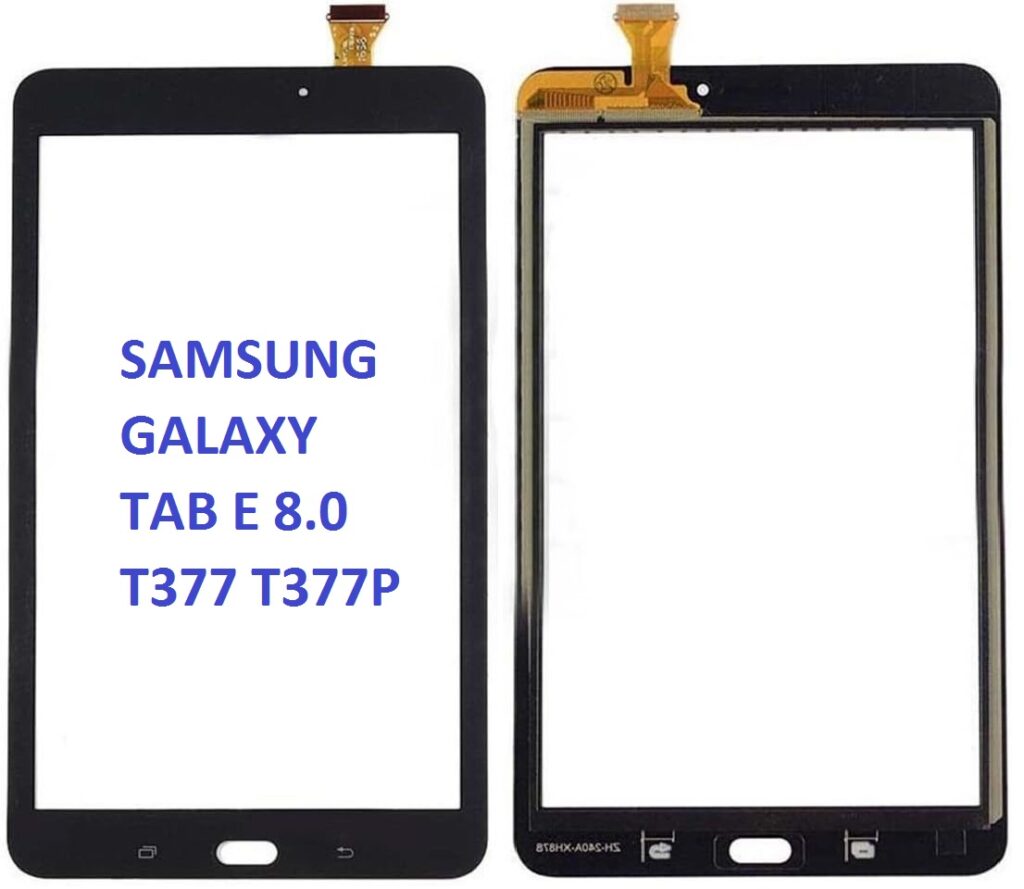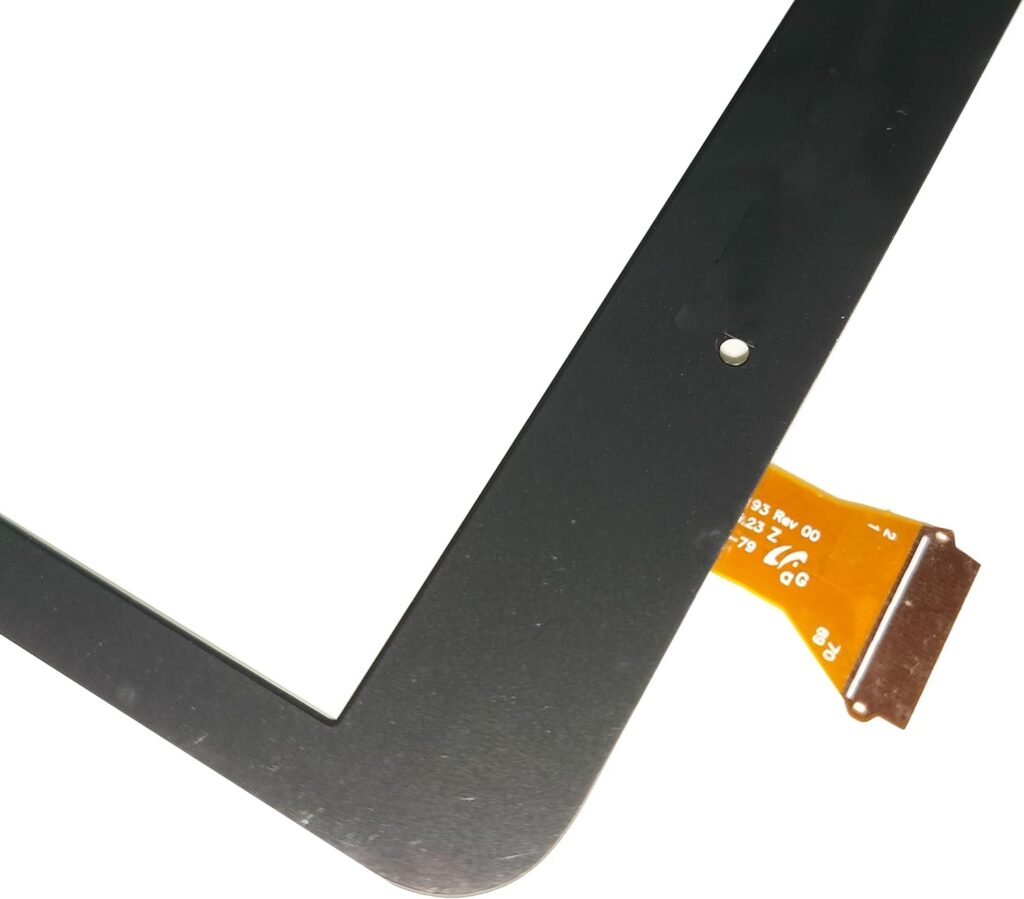
If you’re looking to replace the touchscreen glass (digitizer) for the Samsung Galaxy Tab E 8.0 (models: T377, T377P, T377V, T377A), you will need to carefully follow the replacement process. The digitizer is the layer of the screen that registers touch input, and replacing it requires careful handling, since it’s attached to the LCD screen.
Tools & Materials You’ll Need:
- Replacement digitizer (glass touchscreen) for Samsung Galaxy Tab E 8.0
- Pry tools or plastic opening tools
- Small Phillips-head screwdriver
- Suction cup tool (optional, but helpful)
- Isopropyl alcohol (for cleaning)
- Microfiber cloth
- Double-sided adhesive (for reassembling the screen)
- Heat gun or hairdryer (for softening adhesive)
- ESD-safe mat (to prevent static damage)
Step-by-Step Replacement Process:
1. Power Off the Device:
- Ensure that your Samsung Galaxy Tab E is turned off completely to avoid any electrical damage during the repair.
2. Remove the Back Cover:
- Use a plastic prying tool or a suction cup to lift the back cover from the device. Be gentle to avoid cracking the plastic. If the cover is too tight, heat it gently using a heat gun or hairdryer to soften the adhesive.
- Once the back cover is removed, you will see screws holding the internal components in place.
3. Disconnect the Battery:
- Locate the battery connector (usually near the bottom of the device). Use a plastic tool or a spudger to disconnect the battery from the motherboard to prevent any power from reaching the device during repairs.
4. Remove the Screws and Disassemble the Device:
- Use a small Phillips-head screwdriver to remove screws securing the internal parts, including the frame around the screen.
- Carefully detach any cables or connectors holding the internal components in place.
5. Heat the Screen (Digitizer):
- Use a heat gun or hairdryer to soften the adhesive under the screen. Hold the heat source a few inches away from the screen for about 2-3 minutes.
- Be cautious not to overheat the screen, as it could cause damage to the display or other internal components.
6. Separate the Digitizer from the LCD:
- Using a plastic prying tool or opening tool, gently begin to pry the glass digitizer from the LCD. Start from one corner and work your way around. Be patient and take your time to avoid cracking the glass.
- If necessary, apply more heat to loosen the adhesive as you go.
7. Clean the Screen Area:
- Once the old digitizer is removed, clean any remaining adhesive residue from the LCD screen with isopropyl alcohol and a microfiber cloth.
- Ensure that the LCD is free of fingerprints, dust, or debris before proceeding.
8. Attach the New Digitizer:

- Carefully align the new digitizer with the LCD. Place it gently into position without applying pressure yet.
- Once aligned correctly, press down gently to ensure the digitizer is attached properly.
9. Reassemble the Device:
- If the new digitizer does not come with adhesive pre-applied, you may need to apply double-sided adhesive around the edges of the screen to secure it.
- Reconnect any internal cables or connectors that were disconnected during disassembly.
- Reattach any screws and close the device back up by reattaching the back cover.
10. Reconnect the Battery:
- Once everything is back in place, reconnect the battery to the motherboard.
11. Test the New Screen:
- Before fully sealing the device, power it on and test the new touchscreen digitizer to ensure it responds to touch properly. Check for dead zones or areas where the screen doesn’t respond.
12. Seal the Device:
- If everything is working well, shut down the device again.
- Reassemble the device by securing the back cover and any remaining screws. Make sure all components are securely reattached.
13. Final Power On:
- Power on the device one last time to verify everything works correctly.
Additional Tips:
- If you’re unsure about the process or have no experience, it’s often recommended to seek professional help or have the repair done by a technician to avoid accidental damage.
- Make sure to buy the correct replacement digitizer (compatible with your specific Galaxy Tab E 8.0 model).
- Handling delicate components like the screen and motherboard carefully is key to avoiding further damage.
With the right tools and patience, this repair should restore your device to its full functionality.