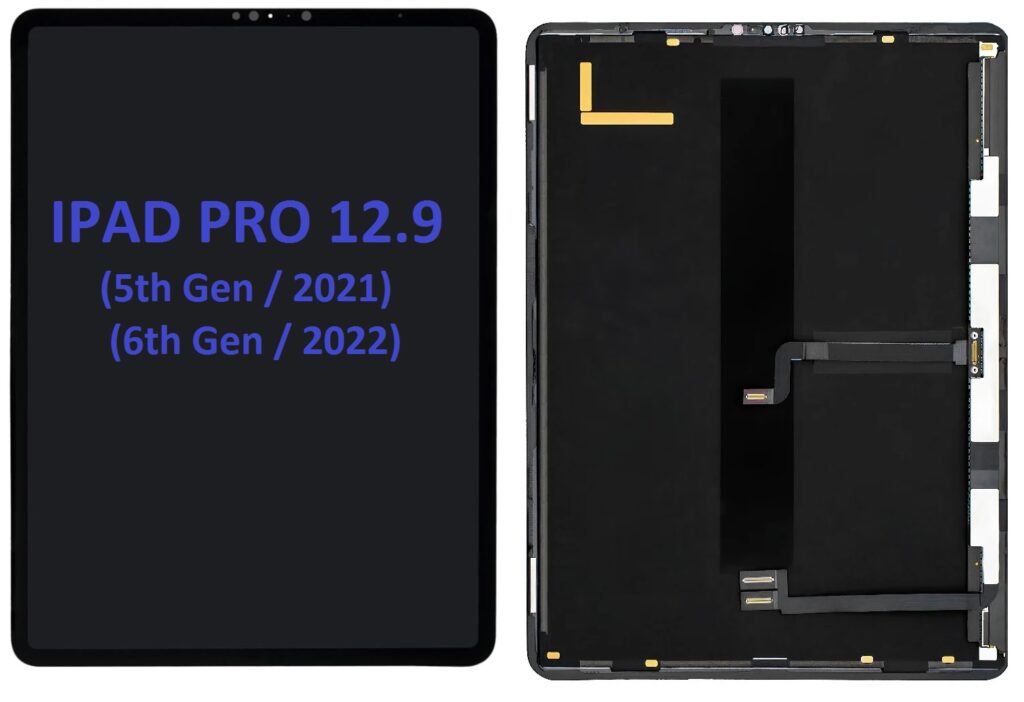
The iPad Pro 12.9 (5th Gen, 2021) and iPad Pro 12.9 (6th Gen, 2022) both have the same 12.9-inch Liquid Retina XDR display, featuring a resolution of 2732 x 2048 pixels. This is a large, high-quality display with ProMotion, True Tone, and wide color support, providing a superb visual experience.
Screen Replacement Process for iPad Pro 12.9 (5th & 6th Gen):
Replacing the LCD on an iPad Pro 12.9 is a complex process, as it involves working with delicate components. It is typically recommended to have the replacement done by a professional technician, especially since the iPad’s screen is glued on tightly and is difficult to remove without proper tools.
Below is a general overview of the screen replacement process:
Tools Needed:
- Pentalobe screwdriver
- Tri-point screwdriver (Y000)
- Plastic opening tools
- Suction cup tool
- Heat gun or hairdryer
- Plastic pry tools
- Spudger tool
- Anti-static wrist strap (optional)
- Replacement LCD screen
Steps for Replacement:
- Power Off the iPad:
- Before beginning any repairs, power off the device completely.
- Remove the SIM Card Tray:
- If your iPad has a SIM card, remove the SIM tray using a SIM ejector tool.
- Apply Heat to the Screen:
- Use a heat gun or hairdryer to heat the edges of the iPad. This helps soften the adhesive holding the screen in place. Be cautious not to overheat and damage internal components.
- Use a Suction Cup:
- Attach a suction cup near the top edge of the iPad’s screen. Gently pull on the suction cup to create a gap between the screen and the body of the iPad. This will allow you to insert the plastic opening tools.
- Pry the Screen Open:
- Insert a plastic opening tool into the gap created by the suction cup. Gently slide the tool around the edges to separate the screen from the body. Work carefully and slowly to avoid damaging the screen or bending the frame.
- Disconnect the Battery:
- Once the screen is slightly open, use a tri-point screwdriver to remove screws securing the internal components. Disconnect the battery from the motherboard using a spudger or plastic tool. This is important to avoid accidental power during the repair process.
- Disconnect the Display Cable:
- Locate the display connector cable that connects the screen to the motherboard. Remove any screws or brackets securing the cable and then gently disconnect the display cable using a plastic pry tool.
- Remove the Damaged Screen:
- Once the display cable is disconnected, the damaged LCD screen can be completely removed from the device. Be careful to avoid damaging other internal components.
- Prepare the New Screen:
- Before installing the new LCD, carefully inspect the new screen to ensure it’s the correct part and free from damage.
- Apply adhesive or adhesive strips along the edges of the device to hold the screen in place once installed.
- Install the New Screen:
- Carefully align the new screen with the device and reconnect the display cable. Make sure the cable is securely attached to the motherboard.
- Reconnect the battery to restore power to the device.
- Test the New Screen:
- Before fully sealing the iPad, power it on and check the new screen. Test touch functionality, brightness, and the overall display quality.
- Reassemble the iPad:
- Once you’re satisfied with the screen’s functionality, carefully press the screen back into place, ensuring that the adhesive bonds securely.
- Replace any screws you may have removed earlier to hold the internal components in place.
- Reinsert the SIM Tray (if applicable):
- If you removed a SIM card tray, reinsert it into the iPad.
- Power On the Device:
- Power on your iPad Pro, and confirm everything is working properly, including the display, touch functionality, and other features.
Important Considerations:
- Warranty Impact: Replacing the screen on your own may void the warranty, so check Apple’s warranty terms before proceeding.
- Precision Required: iPad screens are held on tightly with adhesive, and if not done carefully, you risk damaging the frame, display, or internal components. It is highly recommended to have a professional handle the replacement if you’re not experienced.
- Replacement Parts: Ensure you use a genuine or high-quality replacement screen to maintain the functionality and performance of your iPad.
Professional Repair Option:
If you’re not confident in doing the repair yourself, visiting an Apple Store or authorized repair center is the safest option. Apple’s out-of-warranty repair for screen replacement can be costly but ensures the repair is done with high-quality parts and expert technicians.