If you’re a proud owner of the Google Pixel 6 or Pixel 6 Pro, you know how amazing the display is. But accidents happen, and sometimes the LCD (Liquid Crystal Display) can break or get damaged, resulting in an unresponsive or cracked screen. In this blog, we will go over everything you need to know about replacing the LCD on your Google Pixel 6 (GB7N6) or Pixel 6 Pro (G9S9B), including the tools required, the replacement process, and helpful tips to ensure a smooth repair.
Why Replace the Google Pixel 6 LCD?
Before diving into the repair process, let’s understand why replacing the LCD on your Pixel 6 or Pixel 6 Pro might be necessary.
- Cracked Screen: Accidental drops, bumps, or general wear and tear can lead to a cracked screen. If the cracks are severe, it may make using your phone difficult.
- Unresponsive Touchscreen: Sometimes, the screen becomes unresponsive to touch or exhibits ghost touch behavior, where the phone registers touches that weren’t made. This could indicate an issue with the LCD.
- Display Issues: If your display has dead pixels, color distortion, or backlight bleeding, replacing the LCD is the best solution.
- Water Damage: Liquid ingress can cause permanent damage to the display, affecting its performance and visibility.
In these cases, a screen replacement will restore your device to its former glory. Let’s get into how to properly replace the LCD on your Google Pixel 6 (GB7N6) or Pixel 6 Pro (G9S9B).
Tools Required for Replacing the Google Pixel 6 LCD
When it comes to screen repairs, having the right tools is crucial to avoid causing further damage. Here is a list of tools you’ll need:
1. Heat Gun or Hair Dryer
- A heat gun or hair dryer is necessary to soften the adhesive holding the screen in place. The heat makes it easier to remove the broken screen without causing additional harm to the components underneath.
2. Plastic Pry Tools
- These tools help you gently open up your phone without damaging the internal components. Avoid metal tools to prevent scratching the screen or damaging the internal components.
3. Suction Cup
- A suction cup tool is used to lift the screen from the device body after softening the adhesive. It helps you get a good grip on the screen while you work.
4. SIM Card Ejector Tool
- This tool will help you eject the SIM card tray and give you access to screws that secure the internal components.
5. Phillips Head Screwdrivers
- You will need a small Phillips head screwdriver to remove the screws in the device.
6. T5 Torx Screwdriver
- Some screws in the Google Pixel 6 may require a T5 torx screwdriver, especially when working with the internal parts of the phone.
7. Plastic Spudger
- The plastic spudger is an essential tool for prying open parts of the phone and disconnecting fragile internal components like the battery and display connectors.
8. Replacement LCD Screen
- The most critical component of this repair is the replacement LCD screen for your Pixel 6 or Pixel 6 Pro. Make sure to buy a high-quality replacement screen to avoid display issues down the line.
9. Tweezers
- Tweezers help with the delicate task of handling tiny components or screws, ensuring you don’t damage anything while reassembling the phone.
10. Adhesive Strips or Glue
- You will need new adhesive or double-sided adhesive strips to reattach the new screen securely. The screen is usually glued to the body of the phone, and this adhesive is important for reassembly.
Replacing the Google Pixel 6 LCD: Step-by-Step Guide
Now that you have your tools ready, let’s break down the process of replacing the LCD on your Google Pixel 6 (GB7N6) or Pixel 6 Pro (G9S9B).
Step 1: Power Down Your Phone
Before doing any repair work, turn off your Pixel 6 completely. This ensures there is no power running through the device while you’re working on it.
Step 2: Remove the SIM Card Tray
Use the SIM card ejector tool to remove the SIM card tray. This step gives you access to screws that secure the internal components of the phone.
Step 3: Heat the Display
Using a heat gun or hair dryer, gently heat the edges of the screen. This softens the adhesive that holds the LCD in place, making it easier to remove the display. Be careful not to overheat the phone. Apply heat for about 2-3 minutes, but don’t hold the heat source too close to the device.
Step 4: Pry Open the Screen
Once the adhesive is softened, use the suction cup to create a small gap between the screen and the body of the phone. Slowly insert a plastic pry tool into the gap and work your way around the phone to separate the screen from the body. Be patient and work slowly to avoid damaging internal components.
Step 5: Disconnect the Battery
Before you disconnect the display, it’s a good idea to disconnect the battery to prevent any accidental short circuits. Use a plastic spudger to carefully disconnect the battery cable from the motherboard.
Step 6: Disconnect the Broken LCD
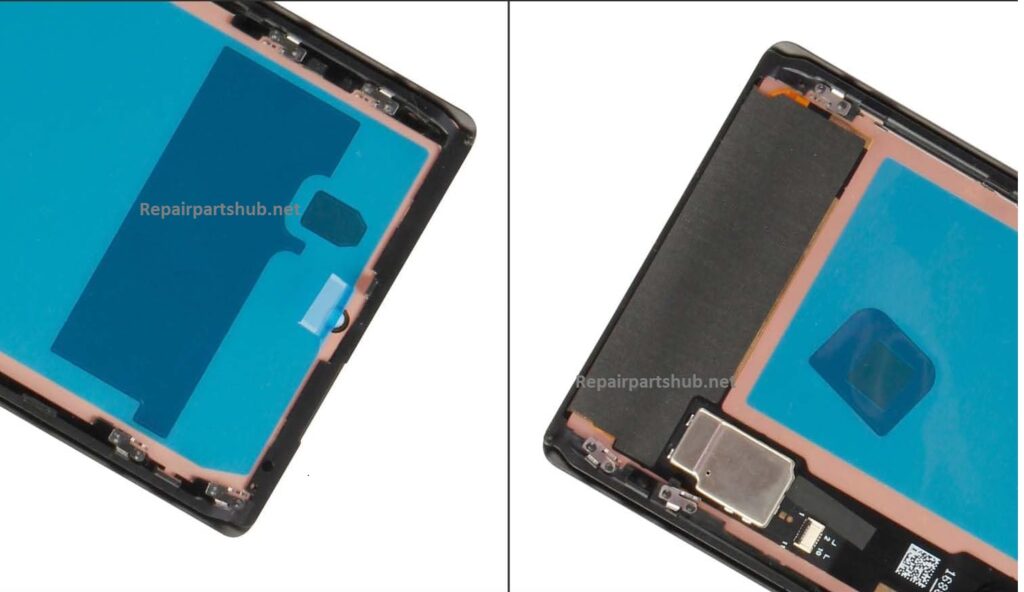
Once the battery is disconnected, you can proceed to disconnect the LCD screen. Use your spudger or tweezers to carefully disconnect the flex cable that attaches the display to the motherboard. There may be screws or clips securing the connector, so be sure to handle these carefully.
Step 7: Remove the Broken LCD
After disconnecting the display, you can now carefully remove the broken or damaged LCD from the phone body. Set the broken LCD aside, being cautious not to cut yourself on any glass shards.
Step 8: Install the New LCD
Take your new replacement LCD screen and align it with the connectors on the motherboard. Connect the flex cable to the motherboard and secure it in place with any screws or clips that were originally holding it. Ensure that the screen is perfectly aligned with the phone body.
Step 9: Reassemble the Phone
Once the new screen is connected, it’s time to reassemble the phone. First, reconnect the battery, and then use adhesive strips or glue to secure the new screen in place. Press the screen firmly and ensure the adhesive bonds properly.
Step 10: Power On Your Device
Once everything is reassembled, power on your Google Pixel 6 to ensure the new screen is functioning correctly. Check the display for any dead pixels, color issues, or touch responsiveness.
Step 11: Test Your Phone
Finally, run some basic tests to ensure that the phone is working well. Check the touchscreen for responsiveness, make sure the display is bright and clear, and test the camera to ensure it’s not obstructed by the new screen.
Additional Tips and Considerations
- Backup Your Data: Before starting any repair process, always back up your phone data. In case something goes wrong, you won’t lose your contacts, photos, and other essential files.
- Professional Repair Services: If you don’t feel confident performing the repair yourself, or if your device is still under warranty, consider taking it to a professional repair service.
- Replacement Quality: Always buy high-quality replacement parts. Cheap or low-quality LCD screens can lead to poor display performance and potential issues with touch sensitivity.
- Patience is Key: This is a delicate repair process, so take your time and don’t rush. The more carefully you work, the better the final result will be.
Conclusion
Replacing the LCD on your Google Pixel 6 (GB7N6) or Pixel 6 Pro (G9S9B) can seem daunting at first, but with the right tools and careful steps, you can restore your device to its former glory. The process involves heating the screen to soften the adhesive, removing the broken LCD, and installing a new one with precision. If you’re up for the challenge and have the necessary tools, this DIY repair can save you the cost of professional repair services and give your phone a second life.
Whether you’re fixing a cracked screen or addressing display issues, following this guide step by step will ensure your Pixel 6 is back to working perfectly. Good luck with your repair, and enjoy your refreshed phone!