If you own the TCL 10 Pro T799B or T799H, you’re likely impressed by its sleek design, curved AMOLED display, and strong performance. But accidents happen—cracked screens, unresponsive touch, or display malfunctions are unfortunately common. Instead of replacing the entire phone, replacing the LCD display is often a more cost-effective and environmentally friendly option.
In this blog, we’ll take a deep dive into the LCD Display Compatible with TCL 10 Pro T799B/T799H 6.47″ Touch Screen Assembly with Tools, including features, compatibility, and a detailed replacement guide to help you do it yourself.
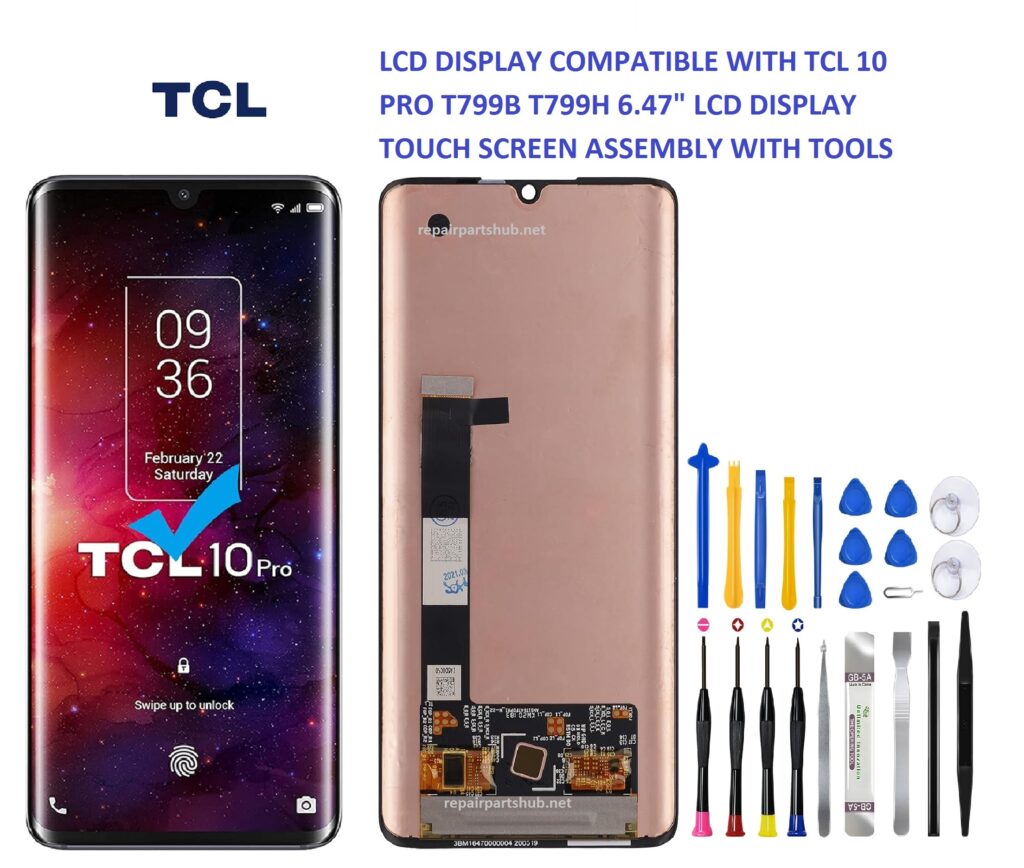
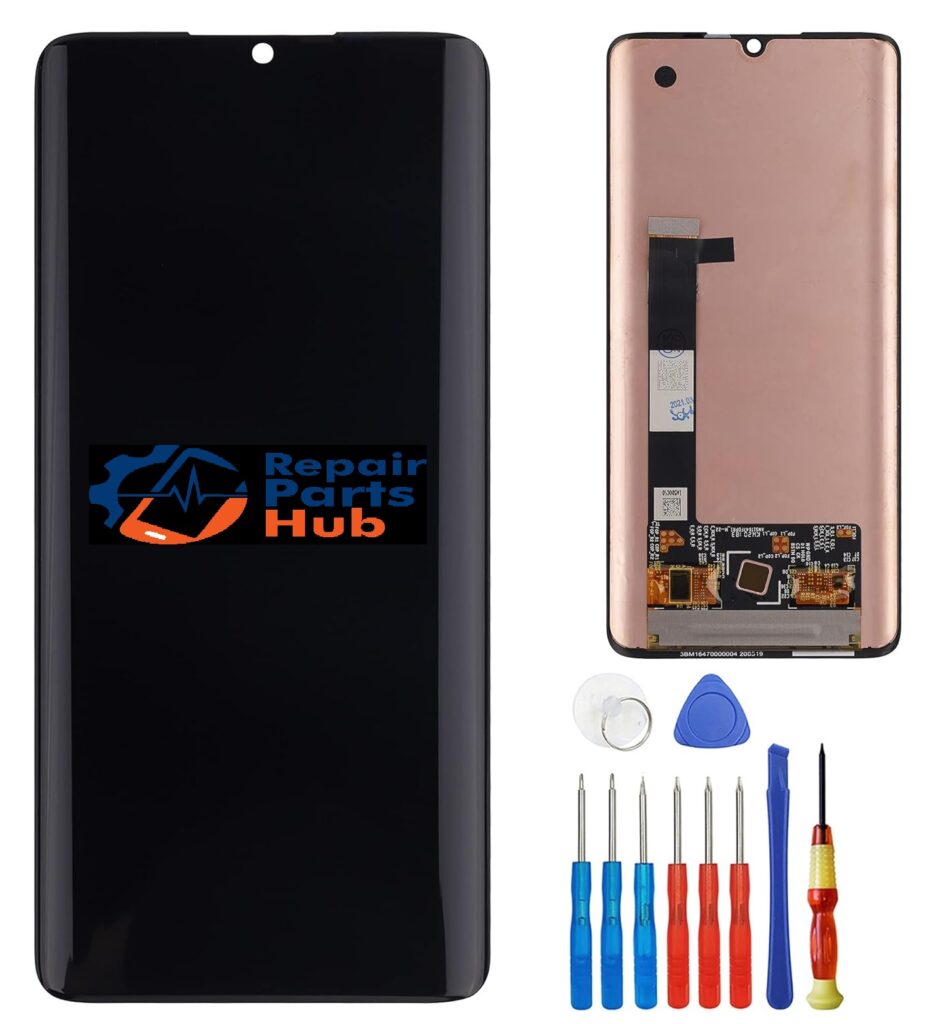
What’s in the Box?
When you purchase the LCD Display + Touch Screen Assembly Kit, here’s what you typically receive:
- 6.47″ OLED or AMOLED LCD Display Assembly
- Pre-installed touch digitizer
- Tool kit (includes screwdrivers, plastic picks, suction cup, SIM pin, tweezers)
- Adhesive or double-sided tape
- Instruction manual or QR code to video guide (depending on the supplier)
Note: Always double-check whether the replacement is OLED or LCD, as the TCL 10 Pro originally uses an AMOLED screen. Aftermarket replacements may use different technology.
Compatibility
This screen replacement is specifically designed for:
- TCL 10 Pro T799B
- TCL 10 Pro T799H
Model Confirmation Tip: Go to Settings > About Phone to verify your exact model number before purchasing a replacement.
DIY Screen Replacement Guide
Replacing the LCD display of the TCL 10 Pro requires patience and the right tools. Here’s a step-by-step guide to help you through the process.
Disclaimer: This process requires moderate technical skill. If you’re not comfortable, consult a professional technician.
Step 1: Power Off the Device
Make sure your phone is completely turned off before beginning the repair.
Step 2: Remove the SIM Tray
Use the SIM ejector tool to remove the SIM card tray.
Step 3: Heat the Edges
Use a heat gun or hairdryer on medium heat to soften the adhesive around the edges. Gently heat for 1–2 minutes.
Step 4: Open the Back Panel
- Use the suction cup to lift the back cover.
- Slide the plastic picks around the edges to release the clips.
- Be gentle to avoid cracking the glass back.
Step 5: Disconnect the Battery
Always disconnect the battery first to avoid short circuits.
Step 6: Remove the Old Screen
- Disconnect the display and digitizer connectors.
- Use heat again to loosen the screen adhesive.
- Pry off the old screen slowly and carefully.
Step 7: Clean the Frame
Remove leftover adhesive or glass fragments using tweezers and isopropyl alcohol.
Step 8: Install the New Screen
- Align the new display with the frame.
- Reconnect the digitizer and display cables.
- Use the provided adhesive or double-sided tape to secure the screen.
Step 9: Reconnect the Battery and Test
Power on the device before sealing everything. Check for:
- Display quality
- Touch responsiveness
- No dead zones
Step 10: Seal the Back Cover
If everything works fine, apply adhesive to the back cover and press it firmly for a few minutes.
Tips for a Successful Replacement
- Work in a clean, well-lit environment.
- Use an anti-static mat or wrist strap if available.
- Watch a video guide before attempting if you’re unsure of the steps.
- Take your time—rushing can lead to mistakes.
Final Thoughts
Replacing your TCL 10 Pro’s display might sound daunting, but with the right tools and some patience, it’s entirely doable. The LCD Display + Touch Screen Assembly Kit makes the process easier by including everything you need in one box.
Whether you’re fixing it yourself or helping a friend, you’ll save money, learn a new skill, and keep a great phone out of the landfill.
Specialized mobile parts stores
Just make sure the seller has good reviews and provides quality assurance or warranty on the part.
Need help identifying the part or want video recommendations? Just drop a comment or message us for personalized guidance!