Is your iPad Air 13 (2024 or 2025 model) not holding a charge like it used to? If you’re experiencing rapid battery drain, unexpected shutdowns, or your device refuses to turn on, it may be time for a battery replacement.
Whether you’re a DIY enthusiast or just exploring your repair options, this guide covers everything you need to know about replacing the battery in your iPad Air 13.
Compatible Models
This replacement battery is specifically designed for:
- iPad Air 13-inch (2024)
- iPad Air 13-inch (2025)
Check your model number in Settings > General > About to confirm compatibility.
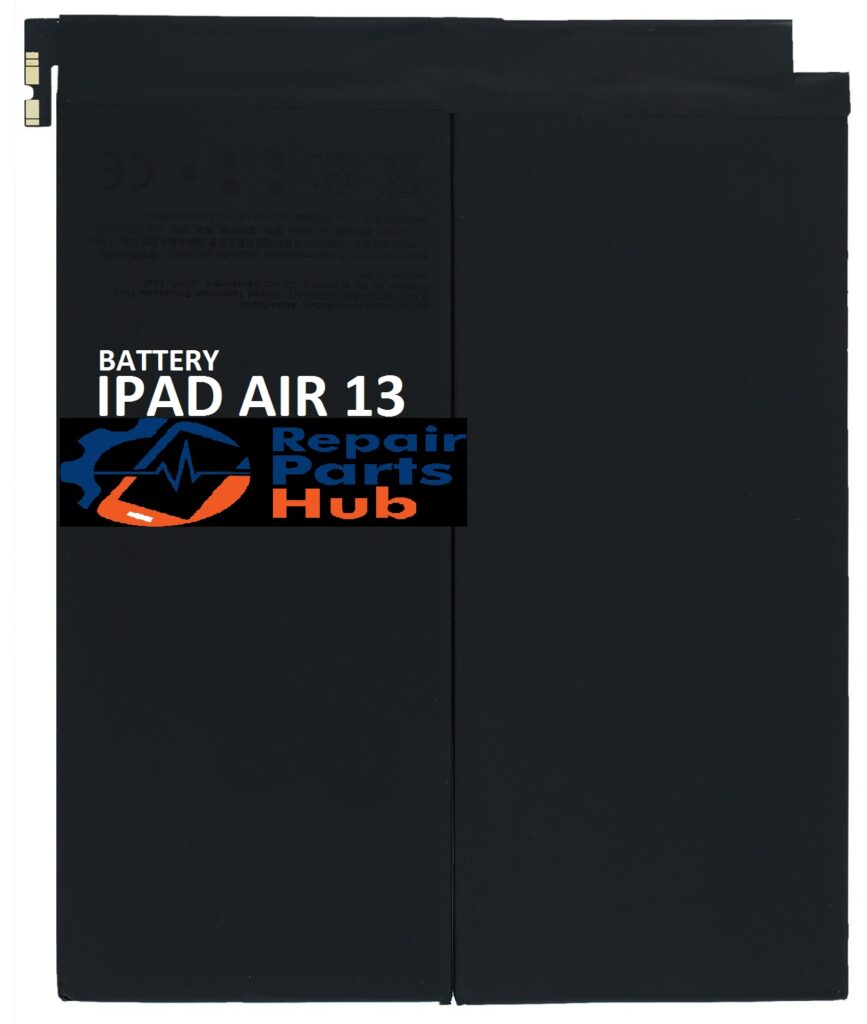
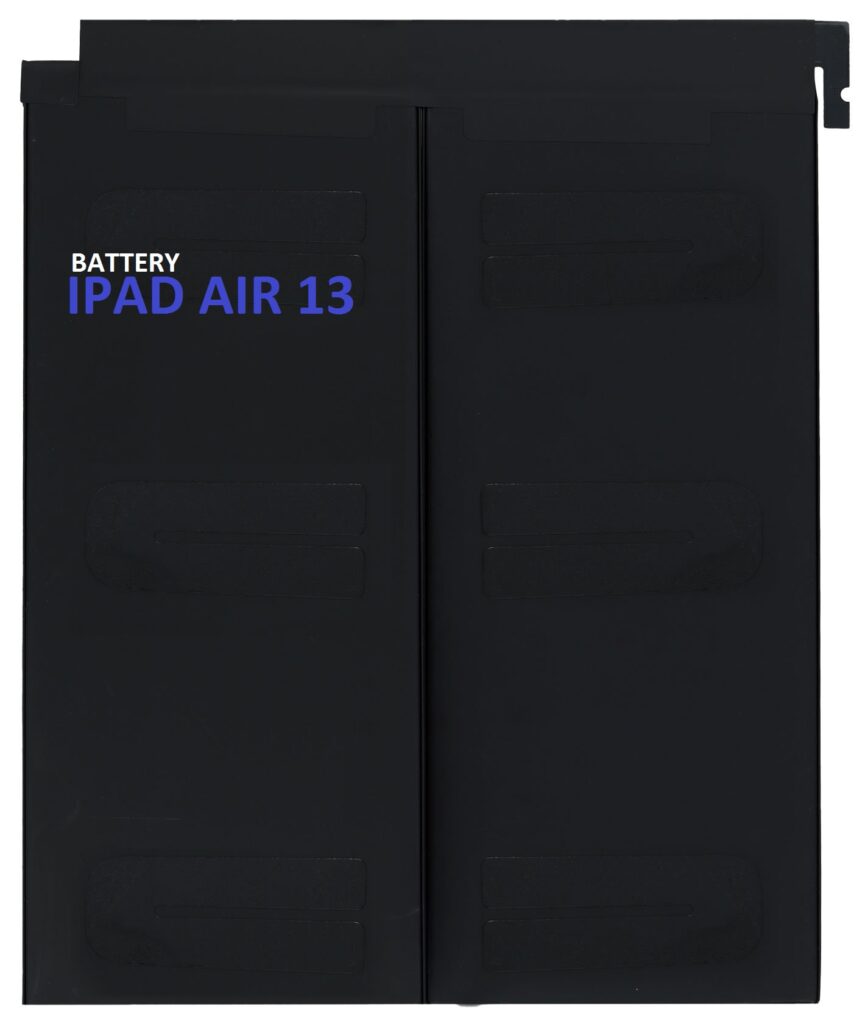
Battery Specifications
- Type: Li-ion Polymer
- Capacity: 10758 mAh (typical)
- Voltage: 3.79V
- Cycle Life: 500+ full charge cycles
- Certifications: CE, RoHS, FCC
Replacement Process (Step-by-Step)
Warning: The iPad Air 13 uses strong adhesive and delicate internal components. This process requires patience, the right tools, and a steady hand.
What You’ll Need:
- Replacement battery (OEM or high-quality third-party)
- Heat gun or iOpener
- Suction cup or screen lifting tool
- Plastic opening picks
- Phillips and Pentalobe screwdrivers
- Nylon spudger or pry tool
- Isopropyl alcohol (90% or higher)
- Adhesive strips or double-sided tape
- Anti-static wrist strap (recommended)
Step-by-Step Instructions:
Step 1: Power Down & Prepare
- Turn off your iPad.
- Disconnect it from any charger or accessories.
- Work on a clean, static-free surface.
Step 2: Soften the Screen Adhesive
- Apply heat evenly around the edges using a heat gun or iOpener.
- Carefully slide plastic picks under the screen to begin separating it from the frame. Be patient avoid bending the screen.
Step 3: Disconnect the Display
- Once loosened, slowly lift the screen from the frame.
- Use a Phillips screwdriver to remove the internal metal shielding.
- Carefully disconnect the battery and display connectors using a plastic spudger.
Step 4: Remove the Old Battery
- Gently pry the battery up using a plastic tool. Avoid puncturing it.
- If it’s stuck, apply a bit of isopropyl alcohol under the battery to loosen the adhesive.
Step 5: Install the New Battery
- Place the new battery in the same position.
- Secure it using new adhesive strips or double-sided tape.
- Reconnect the battery and display connectors.
Step 6: Reassemble
- Replace the internal shielding and screws.
- Carefully align and press down the screen until it’s flush with the frame.
- Power on the iPad to test functionality before applying pressure.
Post-Installation Tips
- Calibrate the Battery: Charge your iPad to 100%, then let it drain to 0% once before fully charging again.
- Watch for overheating or swelling. If you notice anything unusual, power down immediately.
- Avoid using fast chargers during the first few cycles.
Where to Buy a Replacement Battery
Look for trusted suppliers that offer:
- 12-month warranty
- OEM-grade parts
- Customer support
- Verified customer reviews
Recommended platforms include: Amazon, iFixit, and specialized repair part retailers.
Not Comfortable Doing It Yourself?
Battery replacement for newer iPads is notoriously tricky. If you’re unsure, consider having it replaced by a professional technician or visiting an Apple Authorized Service Provider.
Final Thoughts
The iPad Air 13 (2024 / 2025) is a powerful tablet, but like all lithium-ion devices, the battery won’t last forever. Replacing it can extend your device’s life by years just make sure to follow proper safety steps or seek expert help if needed.
Have questions or need help sourcing a reliable battery? Drop a comment or contact us directly!