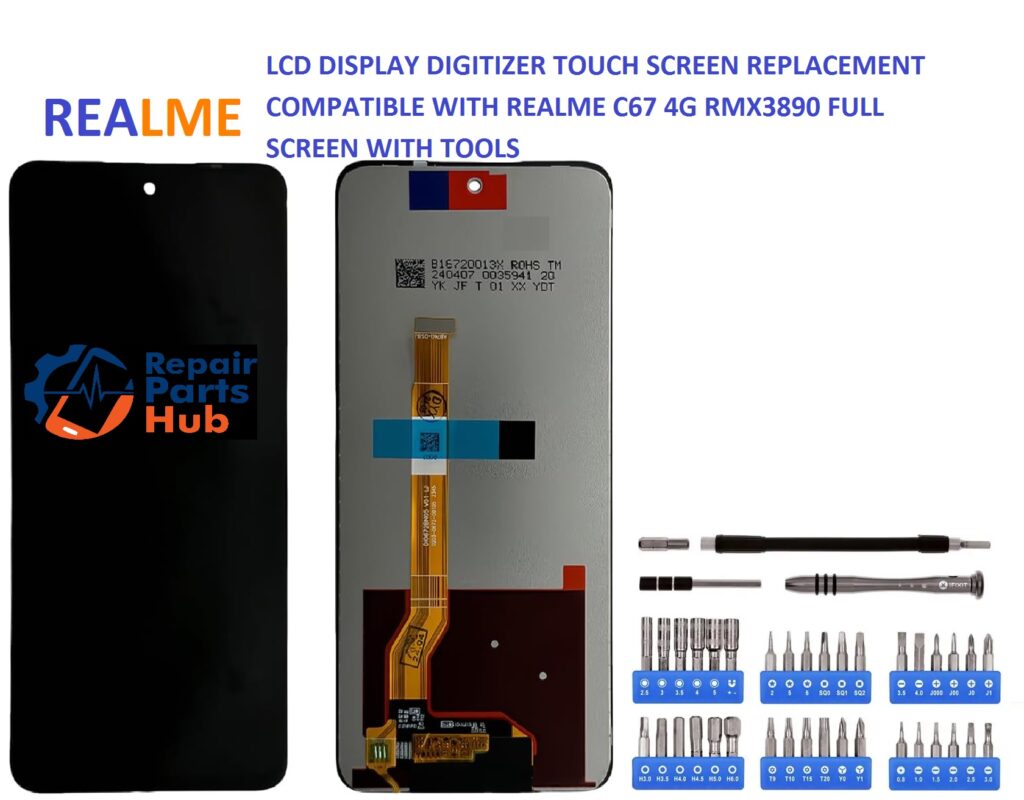
Are you facing issues with your Realme C67 4G RMX3890’s screen, whether it’s a cracked display, unresponsive touch, or a malfunctioning LCD? Don’t worry, replacing the LCD Display Digitizer Touch Screen is simpler than it sounds, and with the right tools and guidance, you can restore your phone to its former glory.
In this blog post, we’ll walk you through the process of replacing the full screen of your Realme C67 4G RMX3890 with a compatible LCD digitizer touch screen, including tips on handling the tools required for the job.
Why Replace the LCD Display Touch Screen?
Before diving into the replacement process, let’s first talk about why you may need to replace your Realme C67 4G screen.
- Cracked or Damaged Screen: If your screen has been shattered due to a drop or impact, it’s essential to replace it to avoid further damage.
- Unresponsive Touch: If your phone’s touch screen isn’t responding to taps or swipes, replacing the digitizer might solve the problem.
- Display Issues: If your screen has dead pixels, discoloration, or flickering, a new LCD could be the solution.
Regardless of the reason, replacing the screen with an OEM-quality LCD digitizer ensures your phone functions like new.
What You’ll Need for the Replacement
Before you start, make sure you have the following tools and materials:
Essential Tools
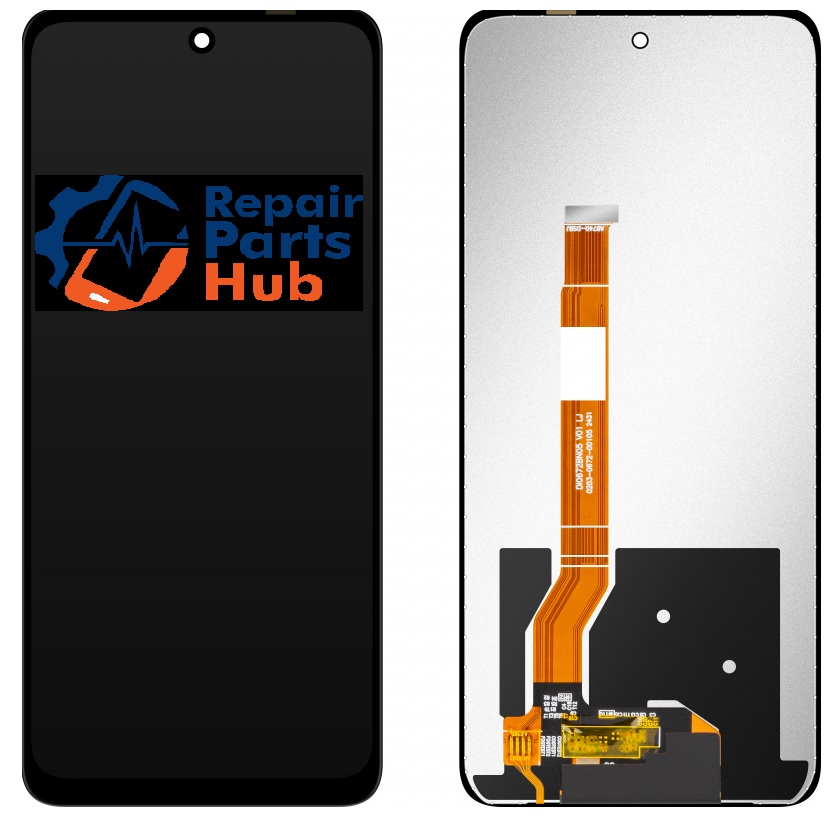
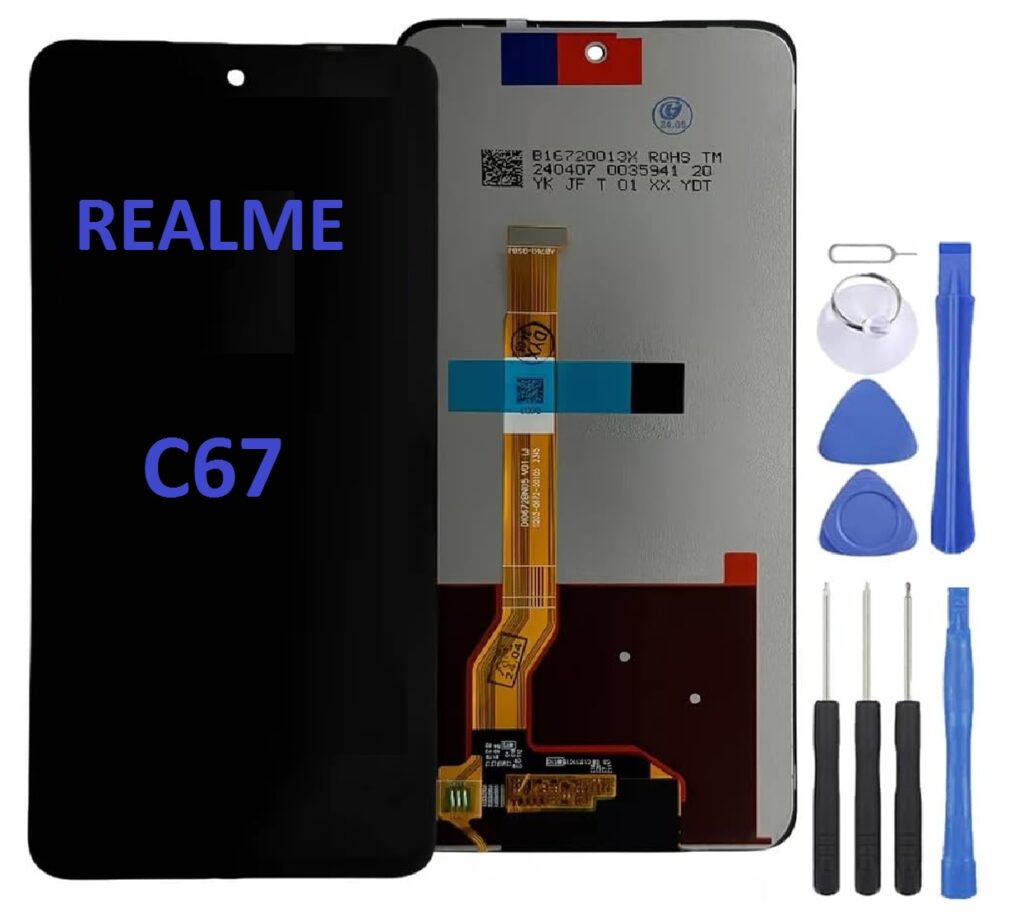
- Compatible LCD Display Digitizer Touch Screen for Realme C67 RMX3890: This is the most crucial part. Ensure you have the exact replacement screen for your device model.
- Small Philips and Flathead Screwdrivers: These will help you unscrew and open the device.
- Plastic Pry Tools: To help open the phone without damaging or scratching the surface.
- Suction Cup Tool: Used to lift the screen without causing pressure or cracking it further.
- Tweezers: Handy for removing any small components.
- SIM Card Ejector Tool: To remove the SIM card tray and ensure the screen is free to be removed.
- Heat Gun or Hair Dryer: If the adhesive is tough, you can gently heat the screen to soften it.
- Anti-static Wrist Strap: A safety tool to avoid static discharge that could damage the internal components.
- Double-Sided Tape or Adhesive: For reattaching the new screen once it’s installed.
Step-by-Step Guide to Replacing the LCD Display on Your Realme C67 RMX3890
Step 1: Power Off Your Phone
Before starting, make sure your Realme C67 is completely powered off to avoid any electrical issues or damage to the internal components during the replacement process.
Step 2: Remove the SIM Card Tray
Use the SIM card ejector tool to remove the SIM tray from the side of your phone. This gives you better access to the internal parts when opening the device.
Step 3: Unscrew the Back Panel or Frame
Use the small Philips screwdriver to remove any screws securing the back panel or frame of your Realme C67. Be sure to keep track of where each screw goes, as there may be different sizes.
Step 4: Heat the Edges of the Screen
Once the screws are out, use a heat gun or hairdryer to gently heat the edges of the screen. Heating the adhesive makes it easier to separate the screen from the phone body. Make sure not to overheat it, as this could damage the internal components.
Step 5: Use a Suction Cup Tool
Place the suction cup tool at the edge of the screen and gently pull on it to create a small gap between the screen and the phone. Once you have a small gap, insert a plastic pry tool to start separating the display from the frame. Be gentle to avoid damaging any internal parts.
Step 6: Disconnect the Battery
Once the screen is separated, locate the battery connector and carefully disconnect it. This is a critical step to ensure that you’re not working with live electrical components while you handle the screen replacement.
Step 7: Disconnect the LCD and Digitizer Cable
Now, use a plastic pry tool or tweezers to disconnect the LCD and digitizer cables from the motherboard. There will usually be a set of connectors holding the display in place, so make sure to remove them carefully.
Step 8: Remove the Broken Screen
Once all cables are disconnected, you can now fully remove the old, broken screen. Set it aside carefully.
Step 9: Install the New LCD Display Digitizer
Now it’s time to install the new LCD display digitizer touch screen for your Realme C67 RMX3890. Start by connecting the new LCD and digitizer cables to the motherboard. Make sure they are securely plugged in.
Step 10: Reconnect the Battery
After securing the new screen in place, reconnect the battery to ensure the phone powers up and that the screen functions correctly. You can test the touch functionality and display before fully securing the screen.
Step 11: Secure the New Screen
Once you’re sure everything is working, press the new screen into place. If the screen uses adhesive, apply double-sided tape or adhesive glue around the edges to secure it firmly.
Step 12: Reassemble Your Phone
Now that the screen is in place, carefully reassemble the back panel, securing it with screws. Reinsert the SIM tray.
Step 13: Power On and Test
Power on your Realme C67 4G and check if the display is working as expected. Test the touch sensitivity, display quality, and ensure there are no flickers or dead pixels.
Conclusion
Replacing the LCD Display Digitizer Touch Screen on your Realme C67 4G RMX3890 may seem intimidating at first, but with the right tools and a steady hand, it can be a straightforward process. Just take your time and make sure each step is done with care.
By following the steps above, you can save time and money compared to having a professional repair your phone. Just make sure you’re working in a safe environment and handle each component with care. If you’ve successfully replaced the screen, congratulations on bringing your phone back to life!
If you’re not confident doing it yourself, consider taking your phone to a repair shop, but for those who are tech-savvy, this DIY repair is a great option.