If your Samsung Galaxy A06 has a cracked screen, dead pixels, or unresponsive touch, it might be time for a screen replacement. Whether you’re a DIY tech enthusiast or just trying to save on repair costs, replacing the LCD display with touch screen digitizer assembly can breathe new life into your device.
In this blog, we’ll explore:
- What this replacement includes
- Compatibility details
- Tools needed
- Step-by-step replacement process
- Pro tips for a successful repair
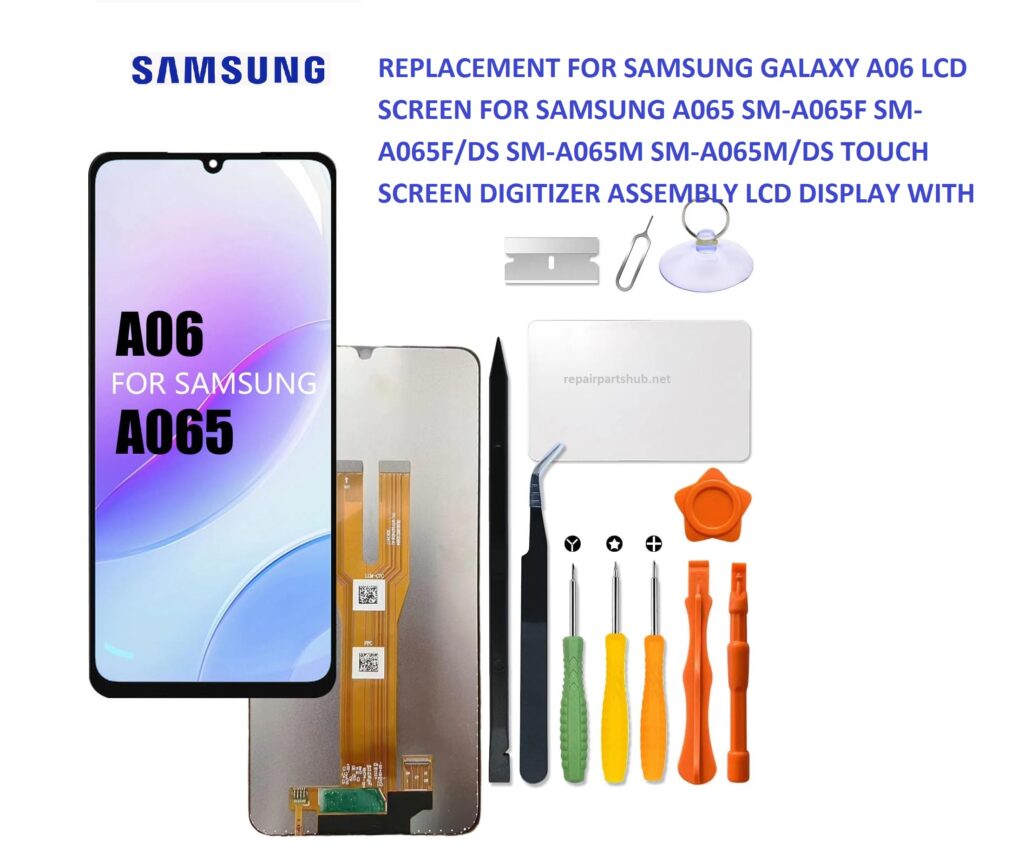
What’s Included in the Replacement?
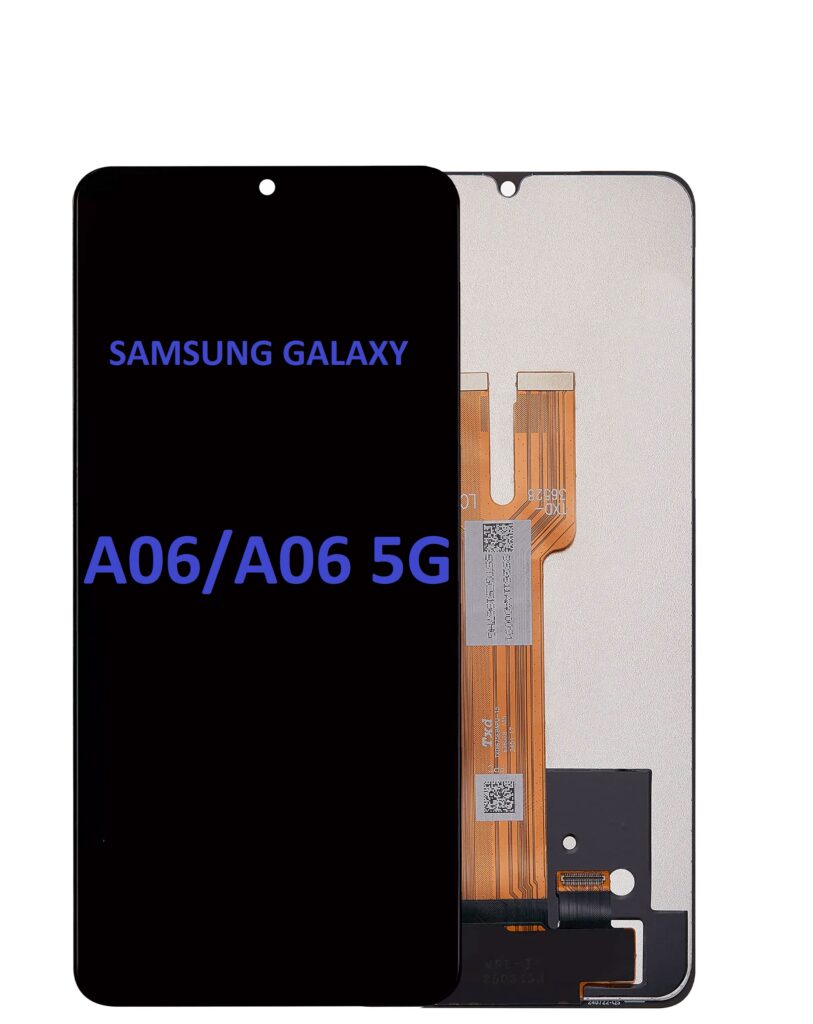
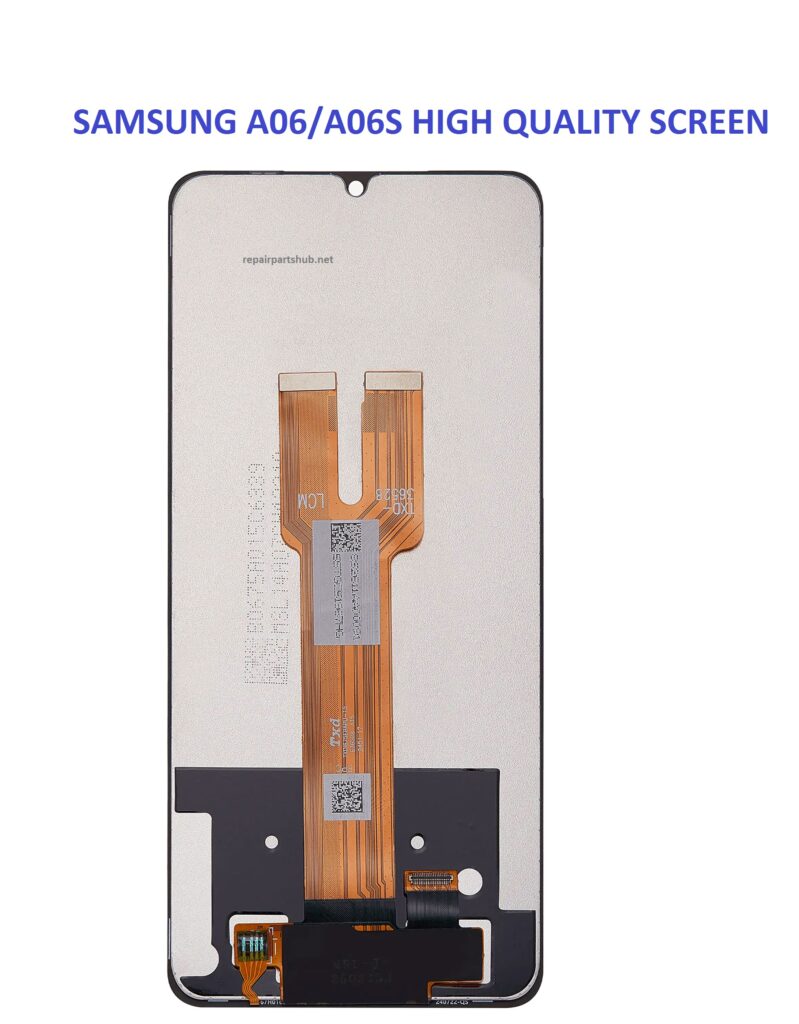
The LCD screen replacement assembly for the Galaxy A06 includes:
- TFT/LCD Display Panel
- Capacitive Touch Screen Digitizer (fused with display)
- Frame/bezel (optional depending on seller)
- Pre-installed flex cables and connectors
- Adhesive (in some kits)
Note: This assembly is specifically compatible with the following models:
- SM-A065F
- SM-A065F/DS (Dual SIM)
- SM-A065M
- SM-A065M/DS (Dual SIM)
Tools You’ll Need
Make sure to gather the following tools before you begin:
- Phillips head screwdriver (#00 or #000)
- Plastic pry tools or spudger
- SIM card ejector tool
- Tweezers
- Heat gun or hairdryer
- Suction cup tool (optional)
- Adhesive strips or B7000 glue (if not pre-installed)
Step-by-Step Replacement Process
Caution: Replacing your screen may void your warranty. Proceed with care, and if unsure, consult a professional.
Step 1: Power Off & Remove SIM Tray
- Turn off the phone completely.
- Use the SIM ejector tool to remove the SIM tray.
Step 2: Heat the Back Cover
- Use a heat gun or hairdryer to gently heat the edges of the back cover to soften the adhesive.
- Run the suction cup tool or pry tool around the edges to slowly lift the back cover.
Step 3: Disconnect the Battery
- Unscrew the midframe cover (around the motherboard).
- Disconnect the battery connector first to avoid short-circuits.
Step 4: Disconnect the Display Cable
- Locate the display and digitizer connectors on the motherboard.
- Gently disconnect these using a plastic pry tool.
Step 5: Remove the Broken Screen
- Heat the front display to loosen the adhesive.
- Carefully pry the screen from the frame, ensuring you don’t damage the internal components.
Step 6: Clean and Prep the Frame
- Remove any leftover adhesive from the frame.
- Ensure the surface is clean and free from dust or debris.
Step 7: Install the New Display
- Align the new LCD and digitizer assembly with the frame.
- Connect the new display and digitizer flex cables to the motherboard.
- Test the screen before sealing to ensure functionality.
Step 8: Reassemble the Phone
- Once tested, secure the screen using adhesive or clips.
- Reconnect the battery.
- Screw the midframe back into place.
- Reattach the back cover using adhesive or heat for a snug fit.
Final Checks
Before celebrating your successful repair, double-check:
- Touch responsiveness
- Brightness and colors
- SIM & SD card detection
- All buttons and sensors
Pro Tips
- Use ESD-safe tools to prevent static discharge.
- Don’t force any components; if something feels stuck, check for missed screws or clips.
- If you’re reusing the original adhesive, apply heat to reactivate it for a tighter seal.
Where to Buy the Screen Assembly
You can find quality replacement screens on:
- Amazon
- Mobile repair part suppliers (like Witrigs, Injured Gadgets, MobileSentrix)
- Repair parts hub
Be sure to match your model number (e.g., SM-A065F/DS) before purchase.
Conclusion
Replacing your Samsung Galaxy A06 screen doesn’t have to be a daunting task. With the right tools, patience, and a quality replacement part, you can restore your phone’s display to like-new condition. If DIY isn’t your thing, you can always bring the part to a local repair shop and save on markup costs.
Have questions about compatible parts or need help finding a seller? Drop a comment below and we’ll guide you!