How to Replace the LCD Display on Xiaomi Redmi K50 Gaming (K50G) – Model 22041211AC
The Xiaomi Redmi K50 Gaming, also known as K50G, is a powerhouse built for high-performance mobile gaming. With its Qualcomm Snapdragon 8 Gen 1 chipset, magnetic pop-up gaming triggers, and a 120Hz AMOLED display, it’s no wonder that gamers across the world flock to this phone for an immersive experience.
But even the most durable phones are not immune to accidents. Whether your screen cracked from a drop or started showing display issues like dead pixels or touch lags, replacing the LCD is a viable way to breathe new life into your device. In this post, we’ll guide you through everything you need to know about the LCD replacement process for Xiaomi Redmi K50G, model number 22041211AC, focusing on the LCD Display Touch Screen Assembly.
What You Need: Tools & Replacement Parts
Tools Required:
- Plastic opening tools / guitar pick
- Phillips screwdriver (preferably size #000)
- Tweezers
- Suction cup tool
- SIM card ejector pin
- Heat gun or hair dryer
- Adhesive tape or glue (B7000 or T7000 recommended)
- Anti-static wrist strap (optional but recommended)
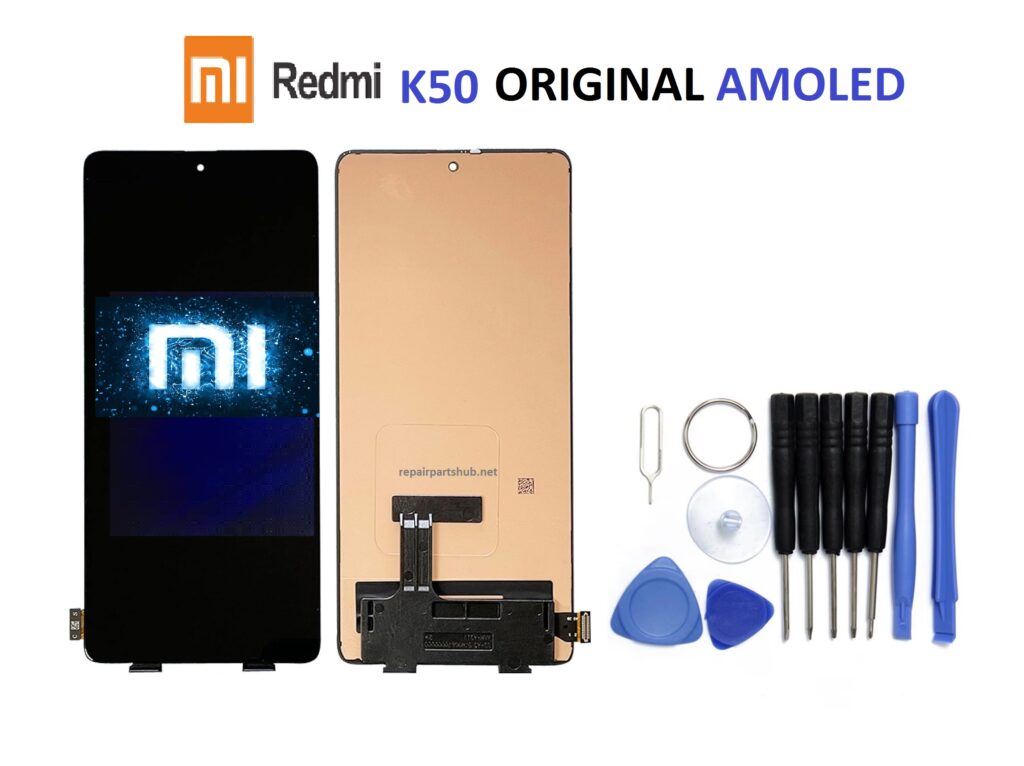
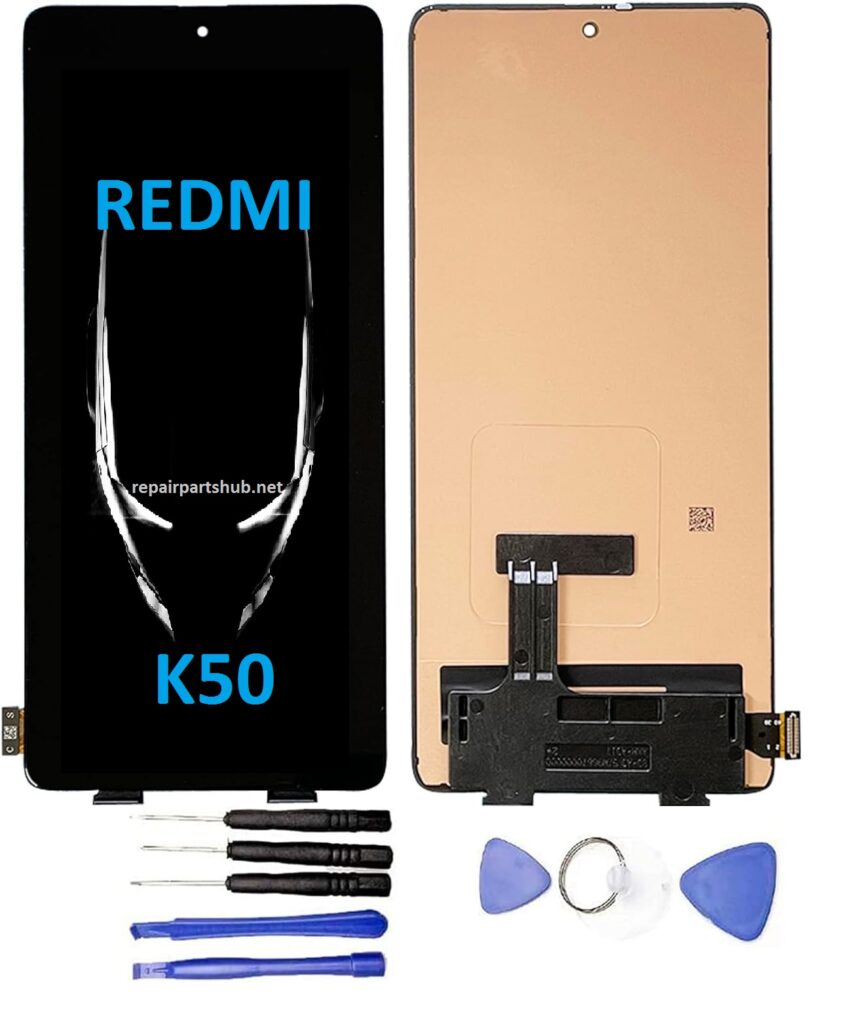
Replacement Part:
- LCD Display Touch Screen Digitizer Assembly for Xiaomi Redmi K50 Gaming (Model 22041211AC).
Ensure it’s a high-quality OEM or compatible part. Always verify the part number and confirm compatibility before purchasing.
Step-by-Step LCD Replacement Guide
Disclaimer: This guide is for educational purposes. If you’re not confident in doing the replacement yourself, we recommend consulting a professional technician. Proceeding may void your warranty.
Step 1: Power Off and Prepare
Turn off the phone completely and remove the SIM card tray using the ejector pin. This is important to avoid damaging internal components or short-circuiting.
Step 2: Heat the Back Panel
The back panel is glued shut. Use a heat gun or hair dryer around the edges to soften the adhesive. Be gentle and don’t overheat—you’re aiming for around 70–80°C (158–176°F).
Use a suction cup to lift the back panel slightly and then slide a plastic opening tool or guitar pick around the edges. Take your time with this step to avoid breaking the glass.
Step 3: Disconnect the Battery
Once the back cover is removed, locate and remove the screws securing the metal shield that covers the battery connector. Use tweezers to remove the shield and then disconnect the battery using a plastic tool. Safety firstalways disconnect the power source.
Step 4: Remove the Old Display
Remove screws and disconnect the display flex cable and digitizer cable from the motherboard. Some versions may have additional tape or adhesive holding the cables in place.
Use the heat gun again to warm the front side of the phone and soften the adhesive securing the LCD display. Slowly pry the screen out from the front frame. Be extra careful near the edges where components are more fragile.
Step 5: Clean the Frame
Remove all old adhesive residue from the frame. Clean the area with a microfiber cloth and isopropyl alcohol. This ensures the new screen will sit flush and adhere properly.
Step 6: Install the New Display Assembly
Align the new LCD and touch screen assembly carefully into the frame. Connect the display and digitizer cables to the motherboard before fully securing it this lets you test it before sealing.
Temporarily reconnect the battery and power on the phone to test the new screen. Check for:
- Touch responsiveness
- Display brightness and color
- Dead pixels or flickering
If everything looks good, proceed.
Step 7: Final Assembly
Once tested:
- Apply new adhesive or use screen-safe glue like T7000 around the frame.
- Seat the display properly and press it evenly to secure.
- Reconnect the battery, reinstall the metal shield, and screw everything back into place.
- Reattach the back cover, using new adhesive if necessary. Apply gentle pressure around the edges for a few minutes to ensure a good seal.
Post-Repair Tips
- Keep it powered off for a few hours to allow the adhesive to set fully.
- Use a screen protector and case to prevent future damage.
- If you used glue, avoid applying pressure to the display for at least 12-24 hours.
- Calibrate the touch screen if needed through the settings or a diagnostic app.
Final Thoughts
Replacing the LCD Display Touch Screen Assembly on the Xiaomi Redmi K50 Gaming (22041211AC) is a moderately challenging DIY task. With the right tools and patience, you can save money and extend the life of your favorite gaming phone. Whether you’re a gamer or just someone who loves powerful phones, keeping your device in top shape ensures a smoother and more enjoyable experience.
Have you tried replacing your K50G screen? Share your experience or questions in the comments below!
Would you like a downloadable PDF version of this guide or an infographic walkthrough?