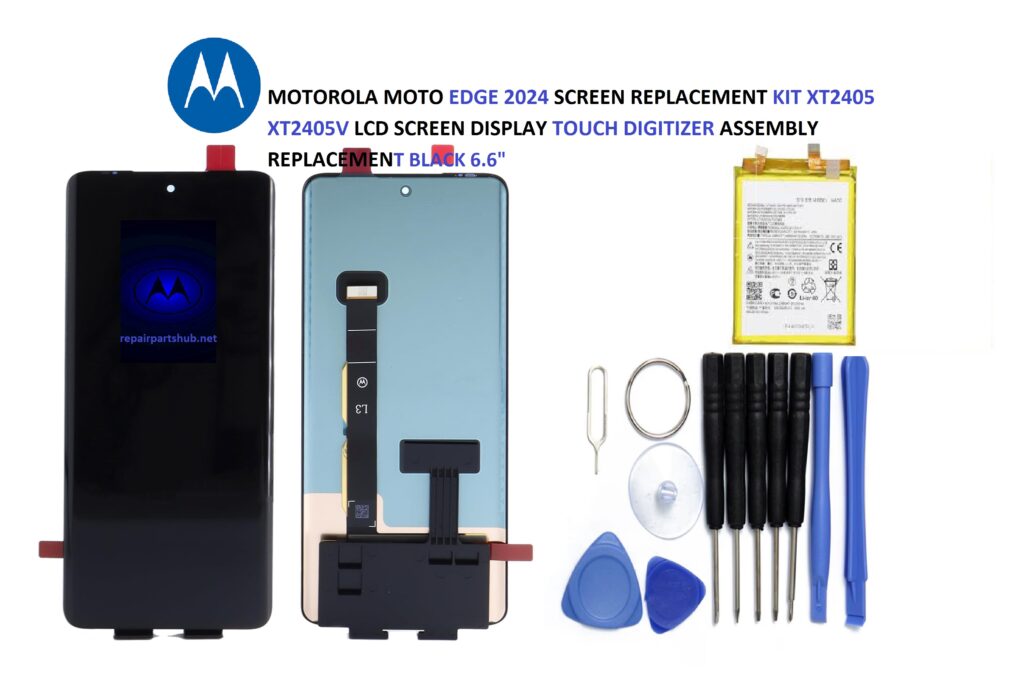
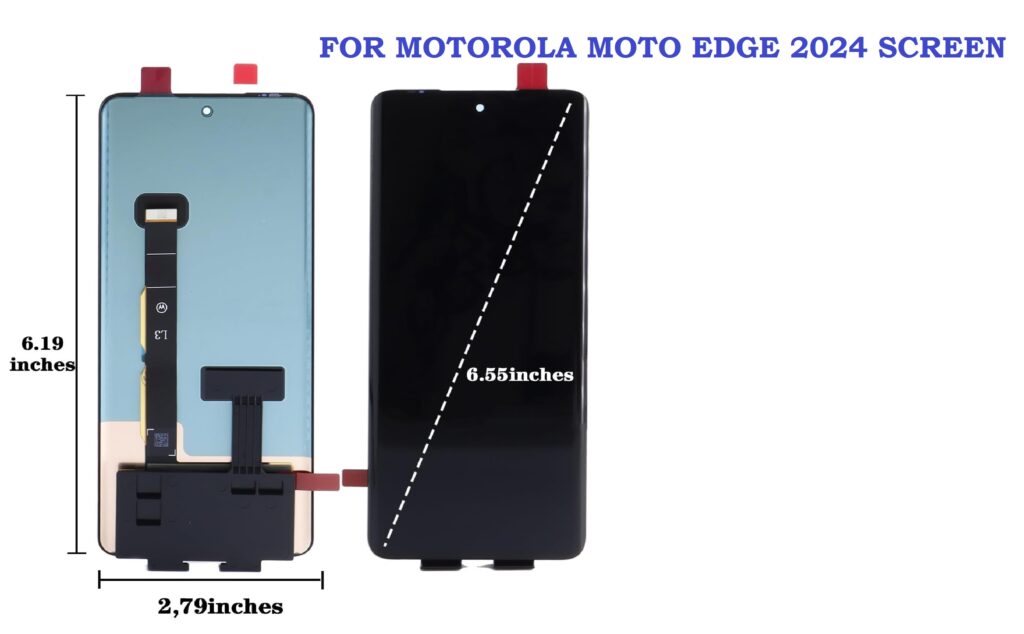
Accidents happen—whether it’s a drop, a scratch, or simply wear and tear, your Motorola Moto Edge 2024 (XT2405 / XT2405V) screen can end up needing a replacement. The good news is, fixing it doesn’t always require a trip to an expensive repair shop. With the Motorola Moto Edge 2024 Screen Replacement Kit, you can restore your device to its full glory with a new 6.6-inch LCD Screen Display Touch Digitizer Assembly.
In this blog post, we’ll walk you through everything you need to know about the screen replacement kit, from what’s included in the package to step-by-step instructions for installation. Let’s get started!
Why Choose a Screen Replacement Kit for the Moto Edge 2024?
Replacing the screen of your Motorola Moto Edge 2024 can be a daunting task if you don’t have the right tools and know-how. However, with the Screen Replacement Kit, you can save time, money, and effort by handling the repair on your own. Here’s why this kit is a great option for you:
- Cost-Effective: Professional repairs can cost a lot, but this kit is a much more affordable alternative.
- Quality Parts: The replacement screen is made to match the original, offering a high-quality, vibrant display with touch responsiveness just like your original screen.
- Convenience: Repairing your phone at home means you don’t have to worry about waiting days for a technician to fix it.
- Satisfaction: There’s a rewarding feeling in fixing your device yourself—plus, it can be a fun DIY project!
What’s Included in the Kit?
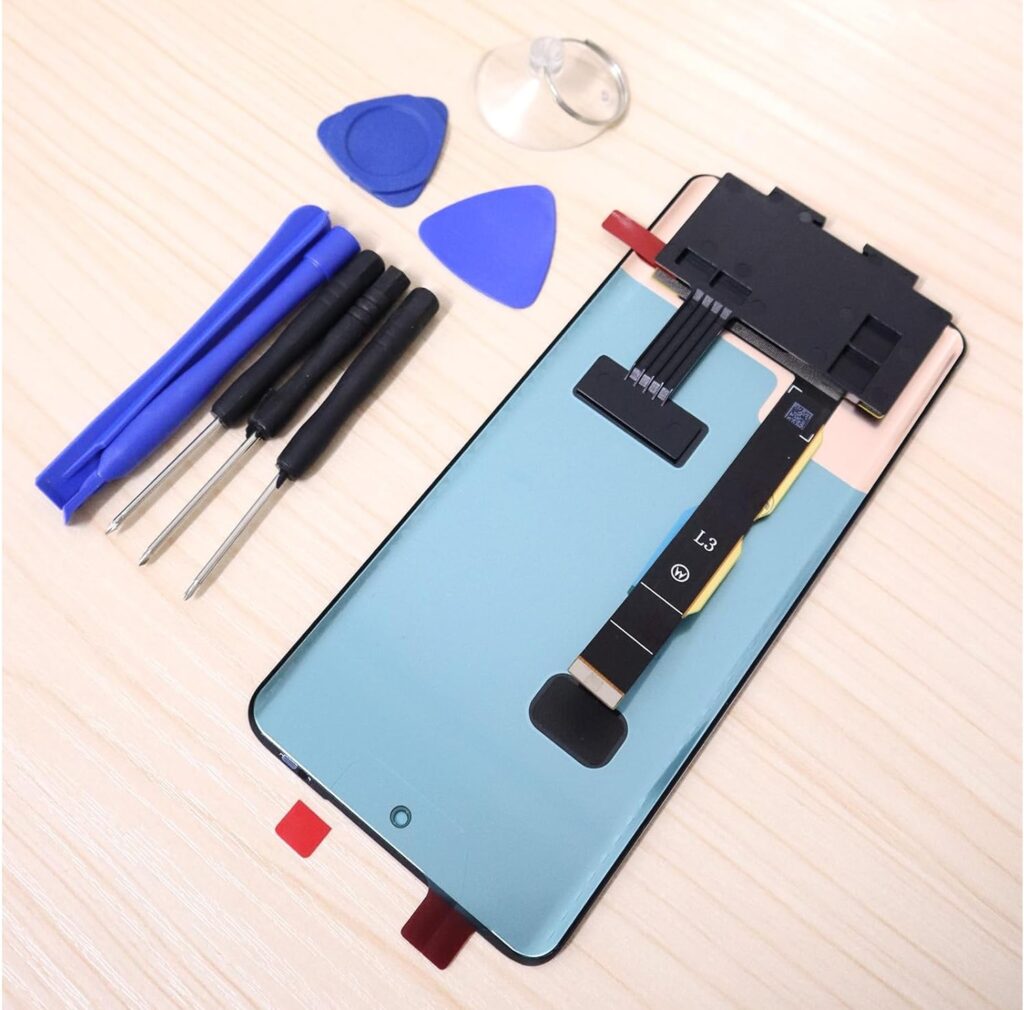
When you order the Motorola Moto Edge 2024 Screen Replacement Kit, you’ll receive everything you need to complete the repair. Here’s a quick rundown of the contents:
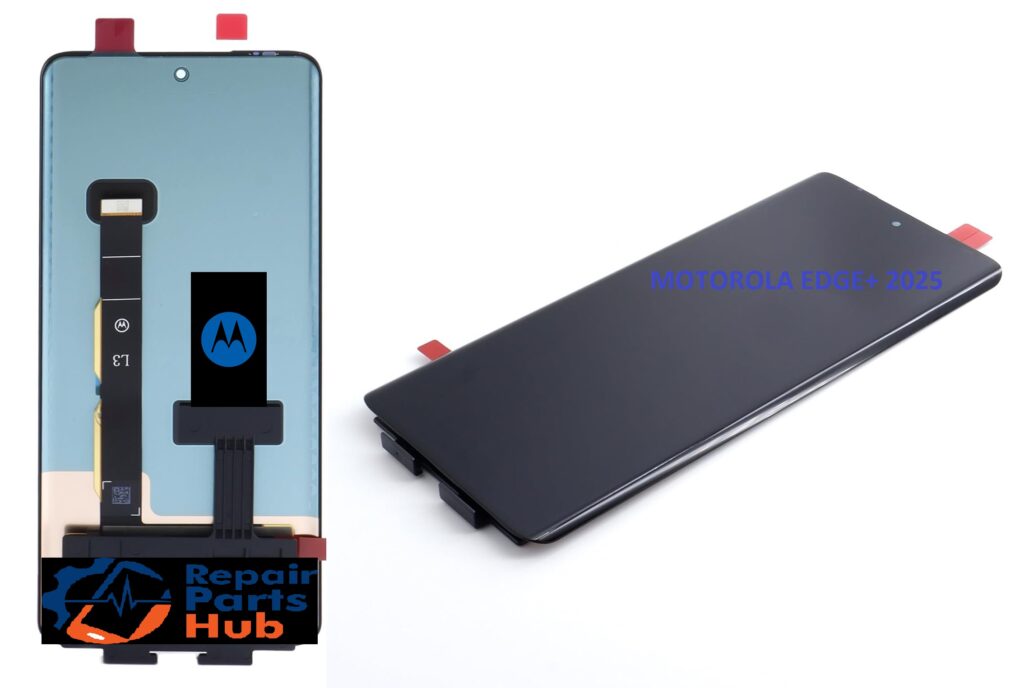
- 6.6-inch LCD Screen Display and Touch Digitizer Assembly (Black)
- Precision Screwdrivers: To unscrew the necessary components with ease.
- Plastic Pry Tools: To help you open the phone without damaging the internal components.
- Suction Cup Tool: Essential for lifting the screen away from the phone body.
- Adhesive Strips: To securely bond the new screen to the phone.
- SIM Card Tray Ejector: A small tool to safely remove your SIM card if needed during the repair.
Preparing for the Repair
Before you dive into the screen replacement process, make sure you’re fully prepared. Here are a few things to consider:
- Backup Your Data: If you haven’t already, it’s crucial to back up your phone. While this process generally doesn’t affect your data, it’s always better to be safe than sorry.
- Turn Off Your Phone: Power down the Motorola Moto Edge 2024 to avoid any electrical accidents while working.
- Work in a Clean, Well-Lit Space: A clean environment is essential to prevent small parts from getting lost during the process.
- Have Patience: The process requires some time and patience, so don’t rush it. Ensure you follow each step carefully.
Step-by-Step Installation Guide
Step 1: Remove the Back Cover and Battery
- Tools: Screwdriver, Pry Tools, Suction Cup Tool
- Use the suction cup to lift the back cover slightly. Gently insert a plastic pry tool to separate the adhesive. Once the back cover is removed, disconnect the battery from the motherboard by unscrewing the connector.
Step 2: Unscrew the Frame
- Tools: Precision Screwdrivers
- Remove all screws holding the frame together. Make sure to keep track of each screw, as different screws may be different lengths.
Step 3: Remove the Broken Screen
- Tools: Pry Tools, Suction Cup Tool
- Use the suction cup to lift the broken screen off the phone body. Gently pry around the edges with the plastic tools to separate the screen from the phone. Be careful not to damage the internal components, especially the connectors.
Step 4: Install the New LCD Screen
- Tools: None (Just your hands)
- Take the new 6.6-inch LCD Screen from the kit and align it with the body of the phone. Make sure the connectors are properly aligned before pressing it into place.
- Once in position, apply light pressure to secure it.
Step 5: Reassemble the Phone
- Tools: Screwdrivers, Pry Tools
- Reattach the screws to hold the frame back in place, reconnect the battery, and ensure everything is securely put together.
- Place the back cover back on and press firmly to ensure the adhesive sticks.
Step 6: Power On and Test
- Turn on your Motorola Moto Edge 2024 and check if the screen is working properly. Test touch responsiveness, brightness, and the overall display quality. If everything looks good, congratulations, you’ve successfully replaced the screen!
Tips for a Successful Repair
- Be Gentle: Always handle the components with care. The LCD screen and other parts can be fragile.
- Use Proper Tools: Using the right tools is crucial to avoid damaging the phone or its components.
- Take Your Time: Don’t rush the process. A slow and steady approach will give you better results.
- If You’re Unsure: If you find the repair process too complicated, you can always seek professional help. But don’t be afraid to try it yourself—many people have successfully replaced their phone screens with the right tools and patience.
Conclusion
Replacing the screen of your Motorola Moto Edge 2024 (XT2405 / XT2405V) can be a straightforward process with the right tools and a little bit of know-how. With the Screen Replacement Kit, you get high-quality parts and a step-by-step guide to make the repair as easy as possible. Not only will you save money, but you’ll also feel a great sense of accomplishment in fixing your device.
Have you ever replaced a phone screen before, or is this your first time? Let us know your thoughts or any questions you may have in the comments below!