Apple’s iPhone 16 has certainly taken the smartphone world by storm. With its sleek design, enhanced performance, and innovative features, it’s no wonder that many iPhone enthusiasts are eager to keep their devices in top-notch condition. However, accidents happen, and sometimes the external housing (or body) of your iPhone may suffer cracks, dents, or other damage. Whether it’s from a drop, impact, or general wear and tear, the need for a complete housing replacement can arise.
In this blog post, we’ll walk you through everything you need to know about replacing the housing on your iPhone 16, including why you might need a replacement, the steps involved, potential costs, and whether or not it’s worth DIY-ing or leaving it to the professionals.
Why Would You Need a Complete Housing Replacement?
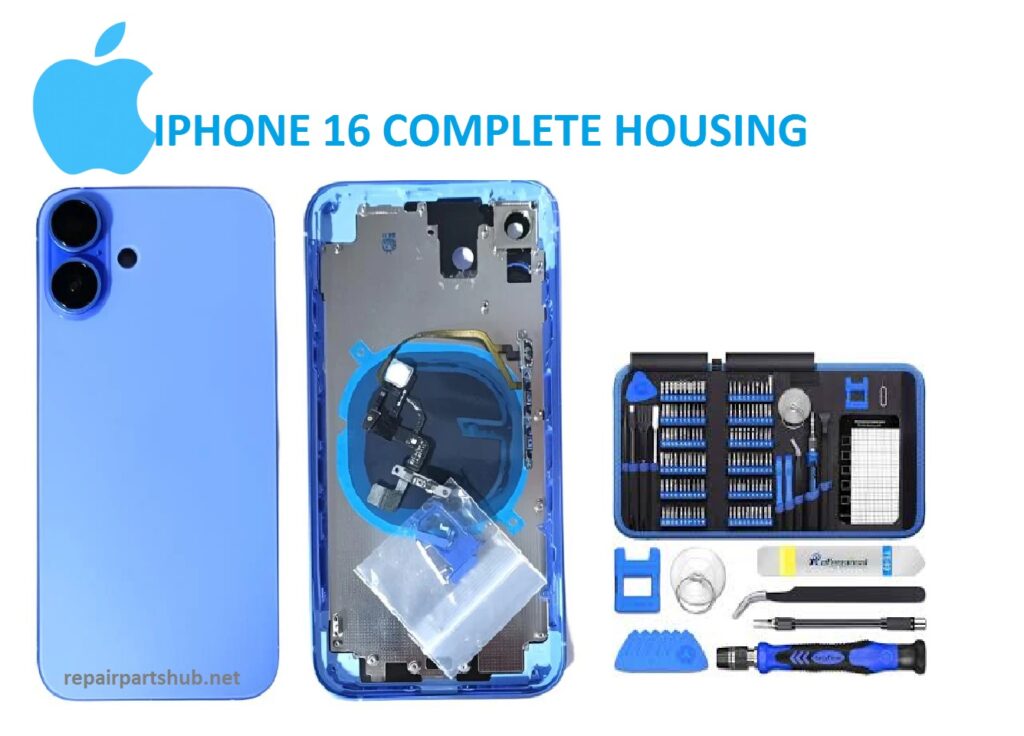
The housing of your iPhone 16 is more than just an aesthetic feature—it houses all of the internal components, such as the battery, logic board, camera, and more. The housing also serves as a protective shield for these delicate parts. So, when your iPhone housing gets damaged, it’s not just a cosmetic issue; it could potentially impact the functionality of the device as well.
Here are some common reasons you might need a complete housing replacement:
1. Cracked or Shattered Glass
Accidents happen, and it’s all too easy for the back or front glass to crack or shatter after a drop. If you’re unlucky enough to drop your iPhone 16 and find that the glass is shattered, you may need a replacement to restore the phone’s structural integrity.
2. Damaged Frame
If the frame (made of aluminum or stainless steel depending on the model) gets bent, deformed, or scratched, it can affect the overall alignment of the screen, buttons, and internal components. A damaged frame might also cause problems with fitting accessories or charging cables.
3. Water or Dust Ingress
A damaged housing can cause dust, dirt, or moisture to enter the device, which could potentially damage the internal components. A housing replacement might be necessary if you’re noticing performance issues or signs of water ingress.
4. Aesthetic Reasons
Some users prefer their devices to look pristine. Even minor scuffs or dents can degrade the visual appeal of an iPhone, and for some, a new housing might be a way to restore the device to its original glory.
5. Upgrading to a Newer Model
For those who want to breathe new life into an old iPhone 16 or give it a fresh new look, a housing replacement can be a great option. This is especially true for those looking to sell or trade-in their device and want it to appear in like-new condition.
Steps to Replace the iPhone 16 Housing
While replacing the housing on your iPhone 16 is not an easy task, it’s not entirely impossible either—provided you have the right tools, patience, and technical know-how. Below, we’ll outline the general steps involved in replacing the iPhone 16’s housing.
1. Power Off the Device
Always make sure the iPhone is powered off before performing any kind of repair work. This helps prevent any accidental damage to the internal components and reduces the risk of electrical shock.
2. Remove the Screen
The first major step is to carefully separate the front screen from the housing. This requires a suction cup tool to lift the screen and special tools (like pentalobe screws) to detach it from the frame. You’ll also need to be cautious with the display ribbon cables that connect the screen to the logic board.
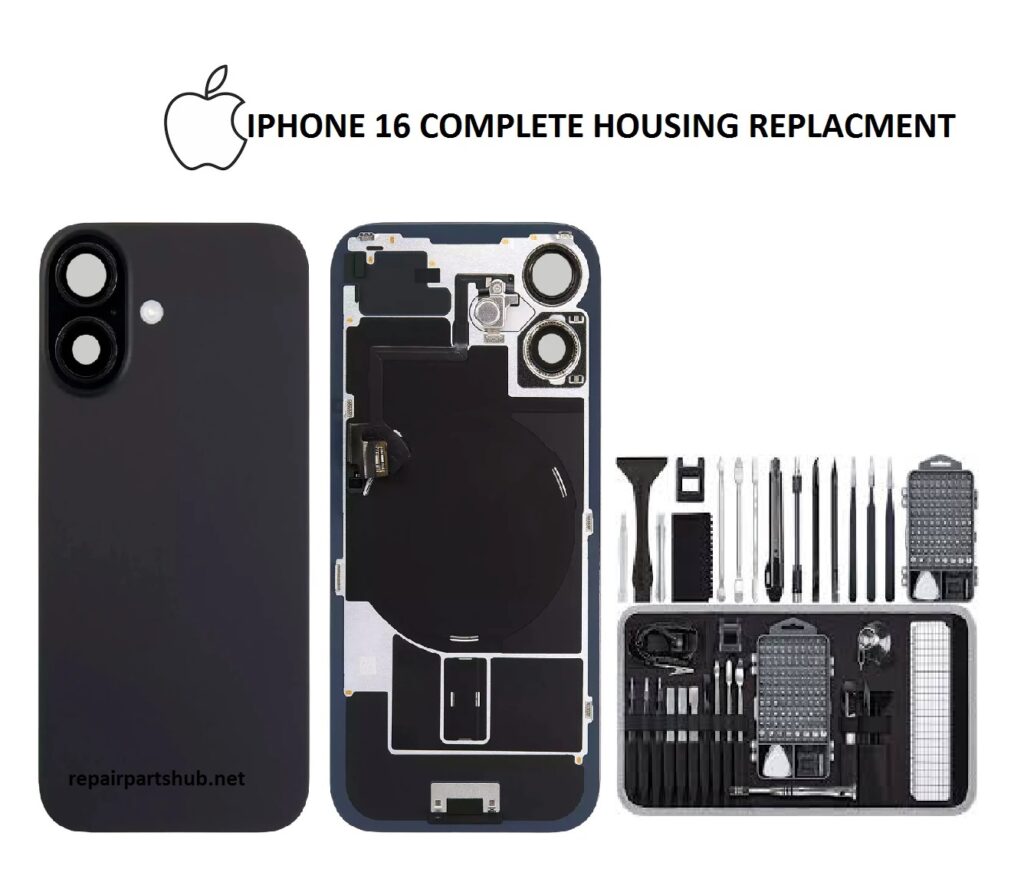
3. Take Out Internal Components
Once the screen is removed, you’ll need to remove other internal components like the battery, logic board, cameras, and speaker. These delicate parts should be taken out carefully using small screwdrivers and tools like tweezers to avoid damaging them.
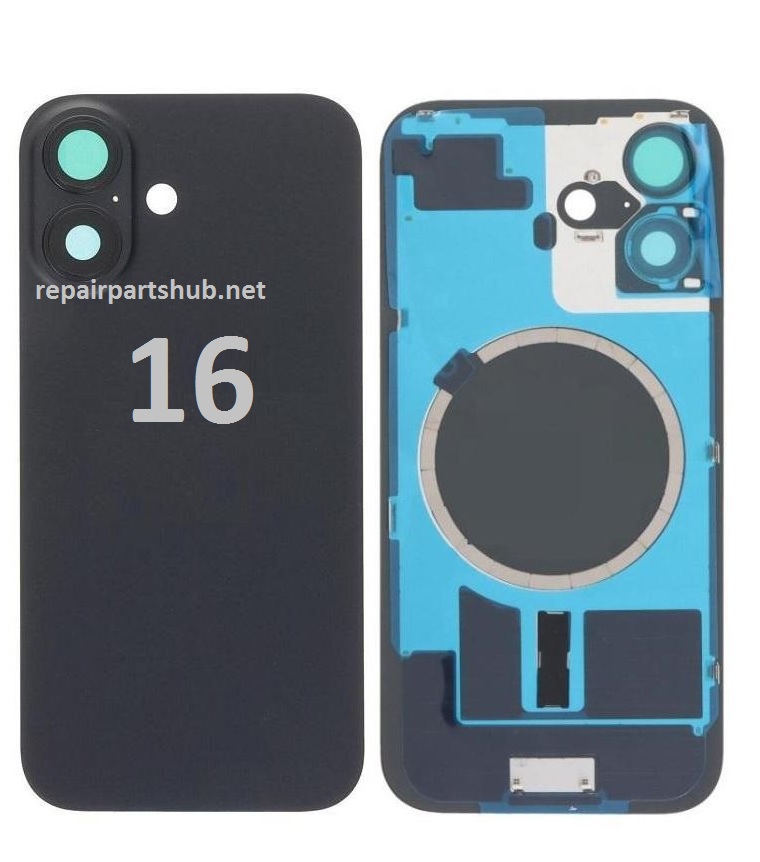
4. Remove the Old Housing
Now that the internal components are exposed, the next step is to unscrew the housing from the internal frame and remove it. Be careful not to apply too much force, as the adhesive holding the housing in place may still be strong.
5. Install the New Housing
This is the moment of truth—installing the new housing. The new housing should be carefully aligned with the internal components, and everything should be screwed back into place. If your new housing includes adhesive strips, make sure to use them properly to secure the screen.
6. Reassemble the iPhone
Once the new housing is installed, you’ll need to reassemble the device by reconnecting all of the internal components, including the battery, logic board, camera, and screen. Be sure that all screws are tightened securely and that the cables are reconnected properly.
7. Test the Device
Before you seal everything back up, test the device to ensure everything works. Check the screen, touch functionality, camera, and speaker. If everything functions as expected, it’s time to carefully close the iPhone.
8. Seal the Device
Finally, use the necessary tools to secure the screen to the housing. Make sure everything is aligned properly and that the device is sealed to prevent dust, dirt, or moisture from entering.
Should You DIY or Hire a Professional?
While replacing the housing of an iPhone 16 is certainly doable, it requires precision and care. Here are some considerations to help you decide whether it’s worth attempting this yourself or hiring a professional repair service.
DIY Pros:
- Cost Savings: Doing it yourself can save you money compared to hiring a professional repair service.
- Satisfaction: Some people enjoy the challenge of repairing their own devices and take pride in successfully completing a repair.
DIY Cons:
- Risk of Further Damage: Without the proper tools and knowledge, you may risk damaging internal components or improperly sealing the device, leading to performance issues.
- Voiding Warranty: If your iPhone is still under warranty, performing a DIY housing replacement may void that warranty.
- Time-Consuming: The repair process can take hours, especially if you’re inexperienced.
Professional Repair Pros:
- Expertise: Professionals have the tools and experience to do the job quickly and accurately.
- Warranty: Many repair shops offer warranties on their work, giving you peace of mind.
- Minimal Risk: Professionals are less likely to make mistakes that could result in further damage.
Professional Repair Cons:
- Cost: Professional repairs can be expensive, depending on where you go. The price may range from $200 to $500 or more for a full housing replacement.
Cost of iPhone 16 Housing Replacement
The cost of replacing the iPhone 16 housing can vary greatly depending on where you go for the repair. Here’s a general breakdown:
- DIY Cost: If you decide to go the DIY route, you’ll need to buy replacement parts, which can cost anywhere from $100 to $300, depending on the quality of the parts. You may also need specialized tools, adding to the overall cost.
- Professional Repair: Professional repair shops typically charge anywhere from $200 to $500, depending on the extent of the damage and whether the housing is an official Apple replacement part or an aftermarket option.
Conclusion
Whether you choose to replace the iPhone 16 housing yourself or hire a professional, it’s important to weigh the pros and cons of each approach. If you’re comfortable with electronics and have the necessary tools, a DIY repair could be an affordable and satisfying option. However, if you’re unsure or want a guaranteed result, going to a certified repair service might be the best choice.
At the end of the day, keeping your iPhone 16 looking and performing like new is entirely possible with a complete housing replacement. Just make sure you take your time and make the right decision for your situation!