The Infinix Hot 50 5G X6720 is a popular budget-friendly smartphone, but like any device, it’s susceptible to wear and tear over time. One of the most common issues users face is a cracked or damaged LCD screen. Whether due to an accidental drop or an impact, replacing the LCD on your Infinix Hot 50 5G can seem daunting, but with the right tools and instructions, it’s a manageable task. Here’s a comprehensive guide to help you replace your Infinix Hot 50 5G X6720 LCD.
Tools You Will Need:
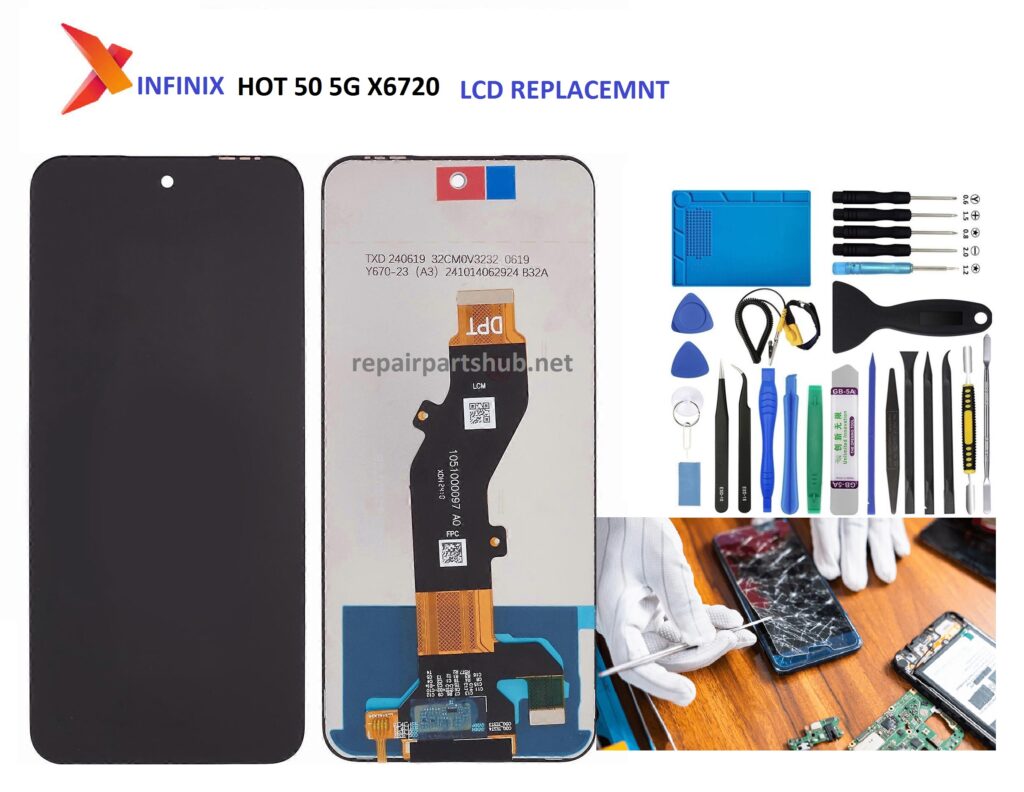
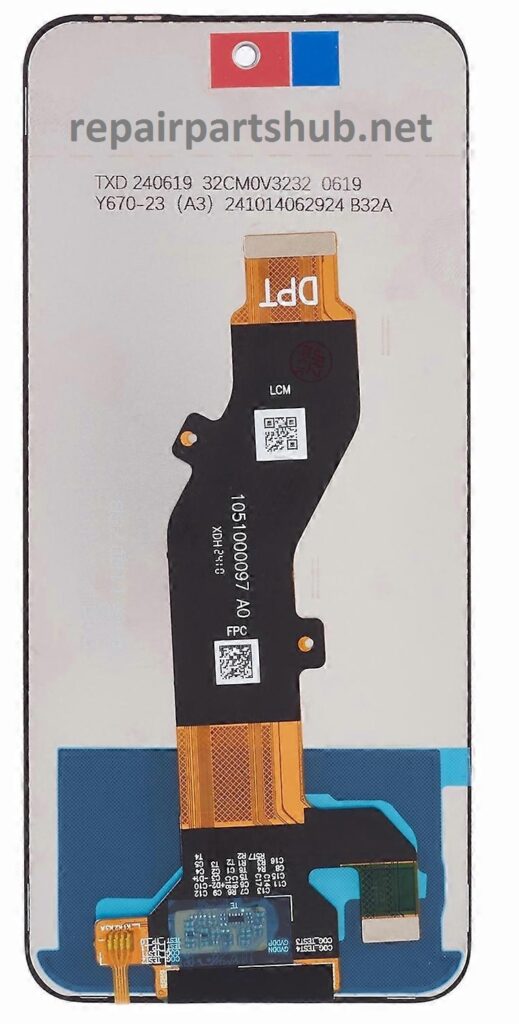
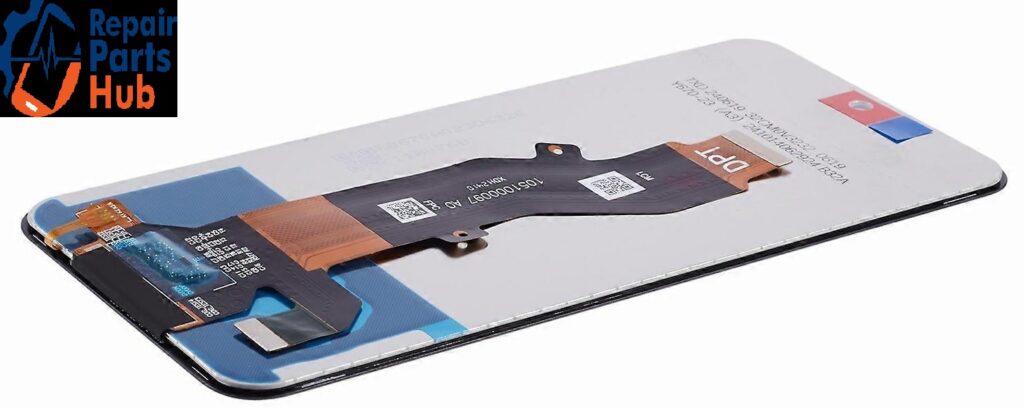
- Replacement LCD for Infinix Hot 50 5G X6720
- Plastic Pry Tools
- Screwdriver Set (Phillips or Pentalobe)
- SIM Card Ejector Tool
- Suction Cup Tool
- Tweezers
- Heat Gun or Hair Dryer
- Adhesive Tape (for screen reassembly)
Step-by-Step Guide to Replacing Your Infinix Hot 50 5G X6720 LCD
Step 1: Prepare the Workspace
Ensure that you have a clean, flat surface to work on. Ideally, do this in a well-lit area with a soft mat to avoid damaging the phone further.
Step 2: Power Off the Phone
Before beginning any repair, it’s crucial to power off your phone to avoid any electrical mishaps.
Step 3: Remove the SIM Card Tray
Use the SIM ejector tool to remove the SIM card tray. This will prevent any damage to the tray during the repair.
Step 4: Heat the Edges of the Screen
Use a heat gun or hair dryer to heat the edges of the screen. This step softens the adhesive holding the screen in place, making it easier to remove the LCD. Be cautious not to overheat it, as this could damage the internal components.
Step 5: Pry the Screen Off
Using a suction cup tool, gently lift the screen from the bottom edge. Once the screen is slightly lifted, insert a plastic pry tool into the gap to separate the screen from the phone body. Slowly and carefully work your way around the edges of the phone. Avoid using metal tools, as they could cause scratches or damage to the components inside.
Step 6: Disconnect the Battery
After removing the screen, locate and disconnect the battery. This is an essential safety step to ensure that no power is running through the device while you’re working.
Step 7: Remove Screws and Detach the Old LCD
Once the battery is disconnected, you will likely need to remove screws that secure the LCD to the frame. Use a screwdriver to carefully remove these screws, and keep them in a safe place as you’ll need them for reassembly. After removing the screws, gently detach the LCD from its connectors and take out the old screen.
Step 8: Install the New LCD
Take your new replacement LCD and connect it to the phone’s motherboard. Carefully align the connectors and secure the new screen in place. Once connected, reattach the screws that you removed earlier.
Step 9: Reconnect the Battery
Before fully sealing the phone, reconnect the battery and perform a quick test to ensure the new screen is functioning properly. Check the touchscreen, display brightness, and color accuracy to make sure everything is working as expected.
Step 10: Seal the Phone and Reassemble
Once you’re satisfied that the new screen is working, carefully align the screen with the phone body. Press the screen gently into place, ensuring the adhesive sticks properly. If needed, use additional adhesive tape to secure the screen. Reinsert the SIM card tray, and your phone is ready for use!
Tips and Considerations:
- Check the Replacement LCD Quality: Not all replacement screens are created equal. Be sure to buy a high-quality replacement from a reputable supplier to ensure good color reproduction and touchscreen responsiveness.
- Avoid Static Damage: Always work on a static-free surface to avoid damaging the phone’s internal components.
- Take Your Time: Don’t rush the process. The more carefully you work, the less likely you’ll damage the phone in the process.
Conclusion:
Replacing the LCD on your Infinix Hot 50 5G X6720 may sound complicated, but with the right tools and careful attention to detail, you can do it yourself. If you’re not comfortable with DIY repairs, it’s always a good idea to seek professional help. However, for those who love a challenge and want to save some money, this guide should help you get your device back to its original condition in no time.
If you found this guide helpful or have any tips of your own, feel free to leave a comment below!