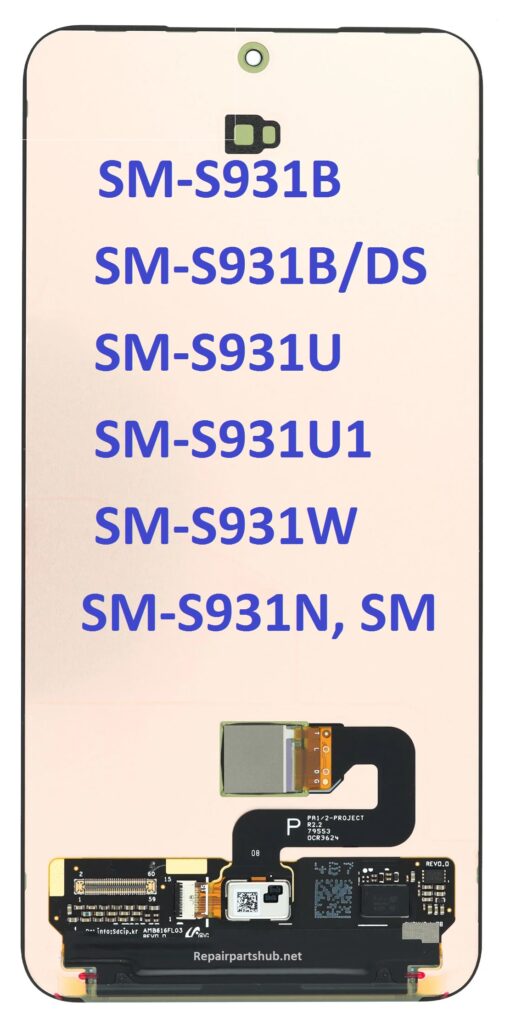
The Samsung Galaxy S25, which includes various models such as SM-S931B, SM-S931B/DS, SM-S931U, SM-S931U1, SM-S931W, and SM-S931N, has quickly become a favorite in the tech world for its powerful features, stunning design, and reliable performance. However, even with its exceptional durability, accidents can happen. Dropped phones or shattered screens are a common issue, but don’t worry. In this blog, we’ll guide you through the steps of replacing the original screen and the necessary tools you’ll need for a Samsung Galaxy S25 screen replacement.
Why Replace the Screen?
Whether it’s a cracked, unresponsive, or malfunctioning display, a damaged screen can significantly reduce the functionality of your device. Fortunately, with the right tools and know-how, replacing the screen yourself can be a cost-effective solution, allowing you to keep your Samsung Galaxy S25 in top shape.
Things to Consider Before Replacing the Screen
Before diving into the replacement process, here are a few things to keep in mind:
- Warranty Concerns: If your phone is still under warranty, it’s recommended to go through official Samsung service centers. Replacing the screen yourself may void your warranty, so check your warranty status beforehand.
- Accuracy and Precision: The Samsung Galaxy S25 series has a sleek design, and removing its screen requires precision. One wrong move can damage internal components, so make sure you’re prepared for the task.
- Quality of Replacement Parts: Opt for original or high-quality third-party replacement screens. Cheap screens may be more affordable, but they often compromise on quality, including touch sensitivity, color accuracy, and display brightness.
- Repair Tools: Having the right tools is crucial for a successful replacement. Using subpar or incorrect tools can lead to further damage.
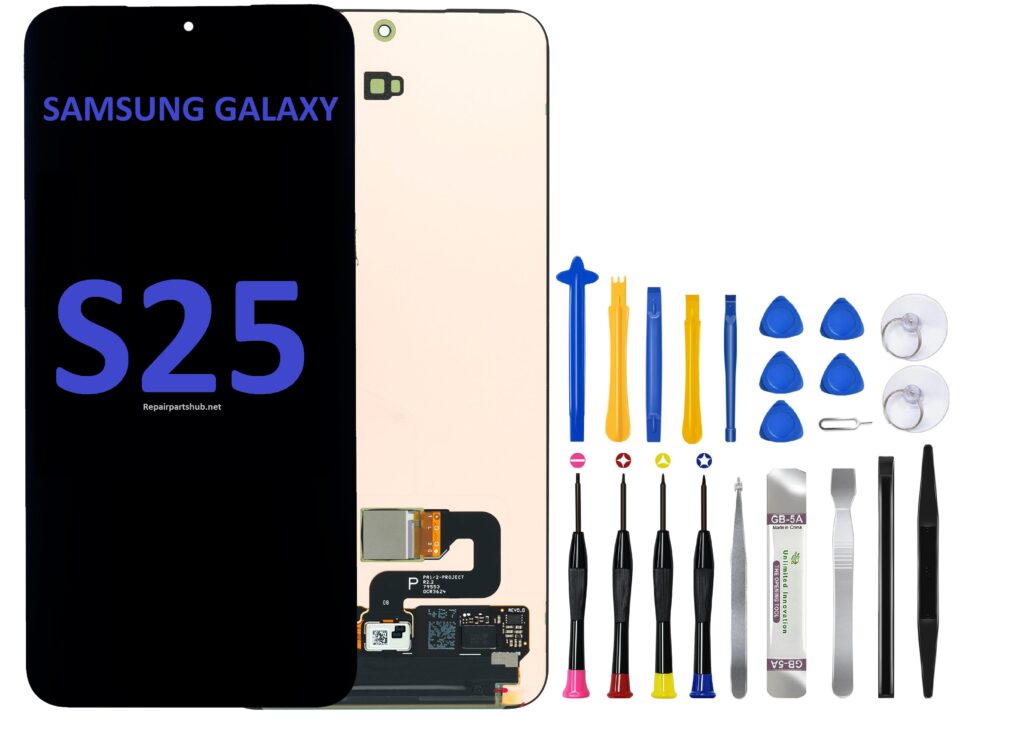
Tools You’ll Need
To replace the screen of your Samsung Galaxy S25 (SM-S931B and its variants), you’ll need the following tools:
- Pentalobe screwdriver: For removing screws around the phone’s edge.
- Phillips head screwdriver: For removing screws inside the device.
- Plastic Pry Tools: To carefully detach the screen from the device without damaging the internal components.
- Suction Cup Tool: To lift the screen away from the body.
- SIM Card Ejector Tool: To remove the SIM card tray before starting the repair.
- Tweezers: For manipulating delicate components and wiring.
- Heat Gun or Hair Dryer: To soften the adhesive holding the screen in place.
- Replacement Adhesive: For reattaching the new screen.
- Anti-static Wrist Strap: To protect the internal components from static discharge.
Steps to Replace the Samsung Galaxy S25 Screen
1. Power Off Your Device
Before starting, make sure to power off your Samsung Galaxy S25 to prevent any electrical short circuits while handling internal components.
2. Remove the SIM Card Tray
Use the SIM card ejector tool to remove the SIM card tray. This is essential because it will give you more room to work on the phone.
3. Heat the Edges of the Screen
Using a heat gun or hair dryer, gently heat the edges of the screen for 2-3 minutes. This softens the adhesive holding the screen in place, making it easier to detach without damaging the phone.
4. Lift the Screen
Use a suction cup tool to carefully lift one corner of the screen. Once the corner lifts, insert a plastic pry tool into the gap. Work your way around the edges, carefully separating the screen from the rest of the phone. Be patient during this step, as the adhesive can be strong.
5. Disconnect the Battery and Screen Cables
Once the screen is detached, use a Phillips head screwdriver to remove the screws securing the internal components. Disconnect the battery and any cables connected to the screen using tweezers. Make sure to note which cables go where for easy reassembly.
6. Remove the Broken Screen
Now that the screen is free, gently remove it from the device. Take extra care not to damage the internal parts of the phone, such as the motherboard or camera modules.
7. Install the New Screen
Place the new screen onto the device and reconnect the screen cables. Ensure all cables are securely connected to avoid display issues after the replacement. Reattach the battery and reassemble the phone.
8. Reapply Adhesive
Before placing the new screen, apply a thin layer of adhesive to ensure it stays in place once reattached. This step is crucial to maintain the structural integrity of the phone.
9. Reassemble Your Phone
Screw everything back into place, including the screws you previously removed. Make sure to align the new screen properly to avoid issues such as screen misalignment or touch unresponsiveness.
10. Power On the Device
Once everything is reassembled, power on the phone to test the new screen. Check for touch responsiveness, display clarity, and color accuracy. If everything is functioning properly, you’ve successfully replaced the screen!
Final Thoughts
Replacing the screen on your Samsung Galaxy S25 (SM-S931B, SM-S931B/DS, SM-S931U, SM-S931U1, SM-S931W, SM-S931N) can be a rewarding DIY project, saving you both time and money. However, it requires precision, patience, and the right tools. If you’re not confident in your ability to complete the repair, it’s always a good idea to seek professional help. Remember to use only high-quality replacement parts to ensure the longevity and performance of your device.
Happy repairing, and may your Samsung Galaxy S25 be as good as new!