
The Samsung Galaxy Z Flip 5G SM-F707 is a marvel of modern mobile technology, combining the elegance of a foldable design with powerful performance. However, as with any high-tech device, its screen can sometimes suffer from damage due to accidental drops, wear and tear, or other mishaps. In such cases, replacing the LCD screen and digitizer assembly becomes a necessary task to restore the phone to its original condition.
This blog will walk you through everything you need to know about replacing the LCD screen and digitizer on the Samsung Galaxy Z Flip 5G SM-F707, including the tools required for the job, the process involved, and some helpful tips to ensure the replacement goes smoothly.
Understanding the Components
Before we dive into the replacement process, it’s essential to understand what exactly you’re replacing when you swap out the LCD screen and digitizer assembly.
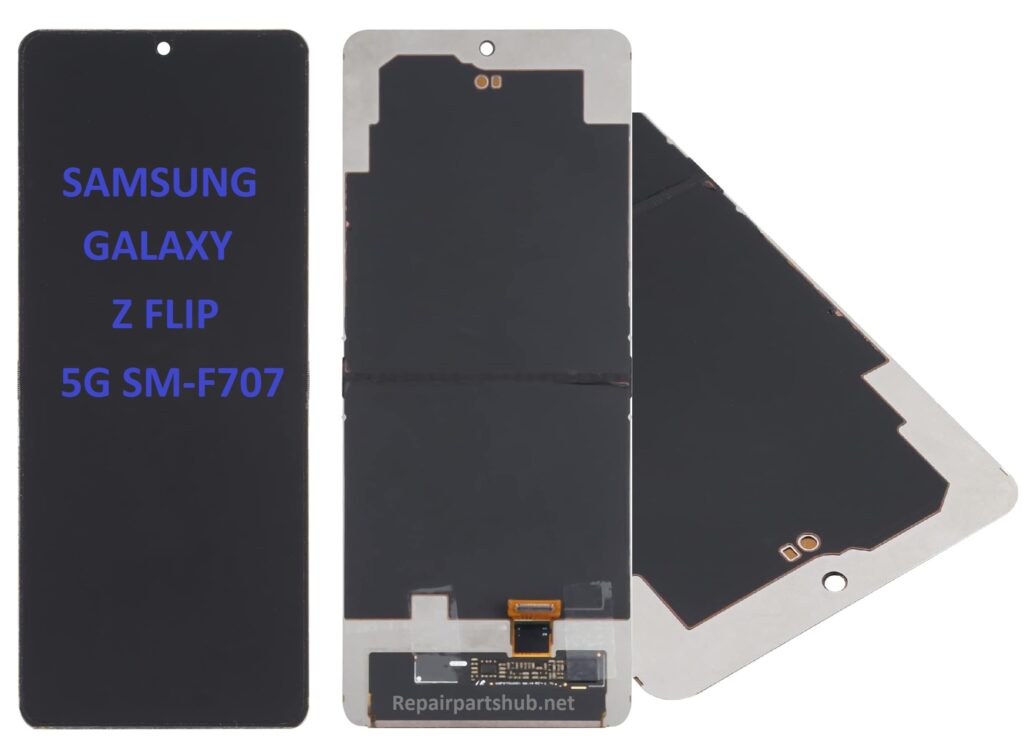
- LCD Screen: The Liquid Crystal Display (LCD) is the primary display of your device, responsible for showing everything you see on your screen. It’s an essential component, as it provides the visual output for the device.
- Digitizer: The digitizer is the touchscreen sensor layer of the device. It converts the touch input (your taps, swipes, and gestures) into signals that the phone’s software can understand. The digitizer is typically fused with the LCD screen in many modern smartphones, including the Galaxy Z Flip 5G.
- Full Assembly: When replacing the screen, you’re usually replacing the entire screen assembly, which includes both the LCD and the digitizer. The assembly may also come with additional components like adhesive strips and protective films, depending on the package.
Reasons for Screen Replacement
Several reasons may prompt a need for screen replacement, including:
- Cracked or Broken Screen: A fall or impact could result in visible cracks or a shattered screen, making it difficult to use the phone properly.
- Unresponsive Touchscreen: If your phone’s touchscreen stops responding, it could be due to a faulty digitizer, necessitating replacement.
- Dead Pixels or Display Issues: Dead pixels, color distortion, or flickering on the screen are all signs that the LCD might be damaged and need replacing.
Necessary Tools for the Replacement
Before starting the replacement, make sure you have the following tools on hand. Having the right tools is crucial to avoid damaging your phone or the new components.
Essential Tools:
- Small Phillips-head Screwdriver: Used to remove screws that secure the back cover and the internal components.
- Plastic Pry Tools or Spudger: To safely open the device without damaging the internal parts.
- Suction Cup Tool: Used to lift the screen and avoid direct contact with the delicate parts.
- Tweezers: For handling small parts, connectors, and screws.
- SIM Card Ejector Tool: To remove the SIM tray if necessary during disassembly.
- Heat Gun or Hair Dryer: Heat is used to soften adhesives that hold the screen in place, making it easier to remove the old display.
- Anti-Static Wrist Strap: To prevent static damage to sensitive components.
- Adhesive Strips or Glue: To reseal the phone and hold the new screen in place after the replacement.
- Replacement LCD Screen and Digitizer Assembly: The main component you will be installing to replace the broken screen.
Step-by-Step Guide to Replacing the LCD and Digitizer Assembly
Step 1: Power Off Your Device
Before you begin the replacement, make sure to turn off your Samsung Galaxy Z Flip 5G SM-F707 completely. This step helps prevent accidental short circuits or further damage while working on your phone.
Step 2: Remove the SIM Card Tray
Using the SIM card ejector tool, carefully remove the SIM card tray from your device to prevent any damage to it during the repair process.
Step 3: Use Heat to Soften the Adhesive
Use a heat gun or a hair dryer on a low setting to apply gentle heat to the edges of the phone, where the screen is glued to the frame. This will soften the adhesive and make it easier to remove the screen.
Step 4: Pry Open the Device
With the help of a plastic pry tool or spudger, carefully lift the back cover of your Galaxy Z Flip 5G. Be cautious not to apply too much force, as this can damage the internal components.
Step 5: Disconnect the Battery
Before working on any further internal components, use a plastic tool to disconnect the battery. This ensures there is no power running through the device, reducing the risk of accidental shorts or electric shocks.
Step 6: Remove Screws and Components
Once the battery is disconnected, remove any screws securing the internal components of the device. Use a small Phillips-head screwdriver for this step. Take care to keep track of each screw’s location, as some may be different sizes.
Step 7: Disconnect the Old Screen Assembly
Use your plastic pry tool to carefully disconnect the old LCD and digitizer assembly from the motherboard. Be gentle while doing this, as the connectors can be fragile.
Step 8: Install the New Screen Assembly
Place the new LCD screen and digitizer assembly onto the device, carefully reconnecting the connectors to the motherboard. Be sure to align everything precisely to avoid damaging the screen.
Step 9: Reassemble the Device
Once the new screen is securely connected, replace all screws and reattach the battery. Use the plastic pry tool to snap the back cover back into place.
Step 10: Test the New Screen
Before sealing the device, turn it on to check the new screen’s functionality. Test both the display and touchscreen responsiveness to ensure everything works correctly.
Step 11: Apply Adhesive and Close the Device
Once you’ve confirmed the screen works, apply the adhesive strips or glue to secure the screen in place. Press the back cover onto the device and hold it firmly to ensure a strong bond.
Step 12: Power On and Final Check
Finally, power on your Samsung Galaxy Z Flip 5G and verify that the new screen is functioning as expected. Check for display clarity, touch sensitivity, and proper functionality to make sure everything is working as it should.
Conclusion
Replacing the LCD screen and digitizer assembly on the Samsung Galaxy Z Flip 5G SM-F707 is a delicate task, but with the right tools and patience, you can restore your device to working order. Remember to always use quality replacement parts and take extra care during the disassembly and reassembly process to avoid further damage. If you’re not confident in your repair skills, it’s always a good idea to consult a professional technician to handle the replacement for you.
By following this step-by-step guide, you’ll be equipped with the knowledge and tools to perform a successful LCD and digitizer replacement on your Galaxy Z Flip 5G. Happy repairing!