The Samsung Galaxy Note 20 Ultra 5G, released in 2020, continues to be one of the flagship models from the South Korean tech giant, Samsung. Boasting powerful features such as a 108 MP camera, a large Dynamic AMOLED display, and 5G capabilities, it remains a highly coveted device. However, like all smartphones, the Note 20 Ultra is not immune to wear and tear. One of the most common issues that users face over time is a malfunctioning USB charging port or charging board. In this guide, we’ll walk you through everything you need to know about replacing the USB charging port (Type C Dock Board Connector) for your Galaxy Note 20 Ultra (SM-N986U/SM-N986U1).
Whether you’re replacing it because it’s no longer charging properly, is physically damaged, or you’re simply upgrading it for better performance, this step-by-step guide will ensure that you can do so with ease.
Why Should You Replace the USB Charging Port?
The USB charging port is one of the most frequently used parts of your phone. It’s exposed to repeated plugging and unplugging, which over time can lead to wear and tear. Additionally, dust, debris, and liquid can get into the charging port, causing connectivity issues. Some of the common problems that indicate the charging port needs to be replaced include:
- Charging problems: The phone may not charge, or it may charge intermittently.
- Loose connection: You may notice the charging cable feels loose or doesn’t stay in place.
- Overheating: A malfunctioning port may result in the phone overheating during charging.
- Physical damage: If the port is cracked, bent, or showing visible damage, it needs to be replaced.
In any of these cases, replacing the USB charging board is a solution that restores the phone’s charging functionality.
What You’ll Need
Before diving into the actual replacement process, you must have the necessary tools and the correct replacement parts.
Tools Required
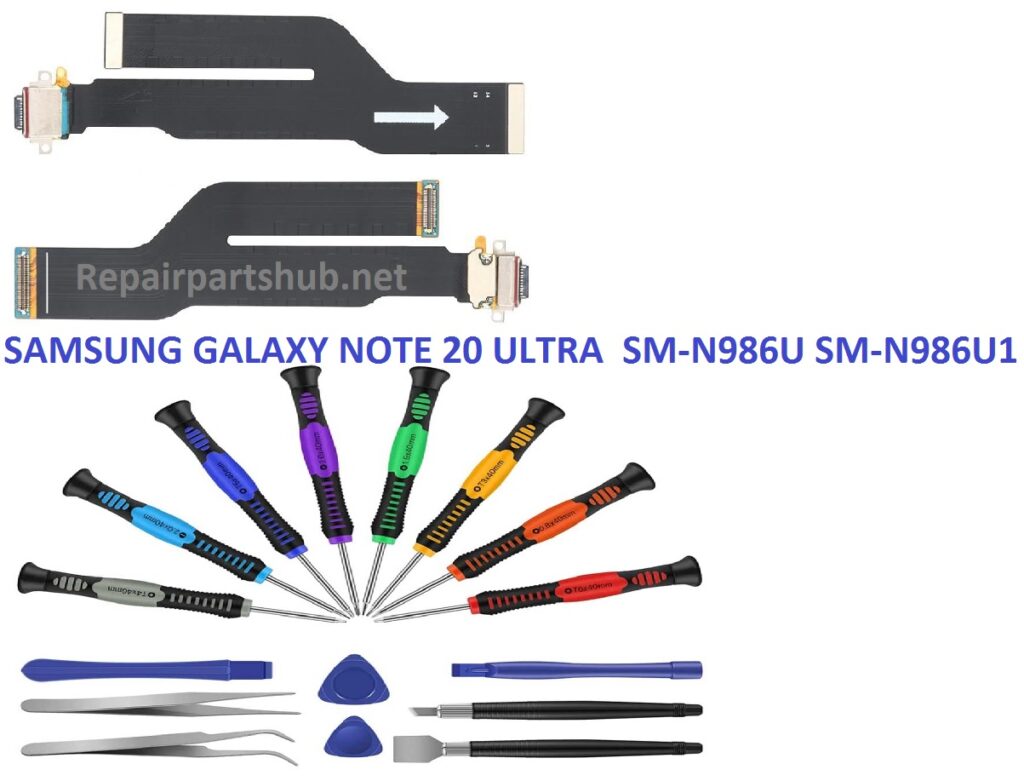
- Phillips head screwdriver: For removing screws from the device.
- Plastic Pry Tool: To safely pry open the phone without damaging the screen or other components.
- SIM card ejector tool: To remove the SIM card tray, which could be in the way.
- Tweezers: For handling small components like screws and connectors.
- Suction cup tool: To help separate the back cover from the body.
- Heat gun or hairdryer: To soften adhesive around the back cover.
- Anti-static wrist strap: To prevent static damage to internal components.
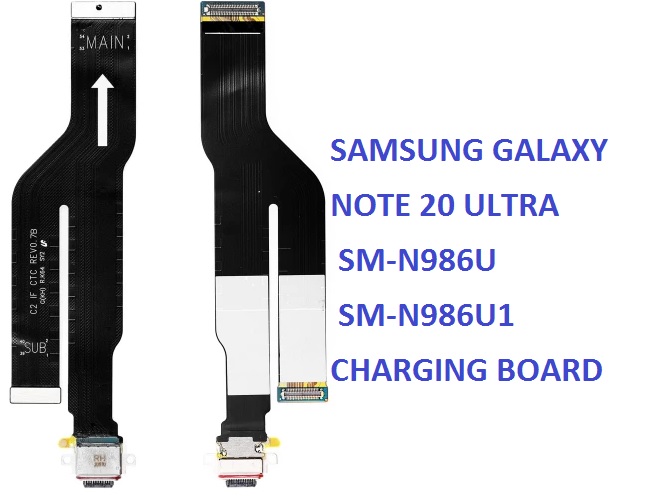
- Replacement USB Charging Board (SM-N986U/SM-N986U1 Type C Dock Board): Be sure to order a compatible replacement part for your device model.
Replacement Part: Samsung Galaxy Note 20 Ultra USB Charging Board (SM-N986U/SM-N986U1)
You can purchase a genuine Samsung USB charging board, or you can opt for high-quality third-party parts from reputable sellers. Be sure to verify compatibility with the Samsung Galaxy Note 20 Ultra 5G before purchasing.
Step-by-Step Guide to Replacing the USB Charging Board Port
Step 1: Power Off Your Samsung Galaxy Note 20 Ultra
Before starting any repair work, power off the device completely to avoid any electrical mishaps. Hold the power button and volume down button together until the power menu appears. Tap “Power Off” and wait for the phone to shut down completely.
Step 2: Remove the SIM Card Tray
Use a SIM card ejector tool to carefully eject the SIM card tray from the device. This step is necessary as it provides clearance for the removal of the back cover.
Step 3: Heat the Back Cover
The Samsung Galaxy Note 20 Ultra uses adhesive to secure the back cover to the device. To soften the adhesive and make the removal process easier, gently heat the back cover using a heat gun or hairdryer. Hold the heat source about 6 inches away from the back cover for about 2-3 minutes. This will help soften the adhesive without damaging the components inside.
Step 4: Pry Open the Back Cover
Once the adhesive is softened, use a suction cup tool near the bottom of the back cover to gently lift the cover. As the back cover begins to lift, use a plastic pry tool to carefully separate the edges. Be cautious around the camera module and other components to avoid damaging them. Work your way around the perimeter of the phone until the back cover is completely removed.
Step 5: Remove Internal Components
Once the back cover is off, you will see the internal components. The next step is to remove screws securing any internal shields or connectors that are in the way of accessing the USB charging board. Use a Phillips head screwdriver to remove the screws, keeping track of their placement.
Step 6: Disconnect the Battery
Before proceeding further, it’s essential to disconnect the battery to avoid electrical short-circuits. Using your plastic pry tool, carefully disconnect the battery connector from the motherboard. Be gentle, as forceful handling can damage the connectors.
Step 7: Remove the Old USB Charging Board
Now you have access to the USB charging board (Type C dock board connector). Carefully disconnect any cables connected to the charging board. These may include ribbon cables or flex cables attached to the motherboard.
Once the cables are detached, use a screwdriver to remove the screws holding the charging board in place. After that, gently lift the old USB charging board out of its compartment.
Step 8: Install the New USB Charging Board
Take the new replacement USB charging board and align it with the corresponding connectors. Carefully insert the new board into the device and secure it with screws to hold it in place. Ensure that all the connectors are tightly and securely attached.
Step 9: Reconnect the Battery
Reconnect the battery connector to the motherboard. Make sure the connection is firm but not forced. Once the battery is connected, you can proceed to reassemble the device.
Step 10: Reassemble the Phone
Now that the new USB charging board is installed, it’s time to put everything back together. Start by carefully aligning the back cover with the phone’s body. Press down gently to ensure the adhesive sticks, or you may apply additional adhesive if necessary.
Once the back cover is secure, reinsert the SIM card tray back into its slot.
Step 11: Power On the Device
Finally, power on your Galaxy Note 20 Ultra. Hold down the power button until the Samsung logo appears. Once the phone has booted up, check whether the charging functionality works properly.
Step 12: Test the Charging Function
To ensure that the replacement was successful, plug in your charging cable and check for charging status. You should see the battery icon indicating that the phone is charging. Test with both wired charging and any compatible charging accessories (such as wireless chargers or USB-C hubs) to confirm that all charging methods work properly.
Conclusion
Replacing the USB charging port on your Samsung Galaxy Note 20 Ultra 5G is a relatively simple process if you have the right tools and follow the steps carefully. By following this guide, you can restore your device to full functionality and avoid the hassle and cost of professional repairs.
Always ensure that you purchase high-quality replacement parts from reliable sources to avoid issues with compatibility or performance. While repairing the device yourself can be rewarding, if you’re uncertain or uncomfortable with the process, it’s always a good idea to consult a professional technician to handle the replacement.
Whether you’re replacing the charging board due to wear and tear, physical damage, or poor charging performance, this guide provides you with all the instructions and tools you need to complete the task successfully.