The Samsung Galaxy Note 10 Plus is known for its impressive performance, sleek design, and reliable features. But like all smartphones, over time, wear and tear can affect key components, including the charging port. If you’re having trouble charging your device, or if your phone isn’t connecting to accessories through USB, you may need to replace the USB charging board port (also known as the Type-C dock board connector).
In this guide, we’ll walk you through everything you need to know to replace the charging board port on your Samsung Galaxy Note 10 Plus 5G (SM-N976U/SM-N976V), including tools, parts, and step-by-step instructions.
Why Replace the USB Charging Board?
Before we dive into the repair process, it’s essential to know why you might need to replace the USB charging board. Common signs of a malfunctioning charging port include:
- Slow or no charging: Your device might not charge properly, even when connected to a charger.
- Loose or inconsistent connection: Your device might only charge if you hold the cable at a certain angle.
- Phone not recognizing accessories: The USB port may fail to recognize other connected devices, such as your headphones or computer.
If your Galaxy Note 10 Plus is experiencing any of these issues, the USB charging board port might need replacement.
Tools and Parts You’ll Need
Before starting the replacement, ensure you have all the necessary tools and replacement parts. Here’s a list of everything you’ll need:
1. Replacement Parts
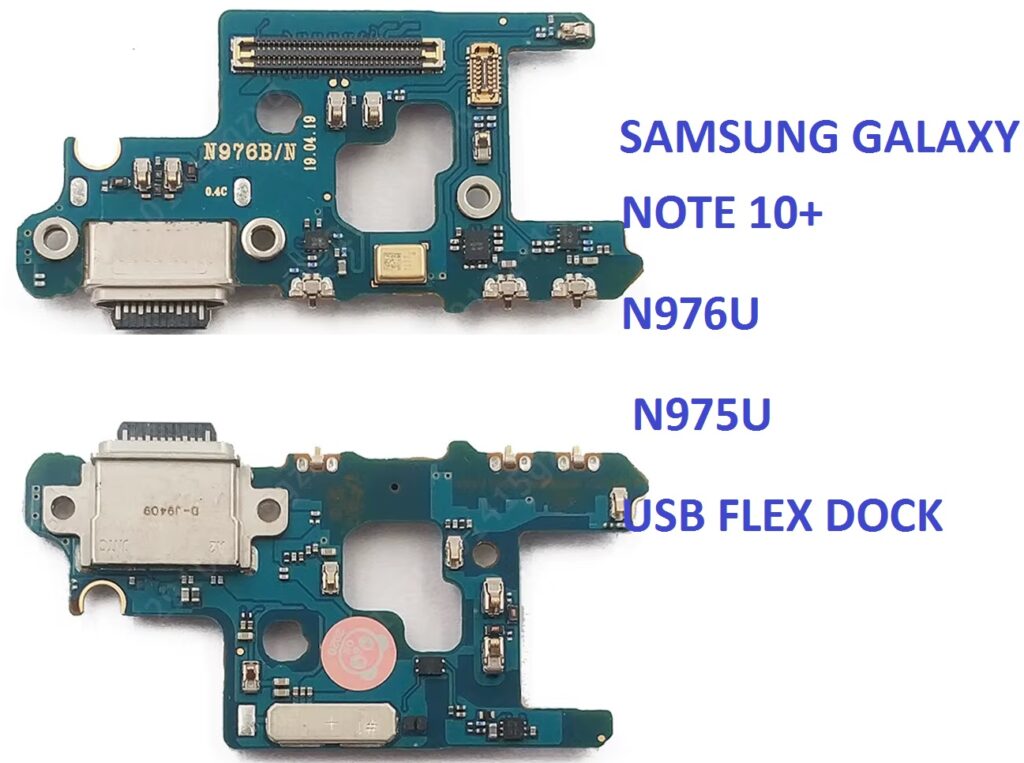
- Samsung Galaxy Note 10 Plus USB Charging Board Port (SM-N976U/SM-N976V): This is the key component that needs to be replaced. Make sure to purchase a genuine or high-quality replacement part to ensure compatibility and long-lasting results.
- Type-C Dock Board Connector: This part is responsible for the connection between the charging port and the motherboard of the device.
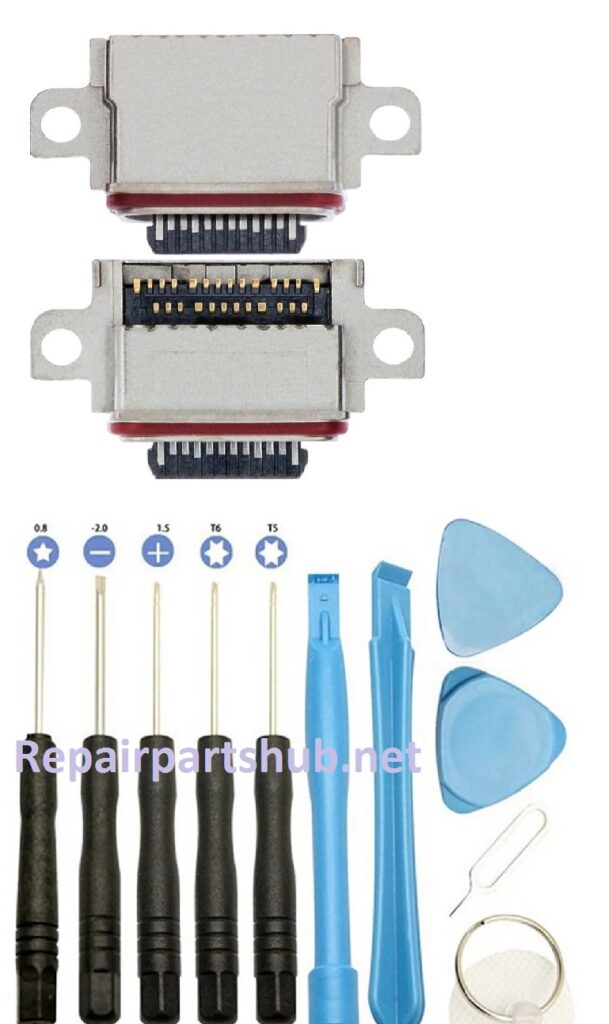
2. Tools
- Small Phillips head screwdriver: Used to remove screws.
- Plastic pry tools: These are essential for safely opening your phone without damaging the frame.
- SIM card ejector tool: You will need to remove the SIM tray.
- Suction cup tool: Helps you lift the screen without causing damage.
- Tweezers: Used for handling small parts inside the phone.
- ESD-safe mat and wrist strap: Helps prevent static damage to sensitive components.
- Heat gun or hairdryer (optional): To loosen adhesive.
Step-by-Step Guide to Replacing the USB Charging Board Port
Step 1: Power Down Your Phone
Before starting the repair, ensure your phone is completely powered off. This prevents any electrical shorts or damage to internal components during the replacement process.
Step 2: Remove the SIM Tray
Use the SIM card ejector tool to remove the SIM tray from the phone. This is an important first step, as the tray can obstruct the opening process.
Step 3: Heat the Edges (Optional)
If you’re dealing with a phone that’s been sealed with strong adhesive, you may want to gently warm the edges of the device using a heat gun or hairdryer. This softens the adhesive and makes it easier to separate the screen from the body.
Step 4: Open the Phone
Now it’s time to open your Galaxy Note 10 Plus. Use the suction cup tool to gently pull the screen away from the back panel. Insert a plastic pry tool into the gap that forms as you pull the screen. Work your way around the device to loosen the adhesive and fully detach the screen from the back housing. Be cautious during this step, as the screen is fragile.
Step 5: Disconnect the Battery
Once the screen is off, locate the battery connector and disconnect it to avoid any power flow during the repair. This step is crucial for your safety.
Step 6: Remove the Old Charging Board
Locate the USB charging board port (also called the dock connector) on the bottom edge of the phone. It is held in place by a few screws. Use your Phillips head screwdriver to remove these screws. Once the screws are out, gently pull the old charging board out of its position.
Step 7: Install the New Charging Board
Take the new Type-C Dock Board Connector and position it carefully in the same spot where the old one was located. Secure it with the screws you removed earlier.
Step 8: Reconnect the Battery
After installing the new charging board, reconnect the battery. Double-check that the battery connector is securely in place.
Step 9: Reassemble the Phone
Now it’s time to reassemble your phone. Carefully press the screen back into place, making sure it aligns correctly with the frame. If there is any remaining adhesive, you can apply new double-sided tape or adhesive strips.
Step 10: Test the Charging Port
Before securing everything back into place, power on your phone and test the new charging board. Plug in a charger and check if your device begins charging. You can also try connecting other accessories to ensure the port is functioning correctly.
Step 11: Secure the Phone
If everything is working well, power off the phone one last time. Replace the screws around the perimeter and reinsert the SIM card tray.
Tips for Success
- Take Your Time: This is a delicate procedure. Be sure to handle all components gently to avoid damaging any parts, especially the screen.
- Use Proper Tools: Using the right tools will prevent unnecessary damage to your device and ensure a smoother repair process.
- Consider Professional Help: If you’re unsure about any part of the process, it might be worth seeking professional repair assistance to avoid potential risks.
Conclusion
Replacing the USB charging board port on your Samsung Galaxy Note 10 Plus is a manageable task with the right tools and a little patience. By following this step-by-step guide, you can save time and money by repairing the charging port yourself. Whether you’re dealing with charging issues or simply want to restore your device to peak performance, this replacement process can help bring your phone back to life.
If you’re not confident in your DIY skills, you can always opt for professional repair services. But with the right tools and knowledge, fixing the charging port is something you can do at home!
Good luck with your repair, and happy charging!