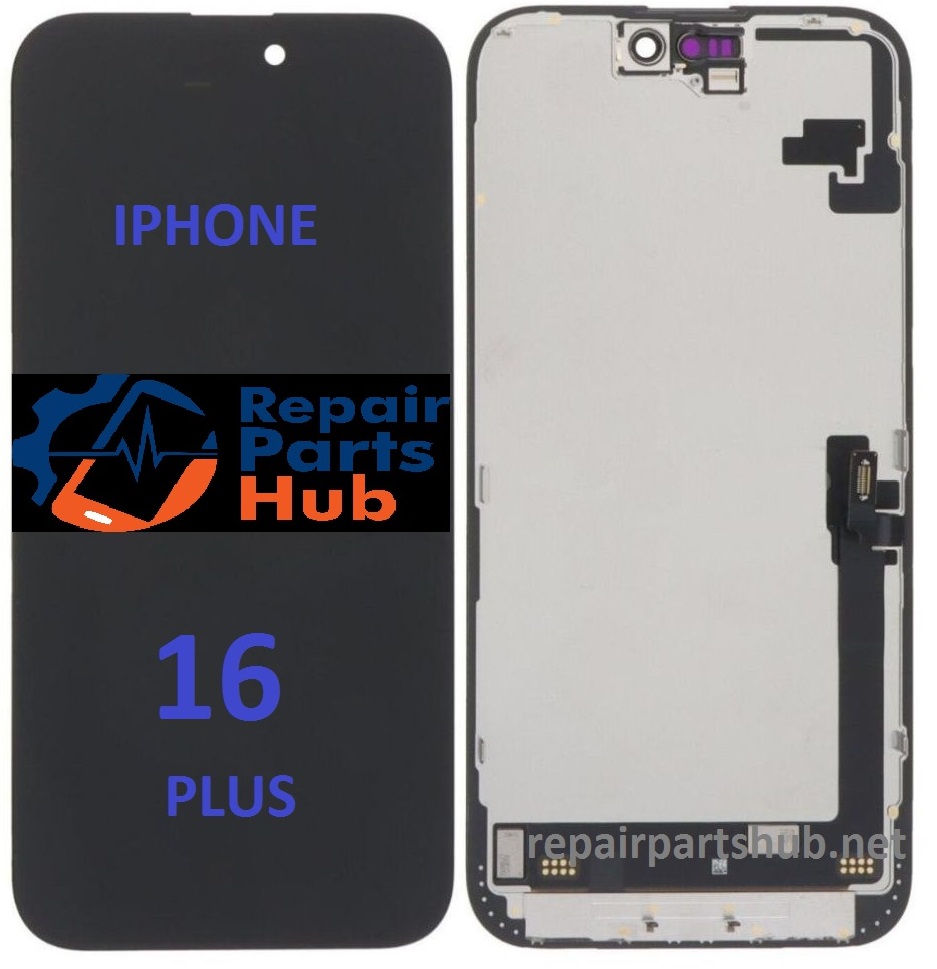
The iPhone 16 Plus LCD screen is an integral component of the device, designed to deliver clear, high-quality visuals with advanced color accuracy, brightness, and touch sensitivity. Whether you’re replacing a damaged screen or upgrading your display, it’s important to understand the details of the screen’s features, dimensions, and the necessary tools for handling the replacement or repair process.
1. LCD Screen Description:
The LCD screen of the iPhone 16 Plus includes the following main features:
- Display Technology: The iPhone 16 Plus uses a high-resolution Liquid Crystal Display (LCD), with improved brightness, contrast ratio, and color accuracy compared to previous iPhone models. It may incorporate True Tone technology, which adjusts the screen’s white balance to match the ambient light in the environment, offering a more natural viewing experience.
- Size and Resolution: The iPhone 16 Plus has a large screen size of approximately 6.7 inches (diagonal), with a resolution of 2778 x 1284 pixels. This delivers a pixel density of around 458 pixels per inch (PPI), ensuring sharp, clear images, and smooth text rendering. The display supports full HD content, vibrant colors, and deep blacks for a dynamic viewing experience.
- Touchscreen Features: The LCD panel includes capacitive touch sensors, enabling multi-touch functionality. It works in tandem with Apple’s 3D Touch or Haptic Touch technology, which allows for responsive, pressure-sensitive gestures that give a more tactile experience when interacting with the screen.
- Protection: The screen is likely protected by Ion-strengthened glass with an oleophobic coating, reducing fingerprints and smudges. Additionally, the display may include an anti-reflective coating that minimizes glare and enhances visibility in direct sunlight.
2. iPhone 16 Plus LCD Screen Dimensions:
- Screen Size: 6.7 inches (diagonal)
- Display Type: Liquid Crystal Display (LCD)
- Screen Resolution: 2778 x 1284 pixels
- Pixel Density: Approximately 458 PPI
- Aspect Ratio: 19.5:9
- Dimensions of the Entire Screen (excluding bezels): The actual dimensions of the screen are likely around 150.9mm x 74.3mm (width x height), although the bezel may increase the overall frame size of the device.
Note that the actual glass covering may have slight curvature along the edges for a better ergonomic feel.
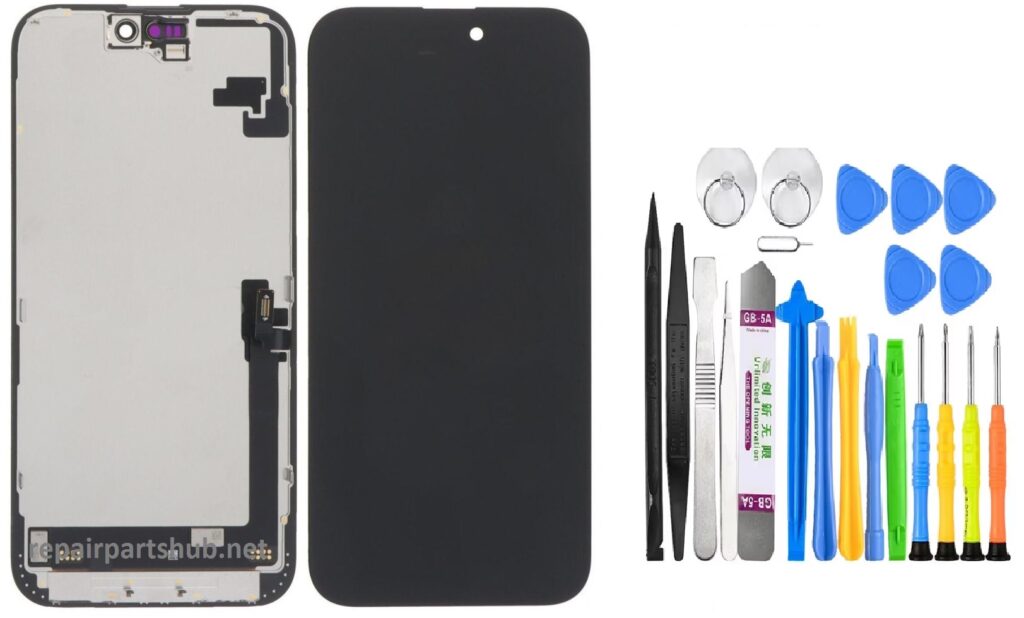
3. Tools Needed for iPhone 16 Plus LCD Screen Repair/Replacement:
When replacing or repairing the LCD screen of an iPhone 16 Plus, it’s essential to have the right set of tools to avoid damaging internal components and ensure a smooth repair process. Here’s a list of recommended tools for the job:
- Pentalobe Screwdriver: Apple devices are secured with pentalobe screws (usually P2 size), so a pentalobe screwdriver is essential for opening the device.
- Phillips Head Screwdriver: For removing screws inside the device, a Phillips screwdriver will be necessary, especially for components like the logic board and other internal parts.
- Plastic Pry Tools: These non-metal tools help you gently separate the screen from the phone body without damaging delicate components like the display or battery.
- Suction Cup Tool: This tool helps to lift the screen from the body of the iPhone without causing any damage. It’s a crucial tool for safely detaching the display from the phone without cracking or scratching it.
- Tweezers: Precision tweezers help you handle small screws, connectors, and internal components with accuracy.
- SIM Card Ejector Tool: Before starting the repair, it’s good practice to eject the SIM card tray to prevent damage during the process.
- Heat Gun or Hair Dryer: A low-heat device helps soften the adhesive holding the screen in place. This makes it easier to remove the screen from the phone body without cracking it.
- Anti-Static Wrist Strap: Static electricity can damage sensitive internal components. Wearing an anti-static wrist strap can protect the phone from electrostatic discharge (ESD) while you’re working on it.
- Screen Removal and Installation Tool Kits: Many tool kits available in the market are designed specifically for iPhone repairs. They come with various screwdrivers, plastic prying tools, and suction cups to ensure a safe and efficient repair process.
- New Adhesive Strips: When replacing the screen, it’s essential to apply new adhesive strips to securely attach the new LCD screen to the frame. These adhesive strips are specifically made for iPhone models.
4. General Repair Process:
- Step 1: Preparation
- Power off the iPhone 16 Plus and remove the SIM card tray.
- Use a pentalobe screwdriver to remove screws on the device’s outer frame.
- Apply heat to soften the adhesive that holds the screen in place.
- Step 2: Opening the Device
- Use a suction cup to gently lift the screen from the body. Insert a plastic pry tool around the edges of the screen to carefully detach the screen.
- Step 3: Disconnecting the Screen
- Once the screen is lifted, disconnect the cables that link the LCD screen to the device’s logic board. You may need to remove screws and shielding to access the connectors.
- Step 4: Removing the Old Screen
- Carefully remove the old screen. Be cautious not to damage any internal parts or connectors during this step.
- Step 5: Installing the New LCD Screen
- Position the new LCD screen and reconnect the necessary cables to the logic board.
- Ensure that all connectors are securely attached.
- Step 6: Reassembly
- Once the new screen is connected, carefully close the device and replace all screws. Apply new adhesive strips if needed to keep the screen firmly attached.
- Step 7: Power On and Test
- Power on the iPhone 16 Plus and test the new screen for functionality. Ensure that the touchscreen works properly, the display is free of dead pixels, and the color quality is as expected.
5. Final Considerations:
Replacing the iPhone 16 Plus LCD screen requires a steady hand, patience, and the right tools. Be sure to take extra precautions to avoid static electricity damage and ensure proper assembly. If you’re not comfortable performing the repair on your own, it’s always best to seek professional help from an authorized repair center to avoid voiding warranties or causing additional damage to the device.
Additionally, using high-quality replacement screens from reputable suppliers is essential to maintaining the overall performance and longevity of your device.