- Introduction to the iPhone 14 Plus LCD Screen Replacement
- Understanding the iPhone 14 Plus Display
- Tools and Materials Required for Screen Replacement
- Step-by-Step Guide for iPhone 14 Plus LCD Screen Replacement
- Common Issues with iPhone 14 Plus LCD Screen
- Why Choose LCD Over OLED for the iPhone 14 Plus (if applicable)
- iPhone 14 Plus Screen Size and Resolution
- Cost of iPhone 14 Plus LCD Screen Replacement
- Professional vs. DIY Screen Replacement
- Tips for Preventing Future Screen Damage
1. Introduction to the iPhone 14 Plus LCD Screen Replacement
The iPhone 14 Plus is one of the latest entries in Apple’s lineup of smartphones, offering a balance of advanced technology, user-friendly design, and premium features. Like most modern smartphones, the display is a crucial part of the device, and issues with the screen can significantly affect the user experience. LCD (Liquid Crystal Display) screen replacement is a common repair for iPhone models, including the 14 Plus.
If the LCD screen of an iPhone 14 Plus gets damaged due to a drop, crack, or malfunction, you might need to replace it to restore the functionality and appearance of the device. The process requires precision and care, and while professional repair services are recommended, it’s also possible to perform the replacement yourself with the right tools and instructions.
2. Understanding the iPhone 14 Plus Display
The iPhone 14 Plus features a 6.7-inch display (diagonal), making it a large phone in terms of screen size. It uses a Super Retina XDR OLED display, which provides bright, vibrant colors and deep contrasts. However, it’s important to clarify that Apple uses an OLED screen in the iPhone 14 Plus. LCD screens are still found in older iPhone models or in certain models that have been replaced with third-party parts.
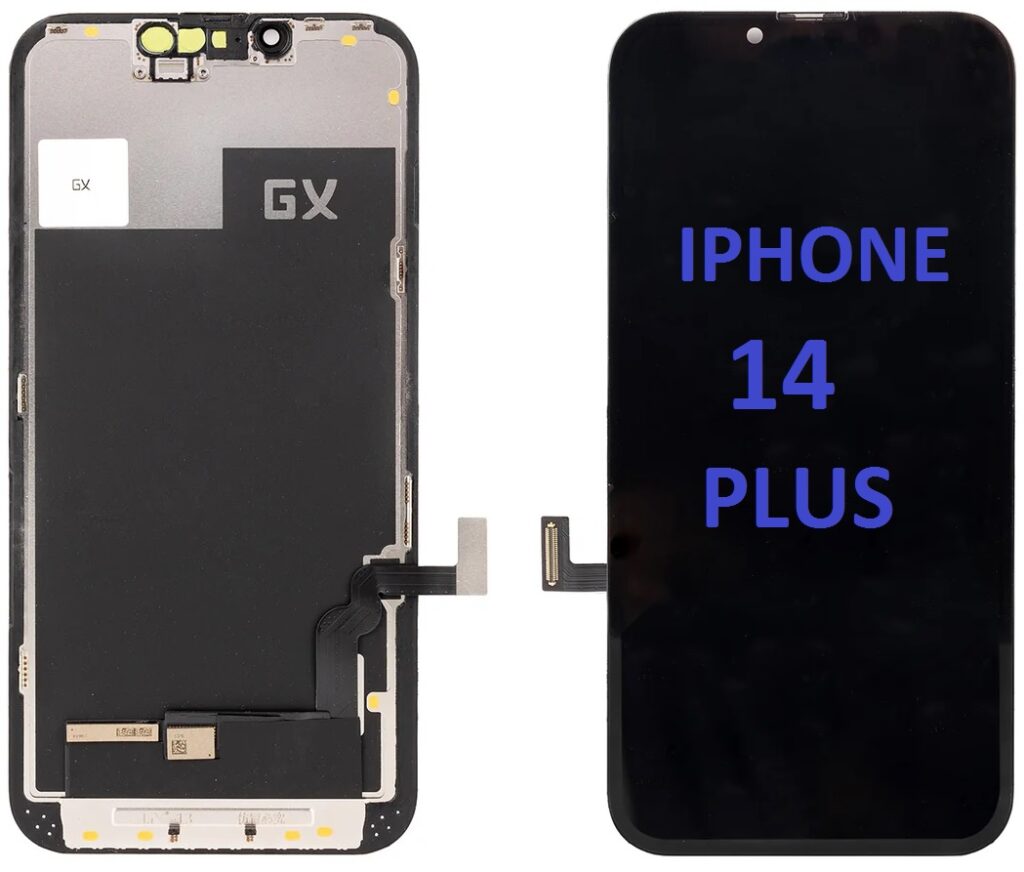
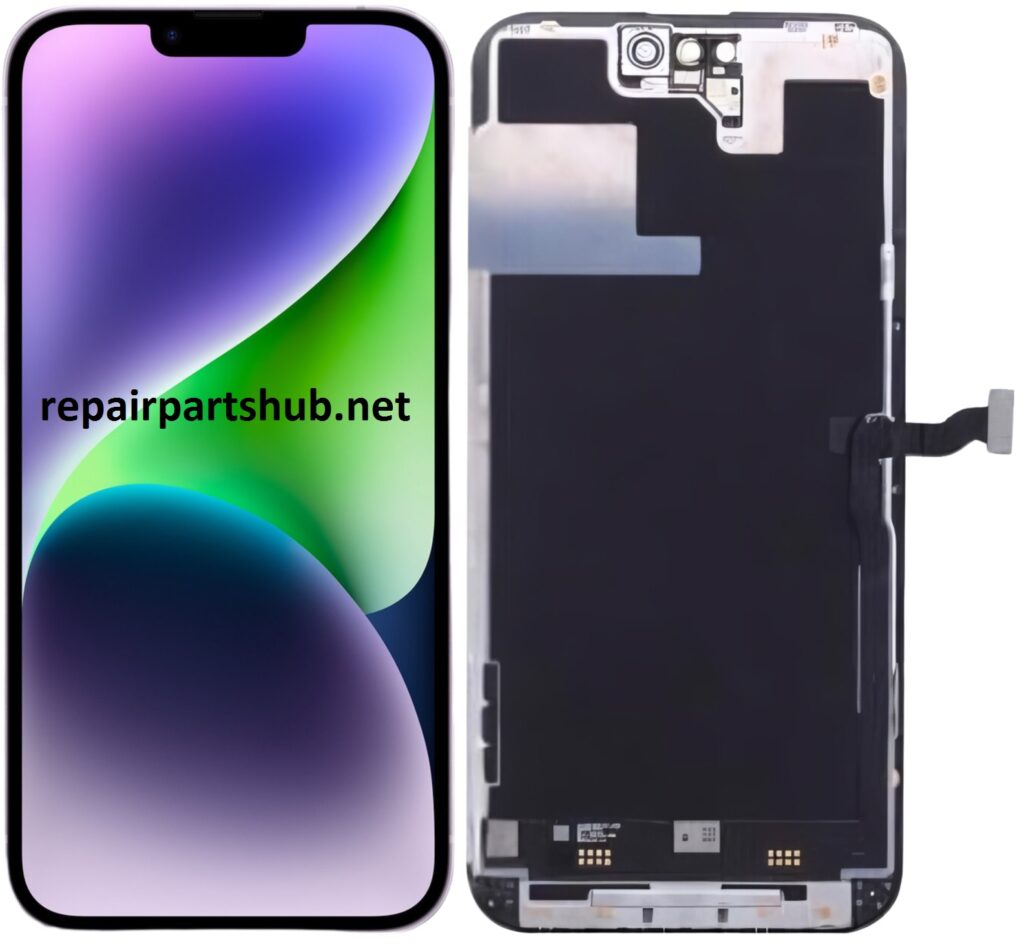
The main elements of the iPhone 14 Plus screen assembly include:
- Glass: The topmost layer that protects the internal components.
- Touchscreen Digitizer: The part of the display that senses touch inputs.
- LCD/Display Panel: The screen that actually displays content like images, text, and videos.
- Frame/Chassis: The structural part that holds the display assembly in place.
An important note: while OLED screens are often found in the higher-end models of iPhones, a third-party replacement screen might be LCD, which is generally cheaper but not as high-quality as the OLED display used in the iPhone 14 Plus.
3. Tools and Materials Required for Screen Replacement
For a successful screen replacement, you’ll need several tools and materials. Here is a list of items you’ll need:
- Screwdrivers: You’ll need a Pentalobe screwdriver for removing the screws on the iPhone’s outer casing and a Y000 screwdriver for removing internal screws.
- Opening Tools: Plastic pry tools help you open the phone without damaging the device or screen.
- Suction Cup: To create a gentle pulling force on the phone screen, helping to separate the display from the body.
- Tweezers: For handling small internal components.
- SIM Card Ejector Tool: To remove the SIM tray if necessary during the disassembly process.
- Heat Gun or Heating Pad: To soften the adhesive around the screen for easier removal.
- Replacement LCD Screen: The most important part of the repair. Ensure the screen is compatible with your model.
- Adhesive Strips: To reattach the new screen securely to the body.
- Anti-static Wristband: To prevent damage to internal components from static electricity.
- Plastic Spudger: A tool for safely separating parts without damaging them.
4. Step-by-Step Guide for iPhone 14 Plus LCD Screen Replacement

Step 1: Prepare Your Workspace
Before beginning, make sure your workspace is clean, well-lit, and free from distractions. Use a soft mat to place the iPhone on, and gather all necessary tools within reach.
Step 2: Power Off the iPhone
To avoid any risk of electric shock or damaging internal components, always power off the iPhone before starting the repair.
Step 3: Remove the SIM Tray
Use the SIM card ejector tool to remove the SIM tray. This is a necessary step in the process as it will give you easy access to the phone’s interior.
Step 4: Unscrew the Outer Screws
Using the Pentalobe screwdriver, remove the screws around the edge of the iPhone 14 Plus. Carefully store these screws so you don’t lose them.
Step 5: Heat the Screen Edges
Use a heat gun or heating pad to warm up the edges of the screen to soften the adhesive. This will make it easier to remove the screen without damaging it.
Step 6: Pry Open the Screen
Attach the suction cup near the bottom edge of the screen and gently pull upward. Once there’s a small gap, use a plastic pry tool to carefully separate the screen from the phone’s body.
Step 7: Disconnect the Battery
Before removing the screen completely, disconnect the battery using the appropriate screwdrivers and tools. This step ensures there is no power running through the phone while you’re working on it.
Step 8: Remove the Damaged LCD Screen
After the battery is disconnected, use the appropriate tools to remove any screws or connectors holding the old screen in place. Gently detach the screen from the device, taking care not to damage other internal components.
Step 9: Install the New LCD Screen
Take your replacement LCD screen and carefully connect it to the internal components, such as the digitizer and the cable connectors. Be sure the connectors are fully aligned before reassembling.
Step 10: Reattach the Battery and Other Components
Once the new screen is in place, reconnect the battery and reassemble any components you had to remove, such as screws and connectors.
Step 11: Test the New Screen
Before closing the phone entirely, power it on to test the new LCD screen. Ensure that the touchscreen functionality works, and that there are no display issues like flickering, dead pixels, or backlight bleeding.
Step 12: Final Assembly
Once you’re confident that the new LCD screen is functioning correctly, reassemble the phone. Carefully replace all screws and press the new screen into place using adhesive strips.
5. Common Issues with iPhone 14 Plus LCD Screen
Common issues related to iPhone 14 Plus LCD screens include:
- Screen Cracks or Shattering: A direct impact from a fall or sharp object can crack the screen.
- Color Distortion or Pixelation: This might occur if the screen is damaged internally.
- Touchscreen Malfunctions: Sometimes, the touchscreen becomes unresponsive due to a faulty connection or damaged digitizer.
- Ghosting or Screen Burn-In: When images are left on the screen for too long, it can result in residual images or burn-in, although this is more common with OLED than with LCD screens.
6. Why Choose LCD Over OLED for the iPhone 14 Plus (if applicable)
While the iPhone 14 Plus is originally equipped with an OLED display, third-party repairs may offer LCD screens as a more affordable alternative. LCD screens, while cheaper, tend to have less vibrant color accuracy and contrast when compared to OLED. If cost is a priority, replacing the damaged OLED with an LCD screen may save you money, but it’s important to note that the quality of the display will not be the same as the original.
7. iPhone 14 Plus Screen Size and Resolution
The iPhone 14 Plus boasts a 6.7-inch Super Retina XDR OLED display with a resolution of 2778 x 1284 pixels at 458 pixels per inch (ppi). The screen supports HDR10 and Dolby Vision, offering excellent contrast and color reproduction. If you opt for a replacement LCD screen, the resolution and size should match the original specifications to maintain quality.
8. Cost of iPhone 14 Plus LCD Screen Replacement
The cost of replacing the LCD screen of an iPhone 14 Plus can vary greatly depending on whether you choose a professional repair service or decide to replace it yourself. On average, a professional repair could cost between $200-$350 USD. However, DIY replacement parts, including LCD screens, can often be purchased for $100-$150 USD.
9. Professional vs. DIY Screen Replacement
While DIY screen replacements can save money, they come with risks. If you’re not familiar with the repair process, you might cause additional damage to the phone. Professional repair services have the necessary tools and experience to handle the replacement safely and efficiently.
10. Tips for Preventing Future Screen Damage
To prevent future damage to your iPhone 14 Plus screen, consider the following tips:
- Use a Screen Protector: A tempered glass screen protector can reduce the likelihood of cracks or scratches.
- Invest in a Durable Case: A shockproof or rugged case can help protect the phone from drops.
- Avoid Extreme Conditions: Don’t expose the phone to extreme temperatures or environments.
This is a detailed look into the process and aspects of iPhone 14 Plus LCD screen replacement. If you need further elaboration on any of the sections, feel free to ask!