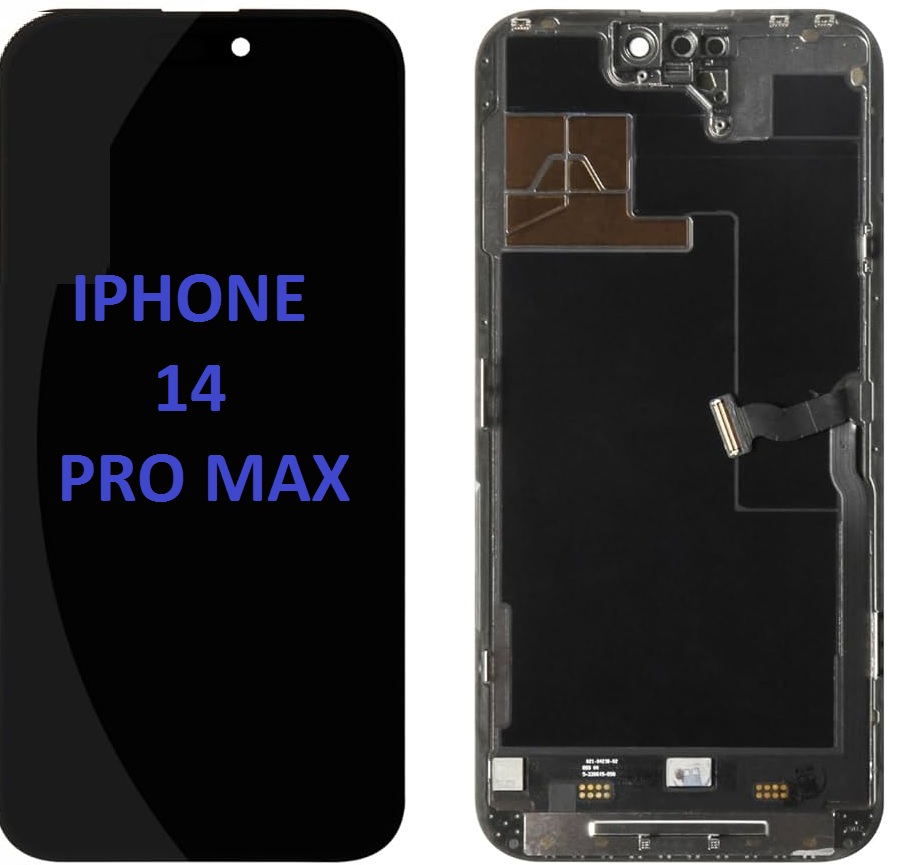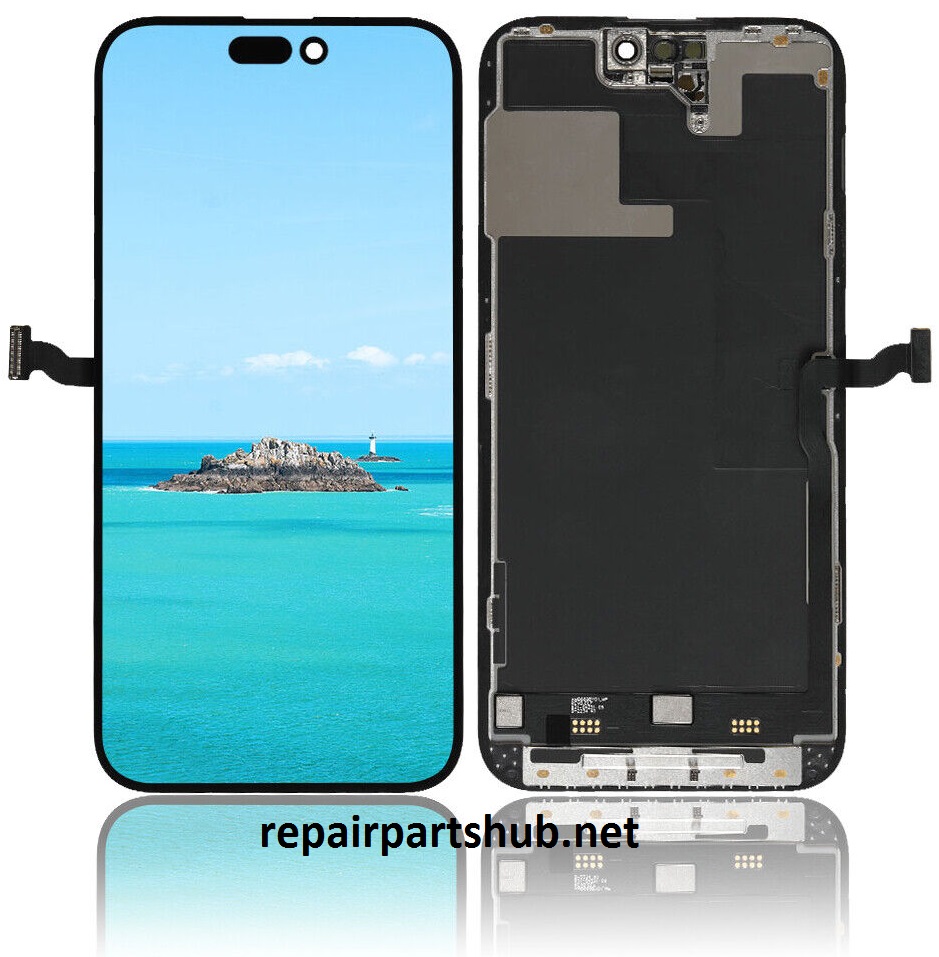
Replacing an LCD screen on an iPhone 14 Pro Max involves a comprehensive understanding of both the device’s hardware and the precise steps required to disassemble and reassemble it safely. Below, I will provide a detailed overview of the iPhone 14 Pro Max’s LCD screen replacement process, its components, and its specifications.
iPhone 14 Pro Max Overview
The iPhone 14 Pro Max is Apple’s flagship model in the 14 series, released in September 2022. It is packed with advanced features, including a powerful A16 Bionic chip, a ProMotion display, and an Always-On Display (AOD), alongside an impressive camera system and iOS 16. However, despite its durability, its screen is vulnerable to cracking or malfunctioning due to accidental drops or impacts. For this reason, understanding the process of LCD screen replacement is essential for anyone looking to restore their device to its full functionality.
Understanding the iPhone 14 Pro Max Display
The iPhone 14 Pro Max features a 6.7-inch Super Retina XDR OLED display with a resolution of 2796 x 1290 pixels at 460 ppi. This display includes the following technologies:
- Super Retina XDR: OLED technology offering deep blacks, vibrant colors, and high brightness.
- ProMotion Technology: Variable refresh rate from 10Hz to 120Hz, enhancing smooth scrolling and responsiveness.
- Ceramic Shield Glass: Tougher than standard glass, providing enhanced durability.
- True Tone: Adjusts the white balance of the display based on the surrounding light.
- HDR10 and Dolby Vision: High Dynamic Range (HDR) support for superior color and contrast.
The iPhone 14 Pro Max’s display also integrates the Face ID sensor, front camera, and proximity sensor, making the process of screen replacement more complex than simply swapping the display.
Types of Screens
For replacement, you will encounter two main types of screens for the iPhone 14 Pro Max:
- OEM (Original Equipment Manufacturer) Screen: These are screens made by Apple or an authorized partner, offering the highest quality and compatibility.
- Aftermarket Screens: These are third-party manufactured screens that can be more affordable but may not match the color accuracy, brightness, or overall quality of an OEM screen. Some may also have issues with features like True Tone or Face ID functionality.
Tools Required for iPhone 14 Pro Max Screen Replacement
Before beginning the replacement process, ensure you have the right tools. These are typically:
- Pentalobe Screwdriver: Used for removing the screws around the iPhone’s exterior.
- Phillips Head Screwdriver: For internal screws.
- Suction Cup: Helps lift the screen without damaging it.
- Spudger Tool: A plastic tool used for prying open the device without damaging components.
- Plastic Pry Tools: To safely disconnect the internal components.
- Tweezers: For handling small screws and parts.
- Heat Gun or iOpener: To soften the adhesive holding the screen in place.
- SIM Card Ejector Tool: To remove the SIM tray before disassembly.
The iPhone 14 Pro Max LCD Screen Replacement Process

Below is a step-by-step guide to replacing the LCD screen on the iPhone 14 Pro Max:
1. Preparation
- Backup Data: Ensure that your device is backed up to iCloud or a computer via iTunes or Finder before proceeding with repairs.
- Turn Off the iPhone: Power down the iPhone to avoid any electrical issues while working on the device.
- Remove the SIM Card Tray: Use the SIM ejector tool to remove the SIM card tray.
- Gather Tools and Workspace: Set up a clean, static-free workspace with the tools mentioned above.
2. Removing the Screws
- Using a pentalobe screwdriver, remove the screws around the perimeter of the iPhone 14 Pro Max’s frame. These screws are located near the Lightning port and will allow you to access the device’s internal components.
3. Heating the Device
- Use a heat gun or iOpener to gently heat the edges of the screen. This softens the adhesive used to secure the screen in place, making it easier to remove.
4. Lifting the Screen
- Attach a suction cup to the lower half of the screen and gently pull upwards. This will help to create a gap between the screen and the body of the device. Once you have a gap, use a plastic pry tool to work around the edges, carefully detaching the screen from the frame. Be cautious not to damage any internal cables or connectors.
5. Disconnecting the Battery
- After the screen is lifted, the next step is to disconnect the battery for safety. Remove the screws securing the battery’s connector cover and use a spudger tool to gently disconnect the battery.
6. Disconnecting the Screen Cables
- Next, remove the screws holding the front panel (LCD) cables in place. Using the plastic pry tool, disconnect the display cable and the Face ID sensor cable. Keep track of the screws and components as they are removed.
7. Removing the LCD Screen
- Once all connectors are disconnected, carefully lift the LCD screen off the device. If necessary, use a spudger to release any remaining adhesive or glue holding the screen in place.
8. Installing the New LCD Screen
- Take your replacement screen (preferably an OEM screen for optimal performance) and carefully align it with the body of the iPhone. Begin reconnecting the LCD display cable, Face ID cable, and any other connectors that were disconnected earlier.
9. Reattaching the Battery and Other Components
- Reconnect the battery and replace the screws securing the battery connector. Make sure all the cables are securely attached.
10. Closing the iPhone
- Carefully place the screen back onto the frame, ensuring that it aligns perfectly with the body of the device. Press down gently around the edges to ensure the adhesive sticks properly.
11. Reassembling the Screws
- Replace all the screws you previously removed, securing the screen to the iPhone frame. Be sure not to overtighten the screws to avoid damaging the device.
12. Testing the Device
- Power on the iPhone to test the screen. Check for touch responsiveness, screen brightness, color accuracy, Face ID functionality, and other features to ensure everything works as expected.
13. Final Adjustments
- If everything functions properly, replace the SIM card tray and ensure the device is fully functional before using it regularly.
Considerations and Risks of Screen Replacement
While replacing an iPhone 14 Pro Max screen can save money compared to buying a new phone or going through Apple’s repair services, there are certain risks:
- Warranty Void: Replacing the screen yourself or through a third-party service might void your Apple warranty, especially if the replacement part is not original.
- Quality of Aftermarket Parts: Aftermarket screens can sometimes have inferior quality in terms of color accuracy, brightness, and touch responsiveness. Always opt for high-quality parts to ensure a similar experience to the original screen.
- Complexity of the Repair: The iPhone 14 Pro Max is a highly complex device with small, delicate components. Improper handling can damage internal parts, such as the Face ID module, front camera, or the OLED display itself.
- Face ID Issues: If the Face ID sensor or front camera is damaged or improperly reconnected during the repair, it may not function correctly.
Conclusion
Replacing the LCD screen of the iPhone 14 Pro Max is a delicate and intricate process that requires careful attention to detail. With the right tools and a steady hand, however, it is entirely possible to perform a screen replacement and restore the device to full functionality. It’s crucial to ensure that high-quality parts are used and to proceed cautiously, as improper repairs can lead to further issues.
If you are uncertain about performing the repair yourself, consider seeking professional help from an Apple Authorized Service Provider or a reputable third-party repair service.