Skip to content
LCD Screens
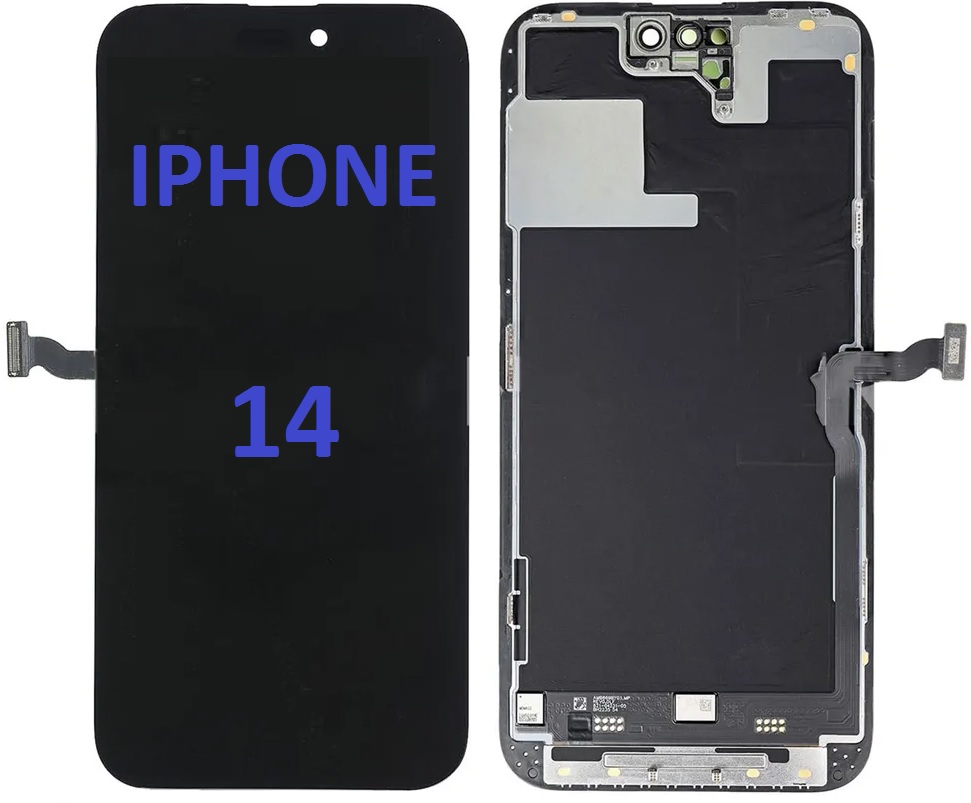
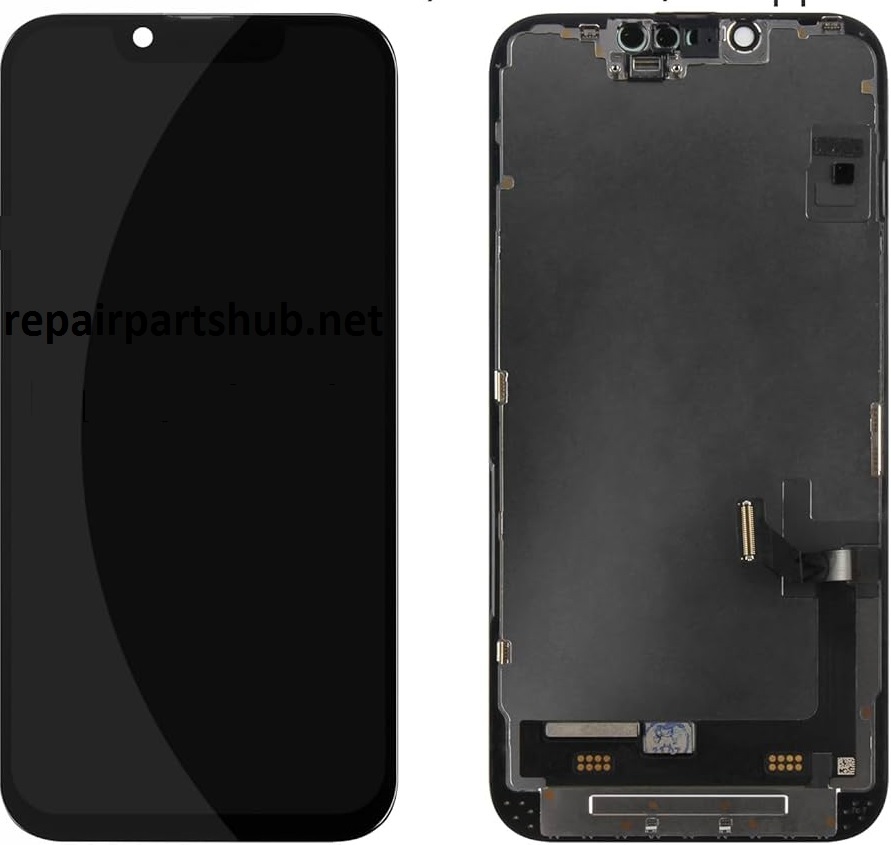
IPHONE 14 LCD SCREEN REPLACMENT DESCRIPTION,SIZES AND TOOLS
1. Introduction to iPhone 14 LCD Screen Replacement
- Overview of iPhone 14 and its screen technology
- Reasons for replacing the LCD screen
- Common symptoms of a damaged LCD screen (e.g., flickering, black spots, unresponsiveness)
- Importance of using quality replacement parts
2. Understanding the iPhone 14 LCD Screen
- Types of Displays: LCD vs. OLED and how iPhone 14’s display differs
- Display Components: LCD screen, digitizer, touch sensor, backlight, and frame
- iPhone 14 Display Specifications:
- Screen size (6.1 inches)
- Resolution (2532 x 1170 pixels)
- PPI (460 pixels per inch)
- Color accuracy and True Tone features
- HDR support
- Differences between the iPhone 14 and previous models: Impact on repair processes and parts compatibility
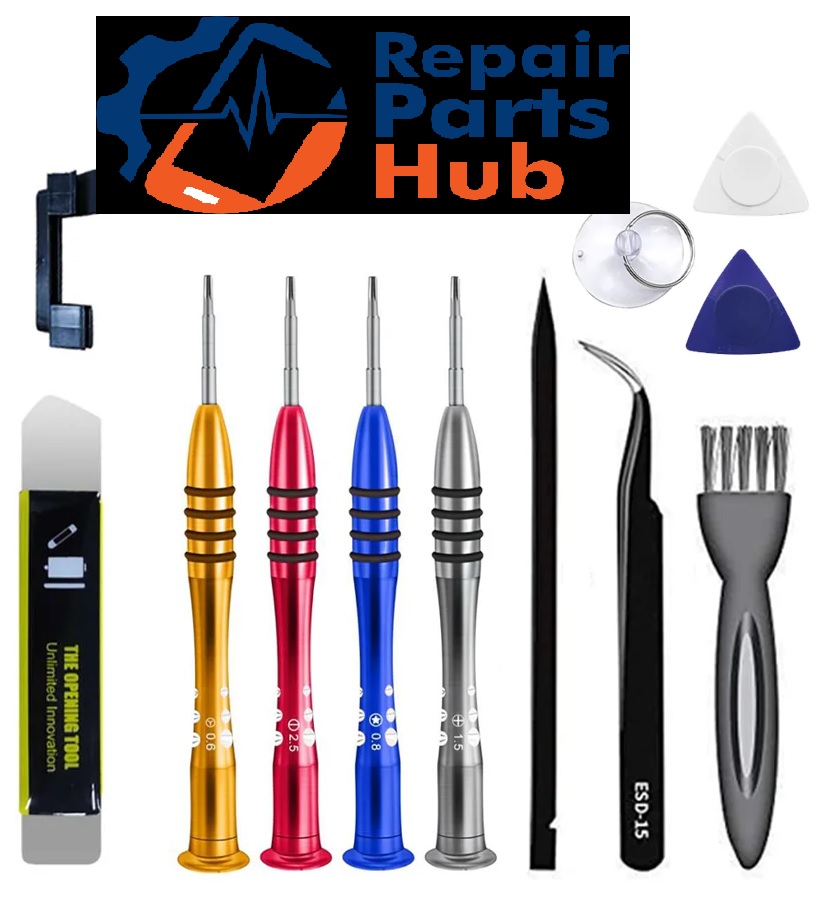
3. Tools Required for iPhone 14 LCD Screen Replacement
- Essential Tools:
- Pentalobe screwdrivers (P2)
- Y000 screwdriver for internal screws
- Suction cup tool
- Plastic pry tools
- Opening picks
- ESD-safe tweezers
- SIM card ejector tool
- Heat gun or iOpener
- Plastic spudger
- Soldering iron (if necessary for some repairs)
- Additional Tools:
- Anti-static wrist strap
- Magnifying glass or microscope for fine details
- Organizers for screws and parts
- LCD screen protector (for safety during the repair)
- Recommended Brands and Kits: Reviews of popular repair kits
4. Preparing for the LCD Replacement
- Gathering the Necessary Tools
- Workspace Preparation:
- Clean, well-lit environment
- Anti-static mat or surface
- Backup and Data Security:
- Why it’s essential to back up your iPhone before starting the repair
- Importance of Apple ID and password for reactivating the phone post-repair
- Safety Considerations:
- Handling fragile components
- Battery safety tips
- Avoiding static damage
5. Disassembly Process: Removing the iPhone 14 Screen
- Step 1: Powering Off the iPhone
- Step 2: Removing Pentalobe Screws:
- Location of screws around the device
- Step 3: Opening the iPhone:
- Using a suction cup to lift the screen
- Using plastic pry tools to separate the screen from the body
- Step 4: Disconnecting the Battery:
- Safety precautions to avoid damaging internal components
- Step 5: Disconnecting the Screen:
- Detaching the front-facing camera, Face ID connectors, and LCD cable
- Step 6: Removing the Old LCD Screen:
- How to safely detach the LCD panel from the device
- Handling the old screen for potential recycling or disposal
6. Installing the New LCD Screen
- Step 1: Preparing the New LCD Screen
- Checking compatibility with the iPhone 14 model
- Pre-attachment checks for defects
- Step 2: Reconnecting the Screen:
- Connecting the new screen to the mainboard and front-facing camera
- Aligning the screen connectors carefully
- Step 3: Reinstalling the Screen Assembly:
- Securing the screen back into the frame of the iPhone
- Step 4: Reconnecting the Battery:
- Ensuring a firm connection without over-tightening
- Step 5: Reattaching the Screws:
- Correct placement of screws for a secure reassembly
7. Testing the New LCD Screen
- Initial Power-On Check:
- Turning on the phone and checking for signs of power
- Touch Functionality Check:
- Testing responsiveness to touch gestures
- Display Quality Check:
- Ensuring the screen displays colors correctly, without dead pixels, flickers, or discoloration
- Face ID and Camera Functionality Test:
- Ensuring that the front camera and Face ID sensor are working correctly
- Calibration and Adjustment:
- Steps to recalibrate the touch functionality if necessary
- Final Review: Ensuring everything works as expected
8. Troubleshooting Post-Replacement Issues
- Screen Flickering: Causes and solutions
- Unresponsive Touchscreen: Why it may occur and how to fix it
- Screen Display Problems (Colors, Brightness, Dead Pixels): Diagnosing and resolving
- Face ID/Touch ID Not Working: Steps to restore functionality
- No Display or Blank Screen: Possible connections or part issues
9. Reassembly and Final Steps
- Step 1: Replacing the Back Cover
- Step 2: Tightening the Screws and Ensuring Everything Is Secure
- Step 3: Final Testing and Inspection:
- Comprehensive test of all functions (screen, battery, camera, speaker, etc.)
- Step 4: Clean-Up:
- Cleaning up the phone surface to remove fingerprints, dust, and residue from tools
- Step 5: Turning the iPhone Back On and Setting Up:
- Reactivating the iPhone, ensuring the settings are correct
10. Post-Repair Care and Maintenance
- Screen Protector Installation: Preventing future damage
- Case Recommendations: Best cases for protecting the iPhone after the repair
- How to Care for Your iPhone’s Display: Tips to prolong the lifespan of the LCD screen
11. Where to Buy Replacement Parts
- Trusted Suppliers:
- Official Apple parts vs. third-party options
- Price Comparison and Value for Money:
- Understanding the price difference and its impact on quality
- Recycling the Old Screen: Options for responsible disposal or recycling
12. The Cost of iPhone 14 LCD Screen Replacement
- DIY Costs vs. Professional Repair
- Factors Affecting the Cost of Parts: Brand, quality, and supplier
- Labor Costs: When to hire a professional technician
- Warranty on Replacement Parts and Services
13. Alternatives to DIY Screen Repair
- Professional Repair Services: Apple Store vs. third-party repair shops
- DIY Repair Kits and Their Effectiveness
- Risks of DIY Repair: Voiding warranties, possible damage
14. Conclusion
- Final Thoughts on the Importance of Proper LCD Screen Replacement
- The Benefits and Challenges of DIY iPhone Repairs
- Encouragement for Safe and Efficient Repairs


