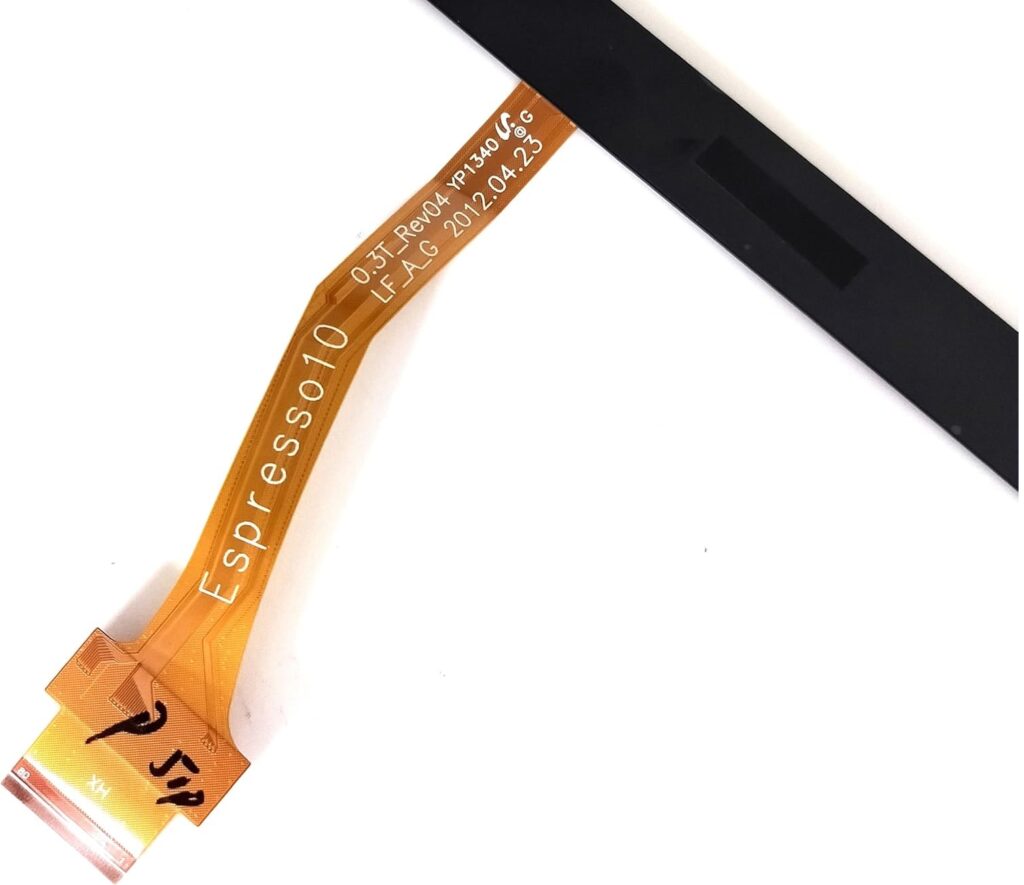
Replacing the touch digitizer on a Samsung Galaxy Tab 2 GT-P5113 involves several steps and requires careful handling. Below is a general guide to help you replace the touch digitizer on your device. Be sure to follow each step carefully and use appropriate tools.
Tools and Materials Required:
- New Touch Digitizer (compatible with the Samsung Galaxy Tab 2 GT-P5113)
- Small Phillips head screwdriver (for screws)
- Plastic pry tools (to separate the screen from the housing)
- Suction cup tool (to lift the screen)
- Tweezers
- Sim card ejector tool (optional, for removing the SD card or SIM card)
- Heat gun or hairdryer (to soften adhesive)
- Antistatic wrist strap (to protect from static discharge)
- Cleaning cloth (for cleaning after installation)
Step-by-Step Guide:
1. Turn Off the Device
- Power off your Samsung Galaxy Tab 2 GT-P5113 to avoid any electrical damage during the repair process.
2. Remove the Back Cover and Battery
- Use the small screwdriver to remove the screws securing the back panel.
- Once the screws are removed, gently pry the back cover off with a plastic prying tool.
- Disconnect and remove the battery if possible to avoid short circuits during the repair.
3. Heat the Edges of the Screen
- Use a heat gun or a hairdryer to soften the adhesive around the edges of the screen.
- Apply heat for about 2-3 minutes, making sure not to overheat the device.
4. Detach the Screen from the Device
- Attach the suction cup tool to the edge of the screen. If necessary, apply additional heat to loosen the adhesive further.
- Gently pull the screen upwards with the suction cup tool while using a plastic prying tool to separate the screen from the body. Work your way around the edges, prying gently to avoid cracking the screen.
5. Disconnect the Digitizer Cable

- After separating the screen from the housing, you will see a small ribbon cable connecting the digitizer to the motherboard.
- Use tweezers to carefully disconnect the cable by lifting the connector latch.
6. Remove the Old Digitizer
- Once the ribbon cable is disconnected, you can carefully remove the old digitizer from the frame of the device.
7. Install the New Digitizer
- Position the new touch digitizer onto the frame carefully, ensuring it aligns with the screen and housing.
- Reconnect the ribbon cable to the motherboard. Ensure it is seated properly and the connector is secured.
8. Reassemble the Device
- Once the digitizer is properly connected, press the screen into place, making sure it’s aligned with the device’s frame.
- Reinsert the battery and connect any other components you may have disconnected during disassembly.
9. Test the Screen
- Before fully closing the device, power it on and test the new digitizer to ensure it’s working properly. Test touch sensitivity, screen calibration, and overall functionality.
10. Close the Device
- If everything is working, secure the back cover back into place and screw it down.
- Turn the tablet off and on once more to double-check the touchscreen functionality.
11. Clean the Screen
- Once everything is reassembled, use a cleaning cloth to remove any fingerprints or debris on the screen.
Final Tips:
- Make sure the replacement digitizer is compatible with the GT-P5113 model.
- If you’re not familiar with the repair process, it’s a good idea to watch some video tutorials or consult a professional to avoid damaging your device.
- Always be gentle when separating the screen and handling the components to prevent further damage.
By following these steps, you should be able to replace the digitizer on your Samsung Galaxy Tab 2 GT-P5113 successfully. If you encounter any issues, you might want to reach out to a professional repair service for assistance.+