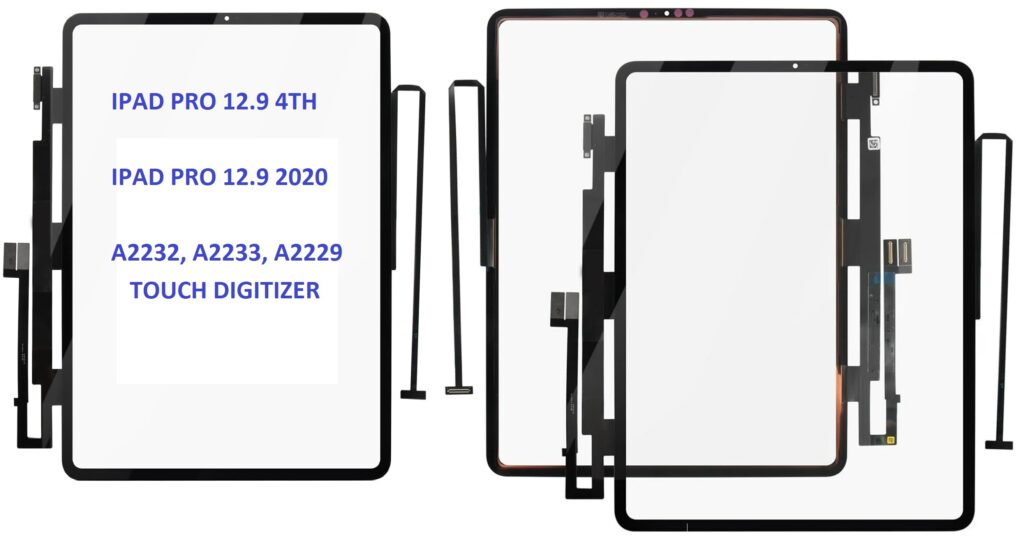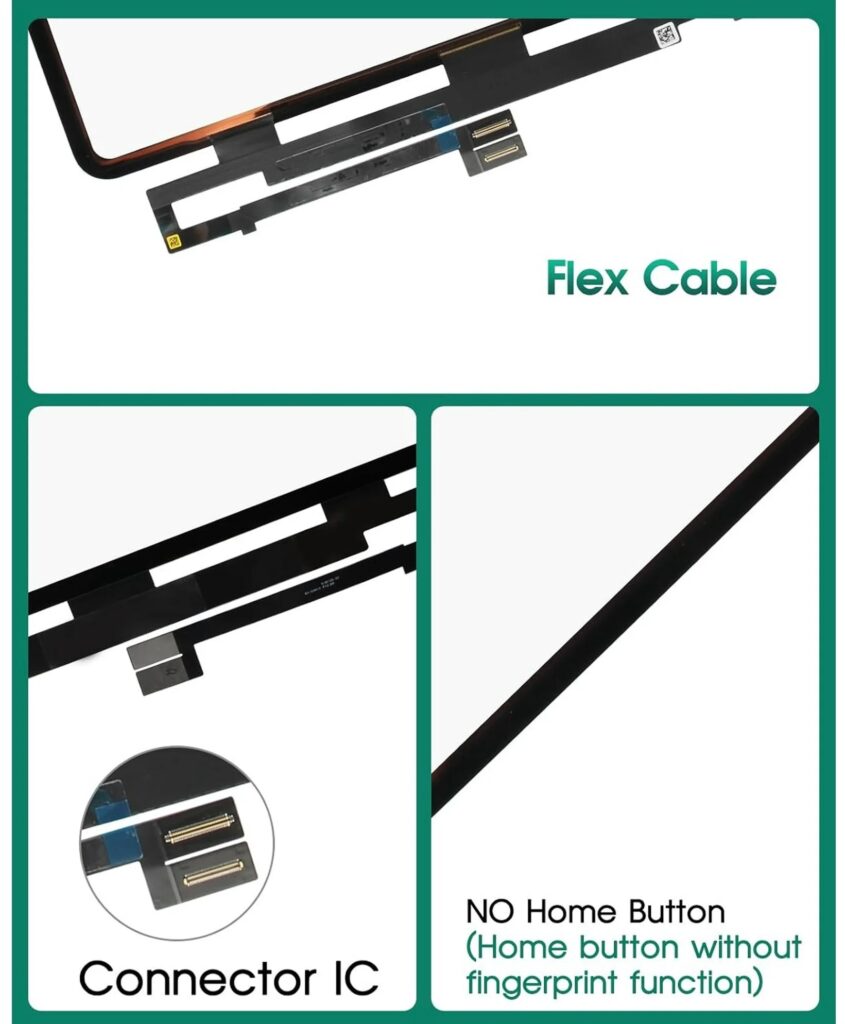
Replacing the touch digitizer of an iPad Pro 12.9 (4th generation) or iPad Pro 12.9 (2020) model (A2232, A2233, A2229) is a complex process that involves careful handling of delicate components. Here is a general outline of the steps for replacing the touch digitizer:
Tools and Equipment Needed:
- Replacement digitizer (compatible with iPad Pro 12.9 2020 models)
- Pentalobe screwdriver (P2)
- Phillips screwdriver (PH000)
- Plastic opening tools or spudger
- Suction cup or screen removal tool
- Tweezers
- Heat gun or hair dryer (optional, for loosening adhesive)
- Adhesive strips or double-sided tape (for reassembling)
- Anti-static wrist strap (optional but recommended)
Preparation:
- Power Off the iPad:
- Ensure the device is completely powered off before starting the repair process.
- Remove SIM Card Tray (if applicable):
- Use a SIM card ejector tool to remove the SIM card tray from the iPad if your device has one.
- Create a Clean Workspace:
- Prepare a clean, flat surface with a soft mat to avoid damaging the iPad during the repair.
Step-by-Step Replacement Process:
1. Heat the Edges (Optional but Recommended):
- If the adhesive is strong, use a heat gun or hair dryer to gently heat the edges of the iPad. This will soften the adhesive and make it easier to separate the screen from the body. Heat the edges for about 1–2 minutes.
2. Remove the Screen:
- Suction Cup: Attach a suction cup near the edge of the display (around the bottom edge). Pull gently to create a small gap between the screen and the body.
- Plastic Spudger or Opening Tool: Insert a plastic spudger or opening tool into the gap and slowly work your way around the edges of the device to detach the adhesive. Be careful not to apply too much pressure to avoid cracking the screen or damaging internal components.
Note: The iPad Pro’s screen may be glued very securely, so take your time and use patience during this process.
3. Disconnect the Battery:
- Once the screen is detached, use a Phillips screwdriver to remove screws securing the internal bracket covering the battery connectors.
- Use a plastic spudger or tweezers to disconnect the battery connector carefully. This is crucial to avoid any electrical short circuits or damage to the internal components.
4. Remove the Old Digitizer (If Separate from LCD):
- Depending on the replacement part, the digitizer may be separate from the LCD display.
- Unscrew any remaining screws: Remove screws securing the digitizer if necessary.
- Disconnect the Digitizer Cable: Locate and disconnect the digitizer cable (often near the top edge) from the logic board using a spudger or tweezers.
If the LCD and digitizer are combined, skip this step, as you’ll replace the entire screen assembly.
5. Install the New Digitizer:
- If you have a separate digitizer, align the new digitizer with the screen and connect the digitizer cable to the logic board.
- Ensure the cable is securely connected and that the new digitizer is in the correct position.
If you’re replacing the entire screen assembly (digitizer + LCD), carefully install the new unit into the device by aligning the edges and connectors.
6. Reattach the Battery:
- After installing the new digitizer, reconnect the battery to the logic board.

7. Test the Digitizer:
- Before sealing everything back up, power on the iPad and test the new digitizer to ensure it works properly (touchscreen responsiveness, no dead spots).
- If everything is functioning correctly, proceed to the next step. If there are issues, double-check the connections.
8. Reassemble the iPad:
- Reattach the internal screws securing the logic board, battery connector, and display connectors.
- Align and press the screen into place: Carefully align the screen with the frame and press down gently to ensure it’s properly seated.
9. Secure the Display:
- Apply new adhesive or adhesive strips around the edges of the device or use a dedicated screen adhesive for a secure fit.
- Press firmly on the edges to make sure the adhesive bonds well.
10. Reinstall SIM Tray (if applicable):
- If you removed the SIM card tray, reinstall it back into the device.
11. Power On and Final Check:
- Power on the device and perform a final check of the touchscreen, display, and other functionalities to ensure everything is working properly.
Additional Notes:
- Safety Precautions: Always use anti-static measures to avoid damaging internal components.
- Use Quality Parts: Ensure that the replacement digitizer is high-quality and compatible with your specific iPad model to avoid issues with fit or performance.
- Time and Patience: This process can take time, especially when dealing with adhesives and fragile components. Patience is key!
If you are not comfortable performing this repair, consider seeking professional repair services to avoid potential damage to the device.