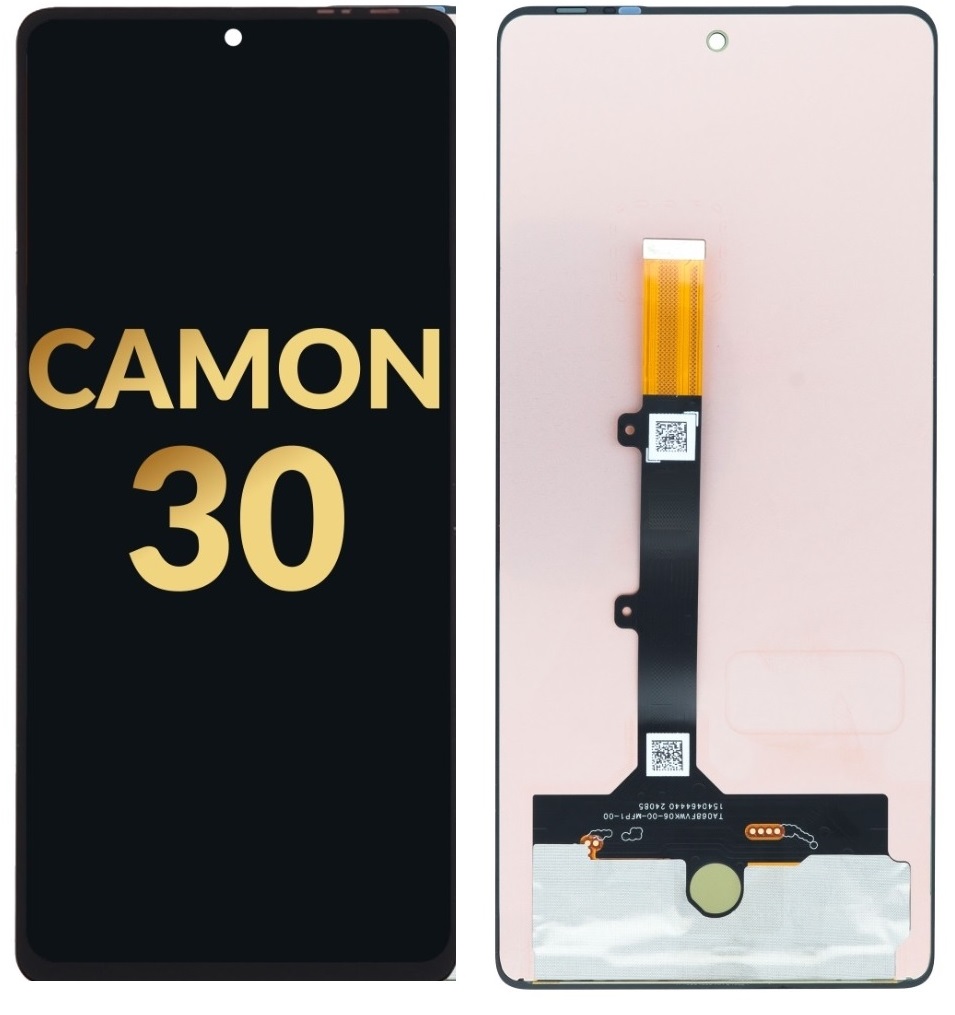
The Tecno Camon 30 series, which includes models like Camon 30 CL6, CL6K, and CL7, features AMOLED displays. Here’s the screen size information and replacement process for these devices:
Screen Size and Type for Tecno Camon 30 Series:
- Tecno Camon 30 CL6: 6.8-inch AMOLED display
- Tecno Camon 30 CL6K: 6.8-inch AMOLED display
- Tecno Camon 30 CL7: 6.8-inch AMOLED display
The screen size across these models is the same: 6.8 inches with an AMOLED panel offering deep contrast, vibrant colors, and better energy efficiency compared to traditional LCD screens.
Screen Replacement Process for Tecno Camon 30 Series (AMOLED
Replacing the AMOLED display of the Tecno Camon 30 series involves several important steps. Here’s a general guide on how to replace the screen:
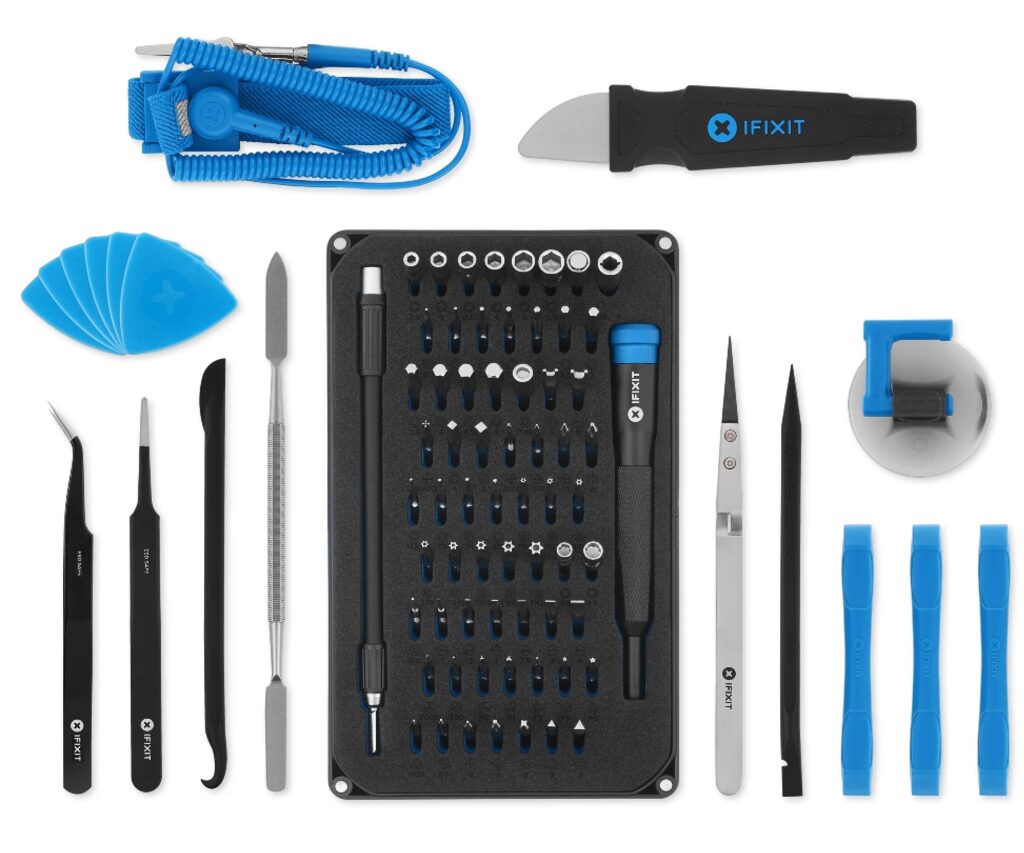
Tools and Equipment Needed:

- Replacement AMOLED screen (specific for the Camon 30 model)
- Precision screwdriver set
- Plastic pry tools
- Suction cup tool
- Heat gun or hair dryer (for softening adhesive)
- Isopropyl alcohol (for cleaning)
- SIM card ejector tool
- Antistatic wristband (to avoid electrostatic discharge)
- Tweezers (for small components)
Step-by-Step Screen Replacement:
- Power Off the Device:
- Turn off the phone to prevent electrical damage during the repair process.
- Remove the SIM Tray:
- Use the SIM card ejector tool to remove the SIM tray from the device.
- Heat the Edges:
- Use a heat gun or hair dryer to warm the edges of the phone, making it easier to remove the old screen. This will soften the adhesive that holds the screen in place.
- Apply heat for about 1-2 minutes to the edges, but be careful not to overheat the phone.
- Pry Open the Phone:
- Use a plastic pry tool to gently separate the back cover or the front screen from the phone’s frame. Start at one corner and work your way around the device. Be careful not to apply too much pressure, as this may crack the glass.
- Disconnect the Battery:
- Once the back cover or screen is removed, locate and disconnect the battery to ensure there’s no power running through the phone during repair.
- Remove the Broken Screen:
- If the screen is attached by screws or clips, remove them. In most cases, there will also be adhesive holding the screen in place, so you may need to use the heat gun again to loosen the adhesive.
- Carefully lift the old AMOLED screen from the frame.
- Clean the Frame:
- Once the screen is removed, use isopropyl alcohol to clean the frame and remove any old adhesive or debris. Ensure the surface is smooth and clean for the new screen.
- Install the New AMOLED Screen:
- Align the replacement AMOLED screen carefully with the phone’s frame. Once aligned, gently press it into place.
- If the screen uses adhesive, apply a thin layer of new adhesive to secure it.
- Reconnect the Battery:
- Reconnect the battery connector once the new screen is in place.
- Test the New Screen:
- Before fully assembling the phone, power it on and check the new screen for proper functioning. Ensure that the touchscreen, display colors, brightness, and other features work as expected.
- Reassemble the Phone:
- If the screen is working properly, replace any screws and reattach the back cover or screen assembly.
- Insert the SIM card tray back into its slot.
- Final Power On:
- Power on the phone one last time to ensure everything is functioning properly.
If you’re looking to replace the AMOLED or LCD screen for a Tecno Camon 30 (including models CL6, CL6K, or CL7), here’s a general step-by-step guide you can follow for the screen replacement process. Note that the process might slightly vary depending on the exact model, but these steps should be similar across the variants.
Tools and Materials You’ll Need:
- Replacement AMOLED or LCD screen for Tecno Camon 30 (make sure it’s the correct model: CL6, CL6K, or CL7)
- Plastic prying tools
- Small screwdriver (typically Phillips-head)
- Suction cup (to help lift the screen)
- Tweezers
- Heat gun or hair dryer (for loosening adhesive)
- Isopropyl alcohol (to clean the parts)
- Double-sided adhesive (optional, if required to reassemble properly)
Step-by-Step Process for Replacing the AMOLED/LCD Screen:
1. Power Off the Device
- Ensure the device is completely powered off to prevent any electrical damage during the repair.
2. Remove the Back Cover
- Use a plastic prying tool or suction cup to gently separate the back cover from the phone. You may need to use a heat gun or hair dryer to soften any adhesive before prying it open.
- Once the back cover is off, locate and remove the screws (typically small Phillips-head screws) securing the battery and internal components.
3. Disconnect the Battery
- Carefully disconnect the battery’s connector from the motherboard. This step is crucial to prevent any accidental short circuits or damage.
4. Remove the Screws and Open the Frame
- Using a screwdriver, remove any screws that are securing the internal frame or components like the motherboard. Keep track of the screws, as they may be different sizes.
- Use the prying tool to gently lift and remove the internal frame or bezel. Take care not to damage internal components like the camera module or sensors.
5. Detach the Old Screen (AMOLED/LCD)
- Apply gentle heat around the edges of the screen using a heat gun or hair dryer to soften the adhesive holding the screen in place.
- Using a plastic prying tool or suction cup, carefully lift the old screen from the frame. Work slowly to avoid damaging any surrounding components.
- Once the screen is lifted, disconnect the display ribbon cable from the motherboard.
6. Clean the Frame and Surface
- Clean the frame and surface of the phone with a soft cloth and some isopropyl alcohol to remove any dust, debris, or adhesive residues. This ensures that the new screen will stick properly and won’t get damaged during the installation.
7. Install the New Screen
- Connect the new AMOLED or LCD screen’s ribbon cable to the motherboard carefully.
- Align the new screen with the frame, making sure it fits correctly. Once aligned, press it into place gently.
8. Reassemble the Device
- Once the new screen is attached, you can begin reassembling the phone by reversing the steps.
- If needed, apply new adhesive to secure the new screen in place.
- Reconnect the battery, reinstall the internal frame, and screw everything back in place.
9. Test the Screen
- Before sealing the phone completely, power it on to ensure that the new screen is functioning properly (touch responsiveness, display brightness, etc.).
- If everything is working fine, power off the phone again and fully close it.
10. Reattach the Back Cover
- Once you’re confident that everything is in place and working, reattach the back cover and press it firmly to ensure it’s properly sealed.
Important Notes:
- Precaution: If you’re unfamiliar with phone repairs, consider seeking professional help. Mistakes during the repair (like damaging internal components) can be costly.
- Quality Parts: Always use a high-quality replacement screen to ensure the best performance and longevity.
- Warranty Consideration: If your device is still under warranty, replacing the screen yourself may void it. Check the warranty status beforehand.
Good luck with your Tecno Camon 30 screen replacement!