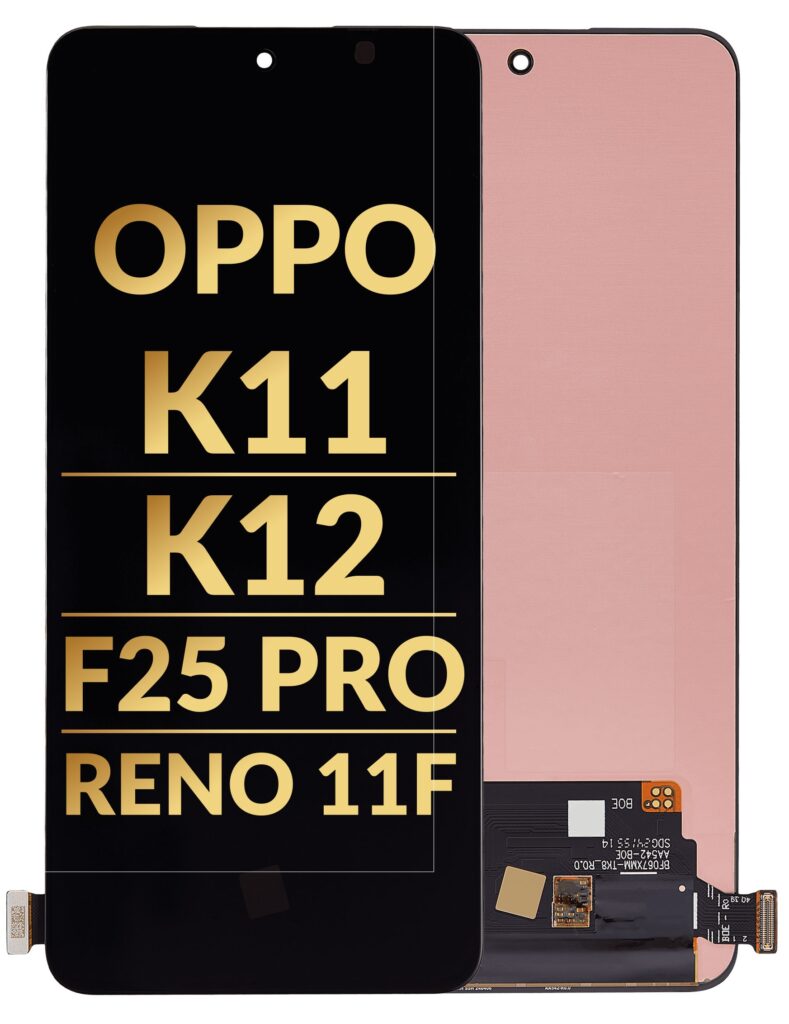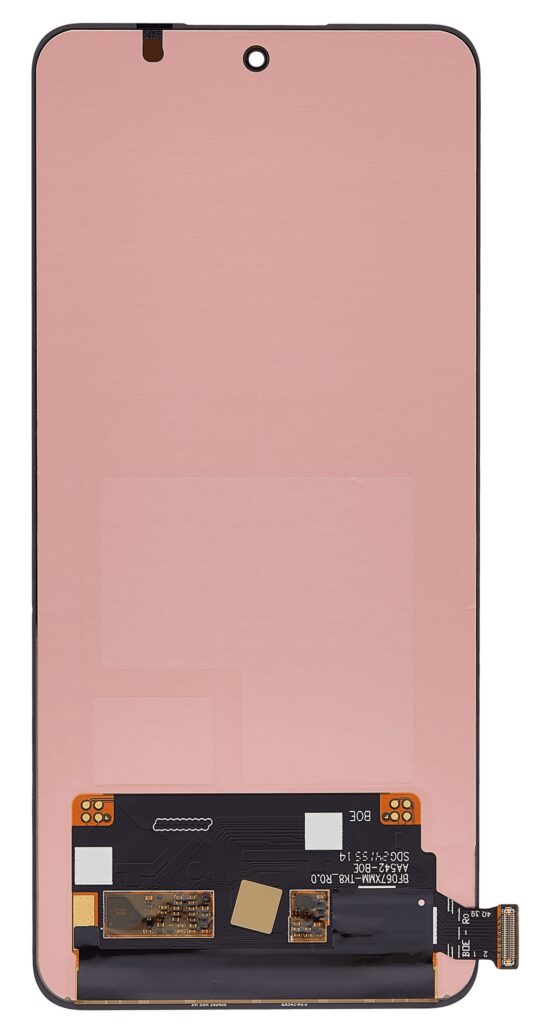
Replacing the LCD screen on an OPPO device such as the OPPO K11, K12, F25 Pro, or Reno 11F can be a delicate task. Here’s a detailed guide to help you understand how the replacement process works, including steps, tools required, and other important details.
General Overview of LCD Replacement Process
The LCD screen (or display) on smartphones is typically made up of two components: the LCD panel (which displays the image) and the digitizer (which registers touch input). If the screen is cracked, scratched, or malfunctioning, replacing both the LCD and the digitizer may be necessary.
Important Note:
The replacement process might slightly vary depending on the model (K11, K12, F25 Pro, Reno 11F), but generally, the steps are similar for most OPPO devices.
Tools Needed for LCD Replacement:
- Screwdrivers:
- Precision screwdriver set (typically Phillips #00 or Pentalobe).
- Plastic Pry Tools:
- Used to open the phone without damaging internal components.
- Suction Cup Tool:
- Used to lift the screen from the body.
- Tweezers:
- To handle small parts.
- SIM Card Ejector Tool:
- To remove the SIM tray before starting the repair.
- Heat Gun or Hair Dryer:
- To soften the adhesive holding the display in place (especially for older devices with more stubborn glue).
- Anti-static Wrist Strap:
- For safety to avoid damaging internal electronics with static electricity.
- Replacement LCD Screen:
- Ensure that the replacement LCD screen is compatible with your OPPO model (K11, K12, F25 Pro, Reno 11F).
- Adhesive Strips or Glue:
- For reattaching the new display once it is in place.
Step-by-Step Guide to Replacing the LCD on OPPO Devices
1. Power Off the Device
Before starting, power off the device completely. Remove any external accessories, such as SD cards or SIM cards, using the SIM card ejector tool.
2. Remove the Back Cover
- Use a heat gun or hair dryer to soften the adhesive around the back cover.
- After applying heat for a few minutes, use a suction cup tool to lift the back cover.
- Use a plastic pry tool to carefully loosen the back cover, ensuring no damage to the body of the device.
3. Remove Screws and Detach Internal Components
- Once the back cover is off, you’ll need to remove screws that hold the phone’s internal components in place (such as the battery, motherboard, and cameras).
- Use a precision screwdriver to remove screws carefully.
- Disconnect the battery connector and other connectors (e.g., the camera module, charging port) that are attached to the motherboard.
4. Remove the Old Display
- Once the internal components are out of the way, it’s time to focus on removing the old LCD screen.
- The screen is usually held in place with adhesive. If it’s stubborn, apply some heat to loosen the adhesive.
- Use a suction cup tool to lift the screen gently, or you may use a plastic pry tool to separate the LCD from the frame.
- Take extra care around the edges to avoid damaging internal components, especially the fragile ribbon cables that connect the screen to the motherboard.
5. Install the New LCD Screen
- Place the new LCD screen in position. Make sure the ribbon cables align correctly with the motherboard.
- Once the screen is aligned, press gently but firmly to ensure it sticks to the frame.
- Reconnect any internal connectors, including the touch digitizer and display cable.
6. Reassemble the Phone
- Reconnect the battery and any other components you had to disconnect earlier, including cameras or buttons.
- Carefully screw back all screws to secure the motherboard and other internal parts.
7. Test the New Display

- Before sealing everything up, power on the phone and test the new screen. Check for proper touch response, screen brightness, and display quality.
8. Attach the Back Cover and Reassemble
- If everything works correctly, reattach the back cover of the phone.
- Ensure that the adhesive is securely in place or use new adhesive strips for the best results.
9. Power On and Final Check
- Power on the phone one final time to ensure everything is working as expected.
- Make sure all buttons and features (like the fingerprint sensor or camera) work correctly.
Important Considerations:
- Professional Help:
- If you’re not experienced with phone repairs, it’s highly advisable to seek professional help to avoid damage. OPPO’s authorized service centers will be able to replace the screen safely.
- Warranty:
- Opening the device may void your warranty, so ensure you’re comfortable with that risk if the phone is still under warranty.
- Quality of Replacement Parts:
- Use high-quality replacement parts to ensure the longevity of the repair and the performance of the device. Aftermarket LCDs might not offer the same level of quality as the original parts.
- Calibration:
- After the replacement, the touch functionality of the display might need calibration to ensure it works correctly.
Replacement Cost Estimate:
- Parts: A replacement LCD for OPPO devices can range in cost from $40 to $100 or more, depending on the model and the quality of the part.
- Labor: Professional repair services may charge around $50 to $150 for labor depending on the region and model.
Common Issues After LCD Replacement:
- Touchscreen Not Responding: This could be caused by improper connection of the digitizer or a faulty replacement part.
- Display Flickering: This could indicate a loose connection or a problem with the LCD panel.
- No Backlight: This could be a sign that the LCD connector was not reattached correctly, or the LCD itself is defective.