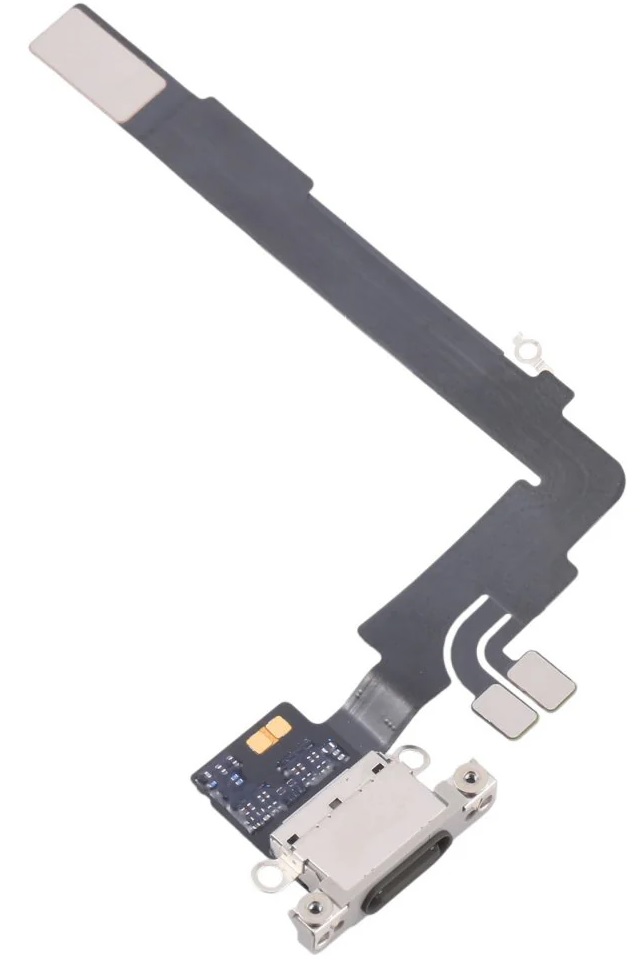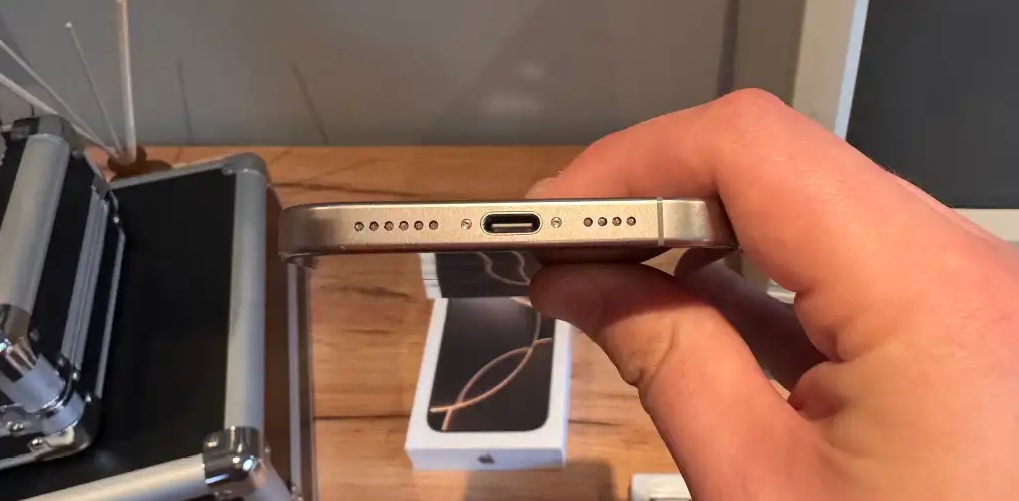
Replacing the charging flex (charging port and flex cable) on an iPhone 16 Pro Max requires careful attention, as it involves disassembling the device and working with delicate components. Below is a step-by-step guide for replacing the charging flex. Note that this guide is general, as exact steps may vary, and for an iPhone 16 Pro Max, which may not yet be officially released or detailed, there are some assumptions based on previous iPhone models.
Tools You Will Need:
- Pentalobe screwdriver (for iPhone screws)
- Philips screwdriver (for internal screws)
- Spudger or plastic pry tools
- Tweezers
- Suction cup tool
- SIM card ejector tool (if needed)
- Heat gun or hairdryer (for softening adhesive)
- Anti-static wrist strap (optional but recommended for safety)
- New charging flex cable (compatible with iPhone 16 Pro Max)
Preparation:
- Turn Off the iPhone: Before starting, power off the device completely to avoid any electrical damage.
- Remove the SIM Card Tray: Use the SIM card ejector tool to remove the SIM card tray, as it might block the process.
Step-by-Step Guide:

1. Remove the Pentalobe Screws
- Use the pentalobe screwdriver to remove the screws located around the perimeter of the iPhone. There will typically be two screws on either side of the Lightning port.
2. Separate the Display from the Rear Case
- Use a suction cup tool near the bottom of the phone (just above the charging port) to gently pull the display away from the rear case.
- Once there is a gap, insert a plastic pry tool or spudger to work your way around the device, carefully separating the display. Take care not to damage the screen or cables.
3. Disconnect the Battery
- After the screen is removed, locate the battery connector and disconnect it using a plastic pry tool. This is important to prevent any short circuits while working on the internal components.
4. Remove the Shield Cover for the Charging Flex
- There may be a metal shield covering the screws that secure the charging flex cable. Use a small Philips screwdriver to remove the screws holding this shield in place.
5. Disconnect the Charging Flex Cable
- Once the shield is removed, use a plastic tool or tweezers to disconnect the charging flex cable from the mainboard. Be sure to gently release the connector without applying too much force.
6. Remove the Old Charging Flex Cable
- You may need to heat the area slightly (using a heat gun or hair dryer) to loosen any adhesive that holds the charging flex cable in place.
- Once loose, carefully pull the cable from its housing, ensuring you don’t damage any other components.
7. Install the New Charging Flex Cable
- Take the new charging flex cable and align it with the connector on the motherboard. Connect the new cable by pressing it into place.
- Be sure the new flex cable is seated properly and securely.
8. Reattach the Shield and Other Components
- Once the new charging flex is installed, screw the metal shield back in place to secure the flex cable.
9. Reconnect the Battery
- Reconnect the battery connector carefully.
10. Reassemble the iPhone
- Once everything is secured, align the display back onto the rear case of the iPhone.
- Press around the edges to ensure the display snaps back into place.
- Reinsert the pentalobe screws around the perimeter to secure the screen back to the body of the iPhone.
11. Test the New Charging Flex
- Power on your device and test the charging port. Plug in a charger to make sure that the charging function works properly and that the device is charging correctly.
12. Final Steps
- If everything is working fine, reinsert the SIM card tray and complete any final checks. Make sure the iPhone is free of dust or other debris, and the screen is secure and functional.
Additional Notes:
- Be sure to handle the internal components of the iPhone with care, as they are very fragile.
- Make sure the new charging flex is compatible with your specific iPhone model to avoid any complications.
- If you’re not experienced with iPhone repairs, consider seeking professional help to avoid damaging your device.
This guide is based on standard procedures for previous iPhone models and can be adapted for the iPhone 16 Pro Max once more detailed guides are available.