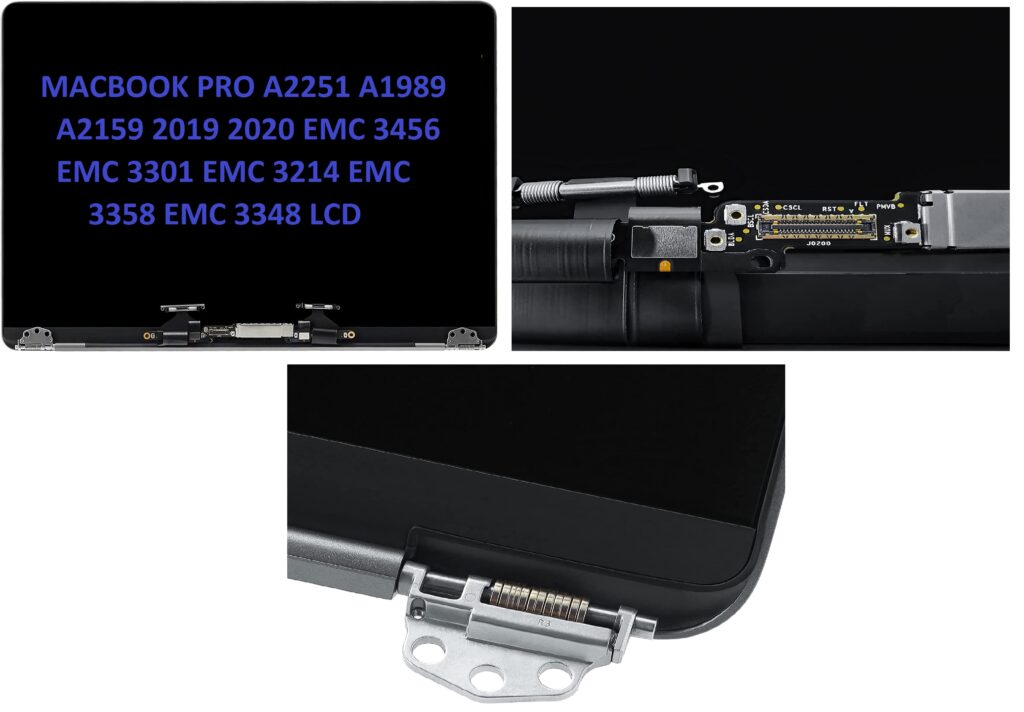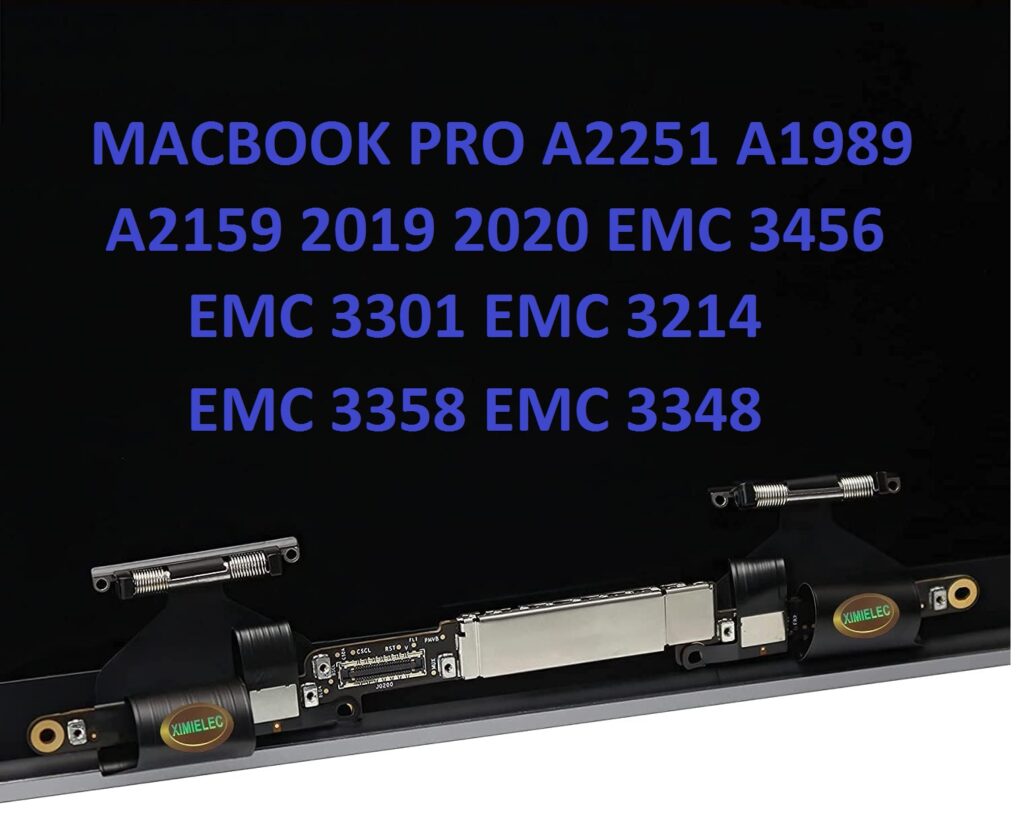
Replacing the LCD screen on a MacBook Pro (models A2251, A1989, A2159, etc.) is a delicate procedure that requires careful handling, as the components are intricate and can be easily damaged. Below is a step-by-step guide for replacing the LCD screen (Retina display assembly) for MacBook Pro 13.3″ models (2019–2020). Keep in mind that this process can vary slightly based on the specific model, so it’s recommended to have the right replacement screen and tools for your exact version.
Tools You’ll Need
- Pentalobe P5 screwdriver (for removing screws)
- Tri-point Y0 screwdriver (for certain screws inside)
- Spudger (plastic tool for disconnecting cables)
- Suction cup (for removing the screen)
- Tweezer (for handling small parts)
- Torx T5 screwdriver (if necessary for some models)
- Anti-static wristband (to prevent static discharge)
Steps for Replacing the LCD Screen
1. Turn Off the MacBook Pro and Disconnect from Power
- Make sure the MacBook Pro is turned off and unplugged.
- Disconnect any external devices.
2. Remove the Bottom Case
- Use a Pentalobe P5 screwdriver to remove the screws securing the bottom case.
- Carefully lift the bottom case off the MacBook Pro. You may need a plastic spudger to pry it open gently.
3. Disconnect the Battery
- Locate the battery connector and use a spudger to disconnect it from the motherboard to avoid any electrical shorts while working.
4. Remove the LCD Screen Assembly
- Depending on the MacBook Pro model, you may need to remove several screws securing the display assembly to the hinges.
- Use the Pentalobe screwdriver to carefully remove all screws around the edges of the screen (be sure to note where each screw goes, as sizes can vary).
- Use a suction cup tool to gently lift the display from the body of the MacBook Pro.
- Once the display is lifted, use a spudger to disconnect the various ribbon cables (like the display cable, webcam cable, and other connections).
- After all cables are disconnected, remove the entire screen assembly from the MacBook.
5. Transfer Components from the Old Display to the New One (if applicable)
- If your replacement screen does not come with pre-attached components like the camera or Wi-Fi antenna, you may need to transfer those parts from the old display assembly to the new one.
- Be sure to handle the components gently to avoid any damage.
6. Attach the New LCD Screen Assembly

Connect all the necessary ribbon cables to the new LCD screen assembly.
- Carefully position the new screen in place and secure it using the screws you previously removed from the old display.
- Reconnect the battery cable.
7. Test the New Screen
- Before reassembling the bottom case, briefly power on the MacBook to check that the screen is functioning properly. Ensure that the display works as expected, with no flickering or artifacts.
- If everything looks good, power off the MacBook again.
8. Reassemble the MacBook
- Replace the bottom case and screw it in place using the Pentalobe P5 screws.
- Ensure that everything is secure and that there are no leftover screws or parts.
9. Power On the MacBook
- After reassembling, power on the MacBook and confirm that the new screen is working properly.
Tips for Success
- Documentation and Guides: It’s helpful to refer to a teardown guide for your specific MacBook model (such as iFixit). These guides typically contain detailed images and instructions that can assist you in the process.
- Keep Track of Screws: MacBook screws are often different lengths and sizes. Make sure to organize and label screws as you remove them.
- Be Gentle: The display assembly is delicate. Handle all parts carefully to avoid damaging connectors, cables, or the screen itself.
- Use the Right Tools: Using the proper screwdriver size ensures you don’t strip screws or damage the device.
If you’re unsure or uncomfortable with the process, it might be worth considering professional help, as replacing an LCD screen can be complex, especially if you’re unfamiliar with electronics repair.